Schwere PanzerJagerKompanie Part I - Intro
Schwere PanzerJagerKompanie Part II - Preperation
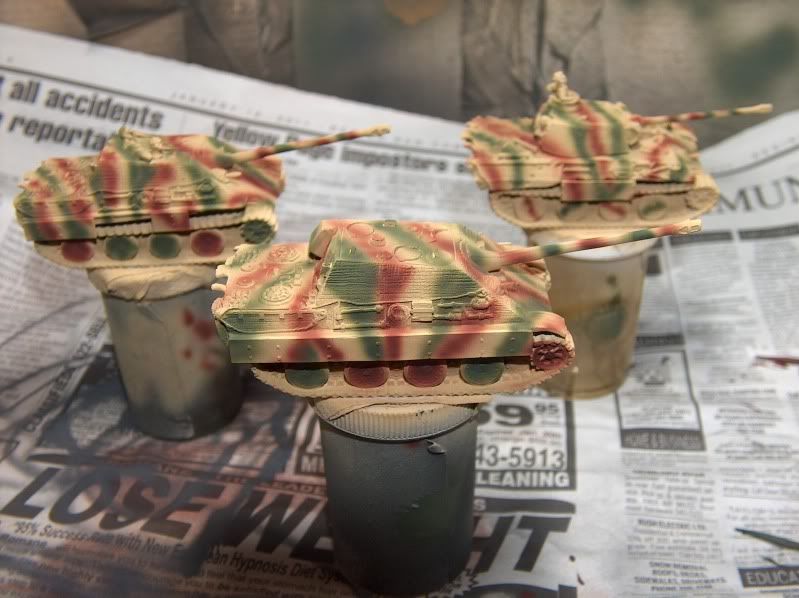
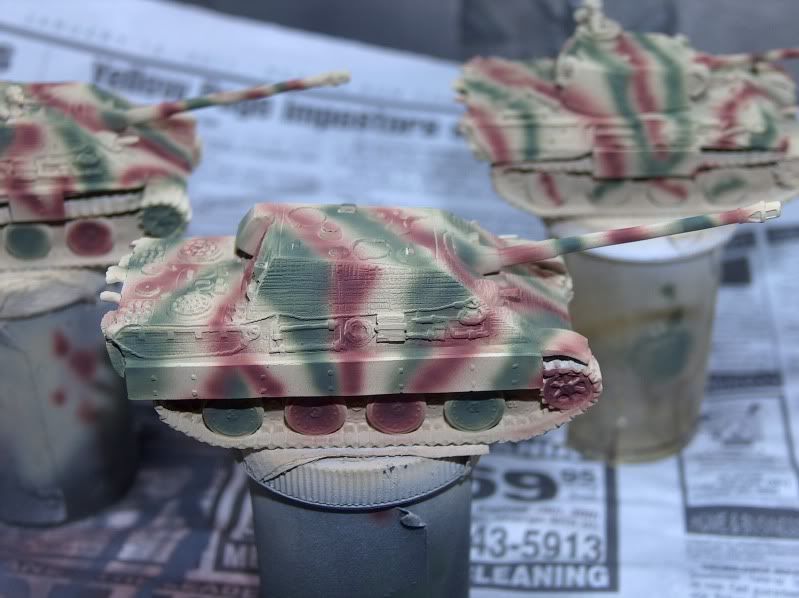
Schwere PanzerJagerKompanie Part III - Airbrushing
Schwere PanzerJagerKompanie Part IV - Detailing
Schwere PanzerJagerKompanie Part V - Wash & Highlight
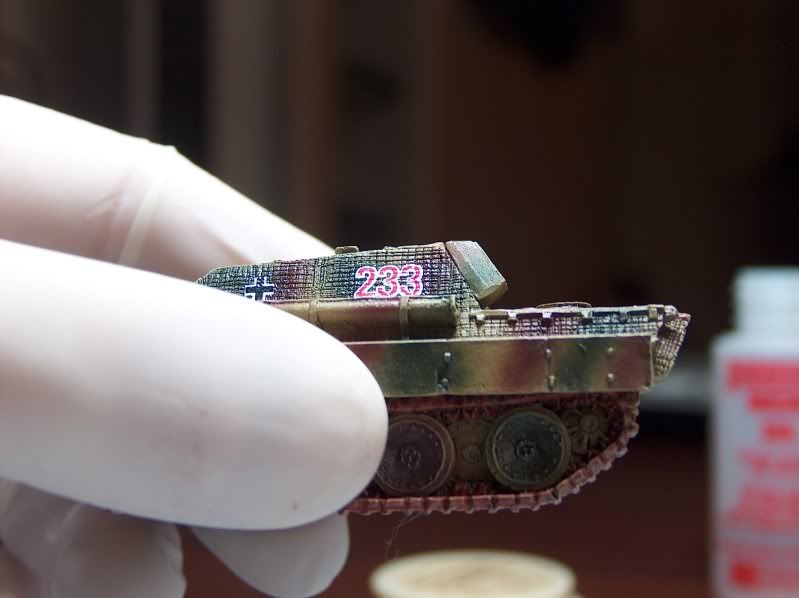
Well, getting near the end of this little adventure. One of the few things I have become good at is decals. I've seen paint jobs far superior to mine totally ruined by poor decals. Even looking at the JagdPanthers in Earth & Steel pictures, they are riddled with 'silvered' decals.
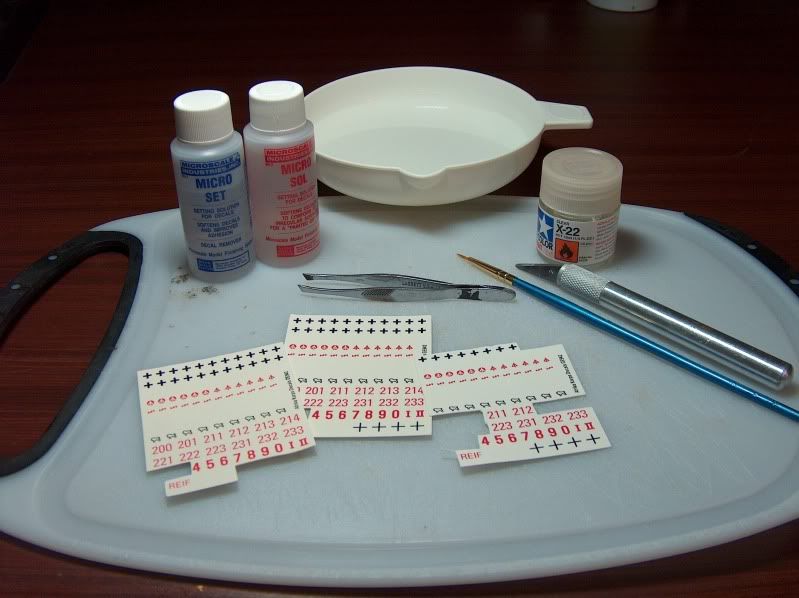
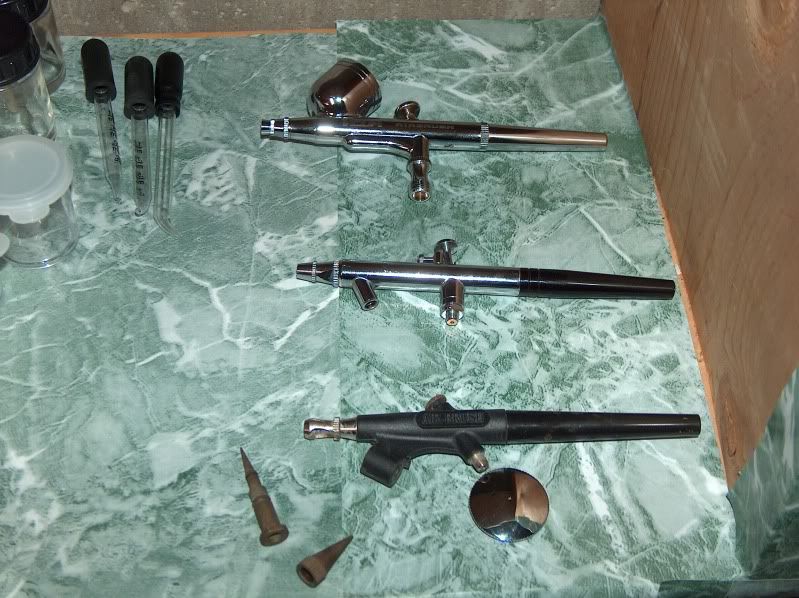
First lets start with what you will need;
- Micro Set
- Micro Sol
- Gloss Varnish
- Pin
- Hobby Knife
- Fine Paint Brush
- Tweezers
- Warm Water
- Decals
Step 1

Although some times you can cut the edges so that the decal will fit better. Its not so bad now but with the older decals, there was a lot of 'extra edge' to the decal. You could really shave them down. German crosses used to be a single square piece. Now they are better and are more uniform to the cross.
When you are cutting your decal, make sure you leave them with some paper out side the edge of the decal. You don't want to actually be grabbing the decal with your tweezers when it slides off.
Now plan where each decal will go and how it will fit.
Step 2
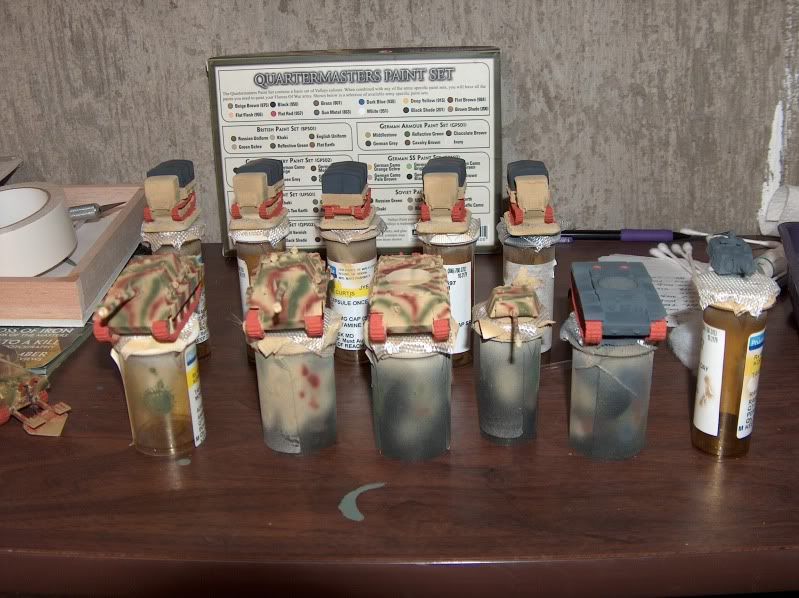
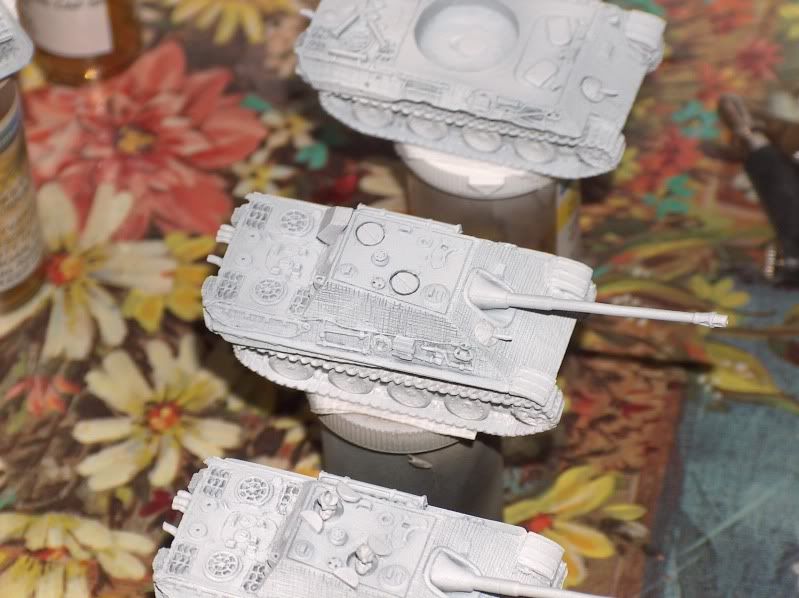
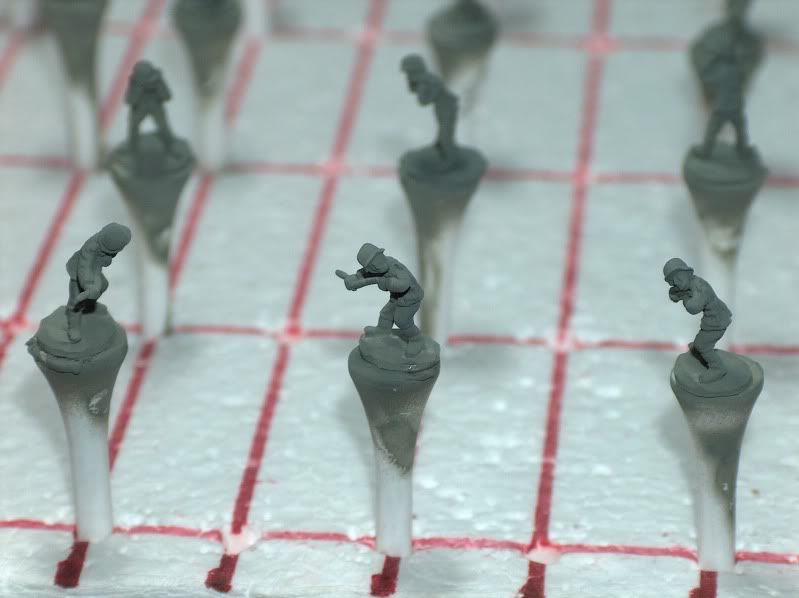
Do a bunch of vehicles at the same time to give the varnish time to dry. For this tutorial I did about 10 vehicles. The first one was dry by the time I glossed all the decal spots.
Step 3

And yes you for sure want to use warm water. I find I change my water every couple of vehicles. As soon as the water is no longer warm to the touch. If the water is cold, you will wait forever for the decal to slide off the paper.
Step 4

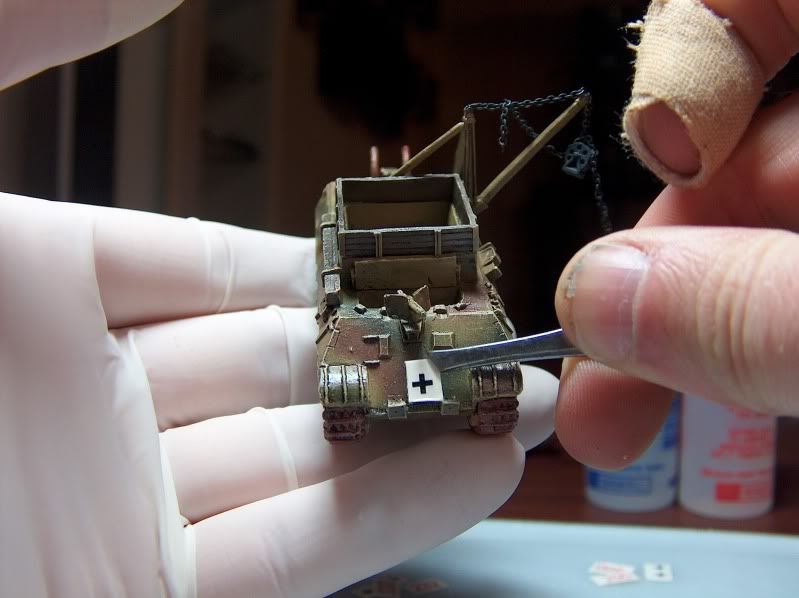
Grab the decal with the paper being careful not to grab the decal. Keep your decal parallel to surface of the water as you lift it out. If its been in the water to long and you lift it out perpendicular to the water surface the decal will slide right off.
Once you have a hold of the decal and its out of the water, touch the bottom of it to some paper towel. This will suck some of the excess water from the decal.
Step 5

Dip your brush into the Micro Set. I usually pour some into the cap.
I try to put something under one side of the vehicle so i can easily slide the decal into position
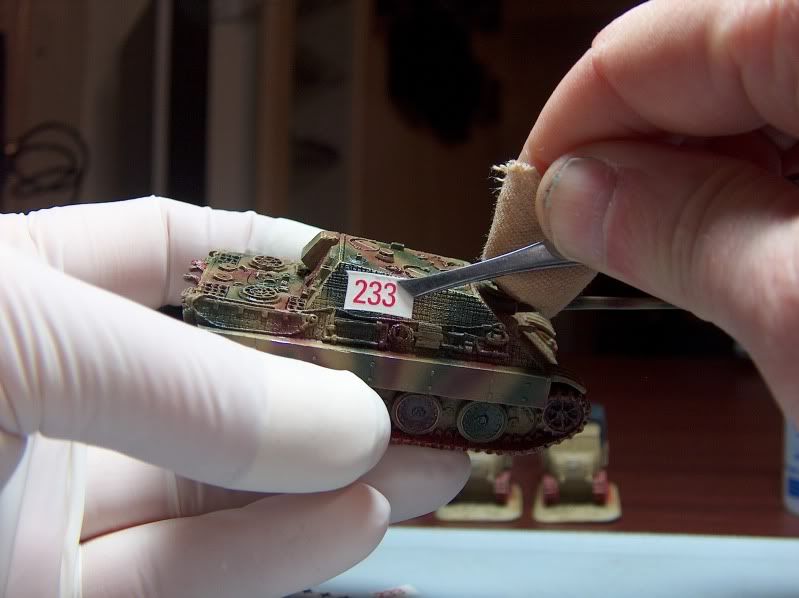
Using the brush, slide the decal onto the vehicle. It doesn't matter if it goes on straight. Just as long as it goes on to the spot where you brushed the gloss varnish on.
Dip your brush back into the Micro Set. With the brush position the decal where you want it. At the same time make sure you brush the entire decal with Micro Set.
What Micro Set does is make the decals glue more adhesive.
Step 6
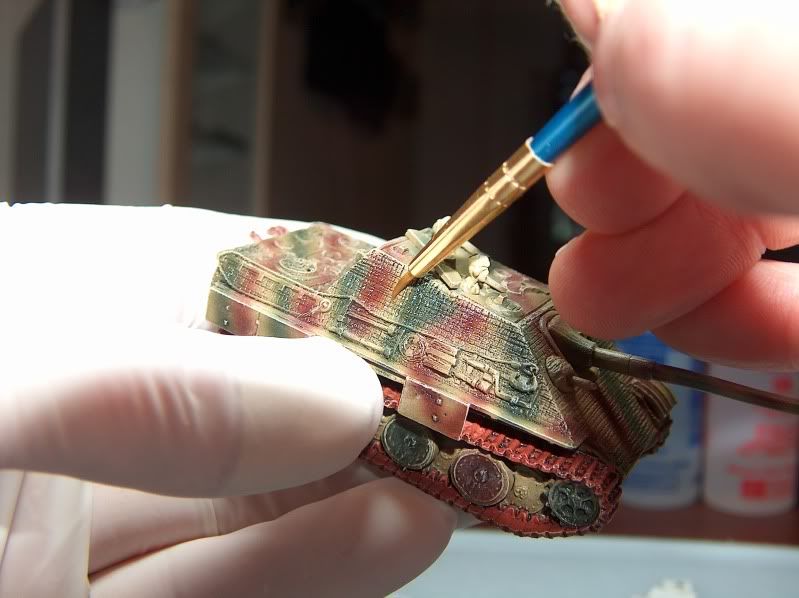
Using a Q-Tip gentle press the decal against the surface of the vehicle. Be careful, the decal could still slide around. The Q-tip will soak up any excess water and Micro Set, so that the decal will stick to the vehicle.

Step 7
Now, repeat steps 4-6 for the other decals on the same vehicle. And then repeat steps 4-7 for the rest of the vehicles you are doing.
Step 8
Going back to your first vehicle, check the decals for silvering. Its ok if they do. Most likely at this point your decal will only silver if placing it on zimmerit or on an odd surface. This is the case when putting a 3 digit number on say a panzer III turret. There isn't a big enough flat surface for the whole decal.
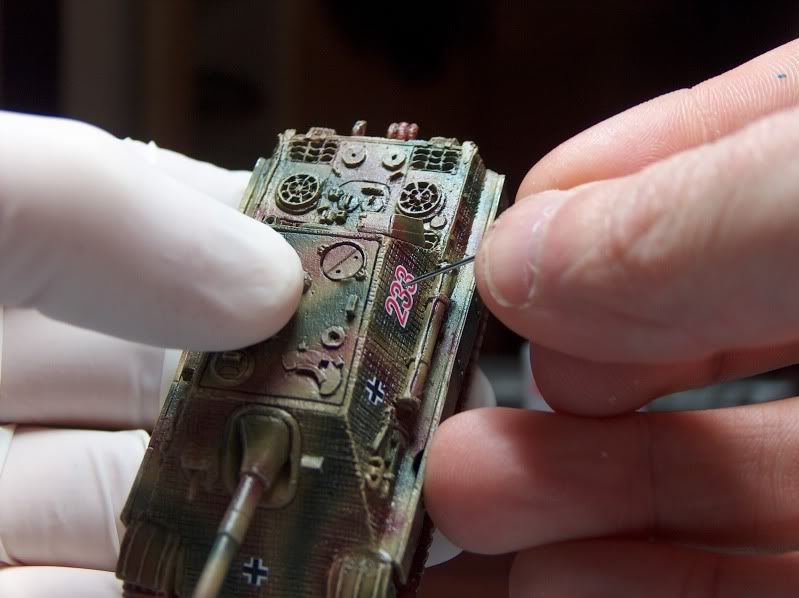 If you do find some silvering, take you pin and gently poke a hole in your decal. I like to poke around and in between the numbers. I don't usually poke the actually "paint" of the decal unless its black. Be very very careful when doing this. You can wreck your paint if you poke to hard.
 Zimmerit is great for this because you can poke into the zimmerit.
Step 9
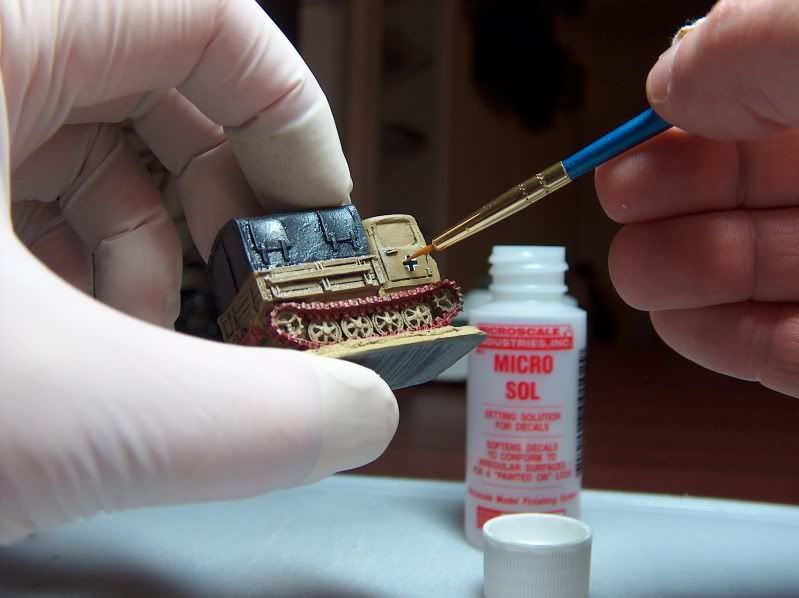
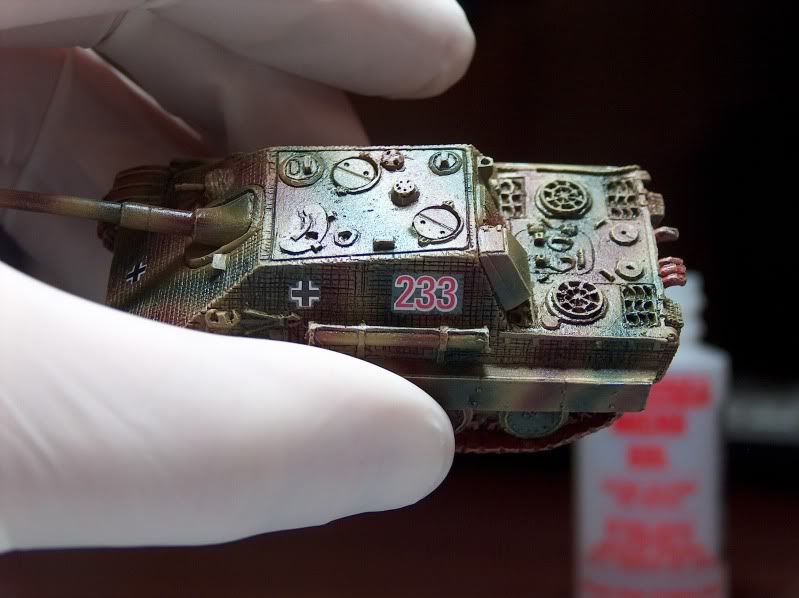
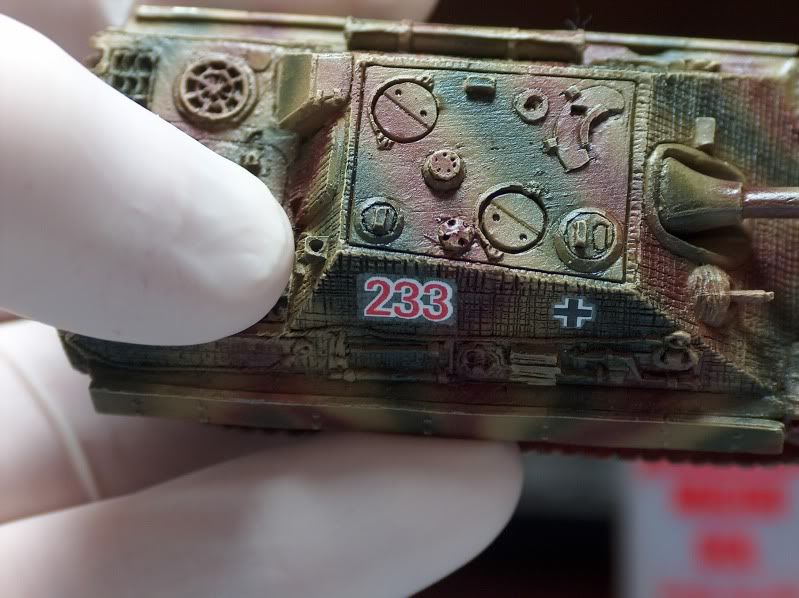
If it did have silvering you should see the decal soak it up.
What Micro Sol does is make your decal soft so it will conform to irregular surfaces. It doesn't matter if its zimmerit or uneven resin.
As you press, you can see the decal conform to the surface. I'm still amazed how well this works.
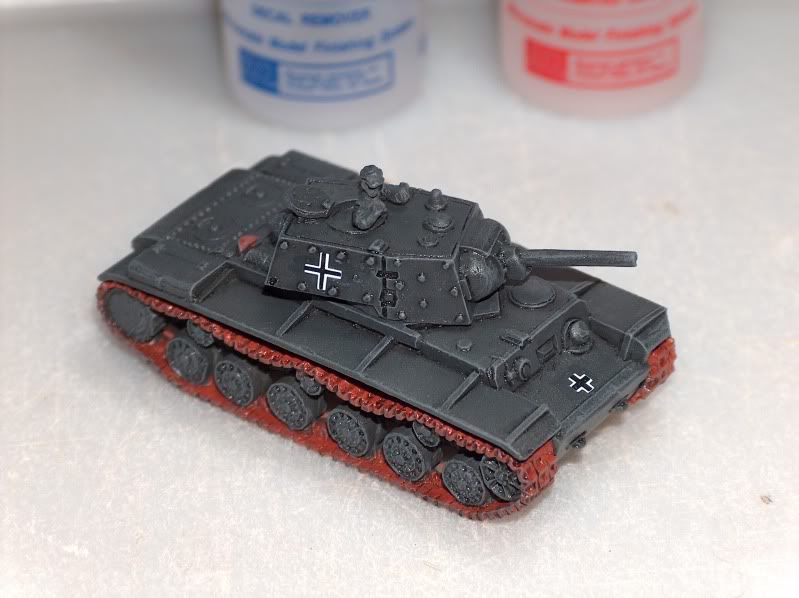
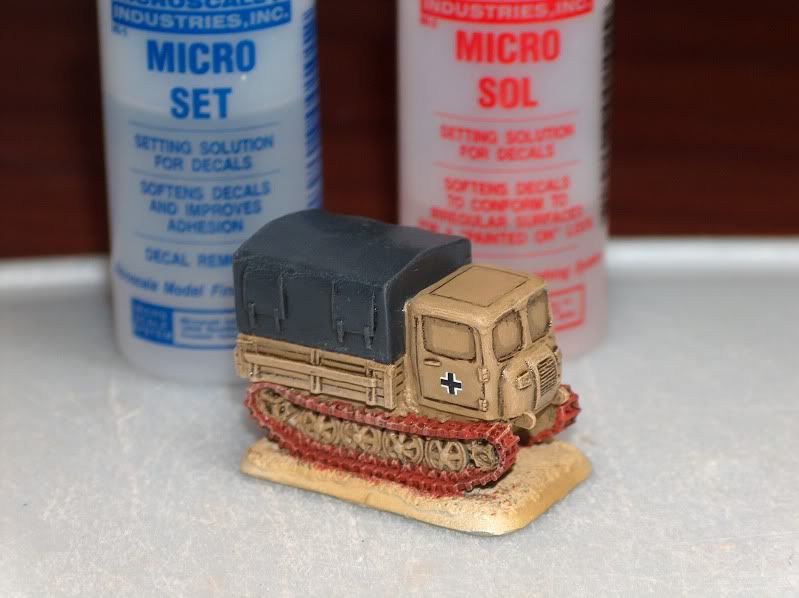
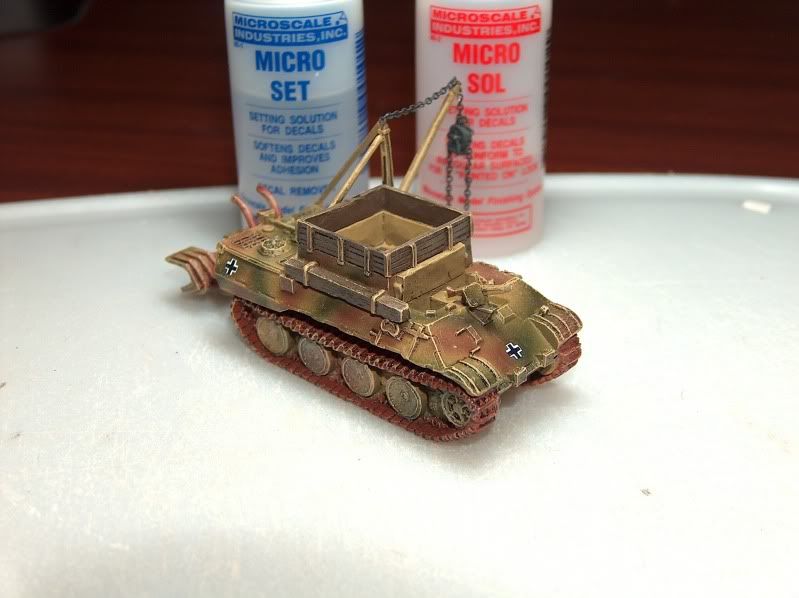
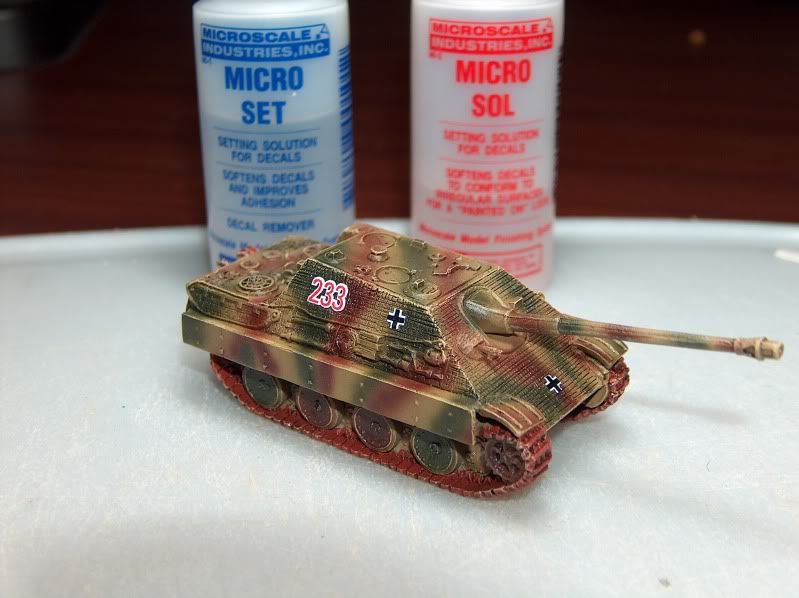
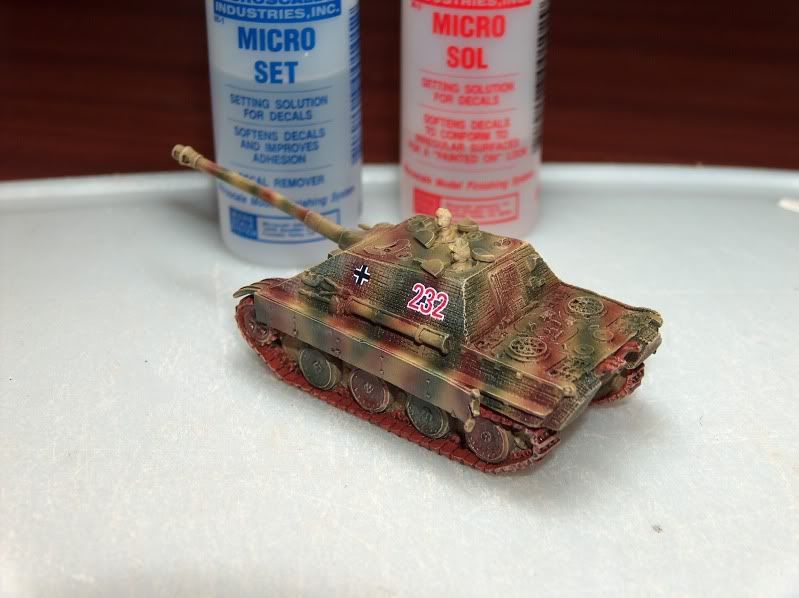
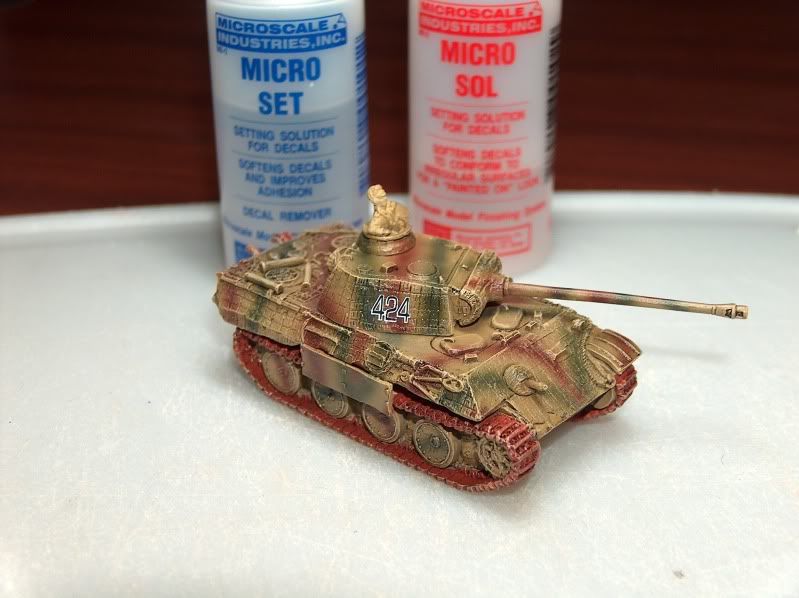
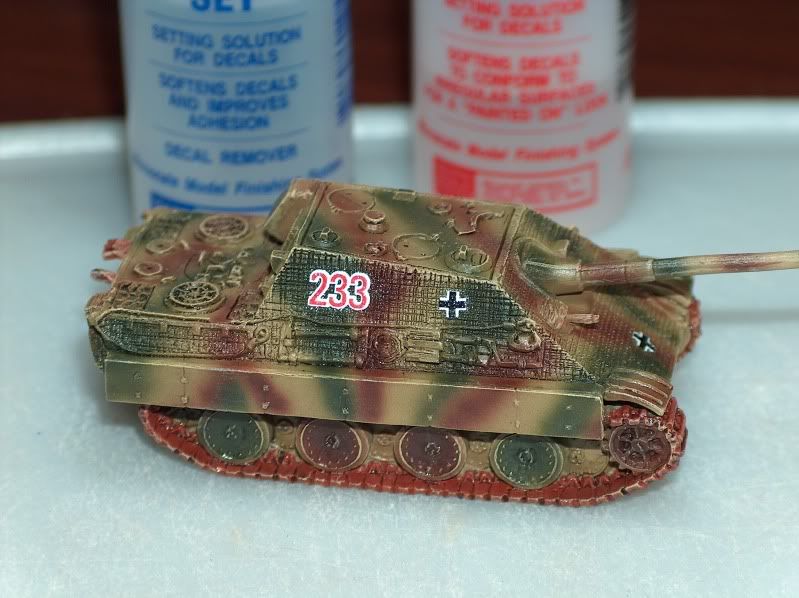
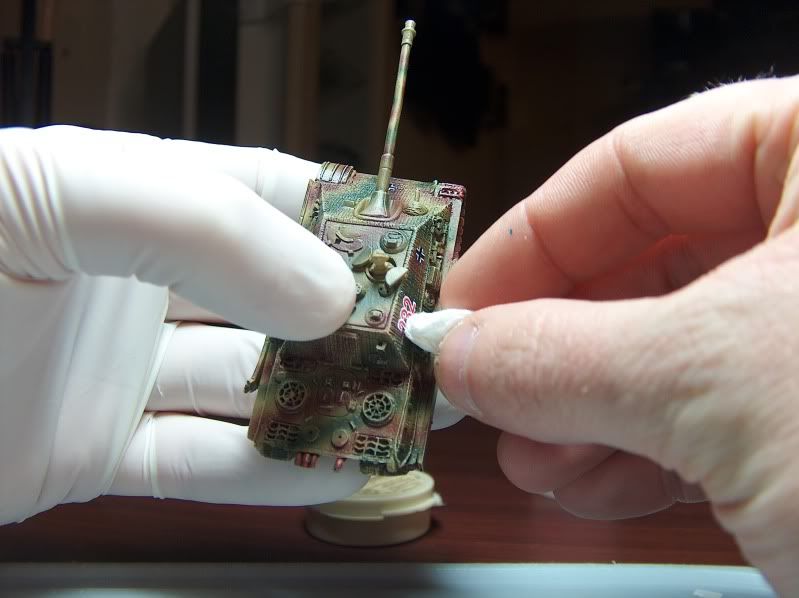
You can see in the pics below there is no more silvering.
Step 10
Go back and repeat steps 8-9 for the rest of your vehicles.
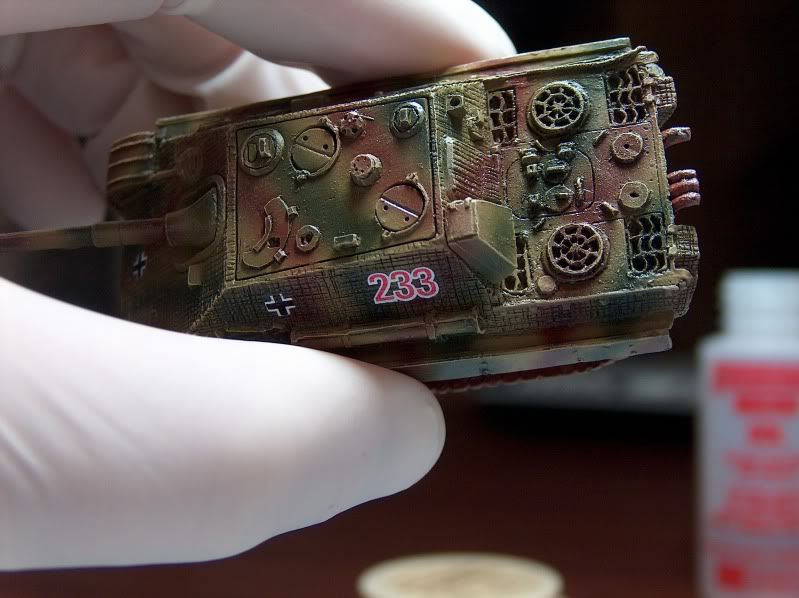
Completion
There you now have perfect decals even on zimmerit.Don't worry if your decals are still shinny and you can see the edges. This will disappear when you do a matt varnish. I even spray a little extra where the decals are.
Some people like to do a gloss varnish after they are done the decal. I don't do this. I don't see a point. My matt varnish will seal them.
You may notice I also do my wash and highlight before I do decals. I think a lot of people do this after decals. I find some decals are thicker then others. Mostly the older Soviet stars. And the decal edges will get picked up by the highlight and wash.
You can still do weathering to dirty up the decals. So, no need to do a wash and highlight after the decal. Safer to just do it before.
There you go. Hopefully this will help some people do better decals. The key is using both Micro Sol, and Micro Set.
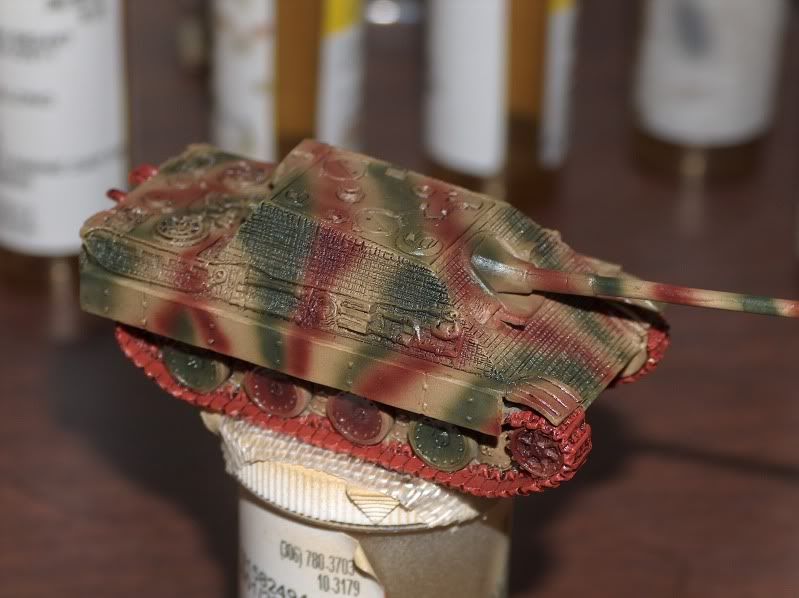
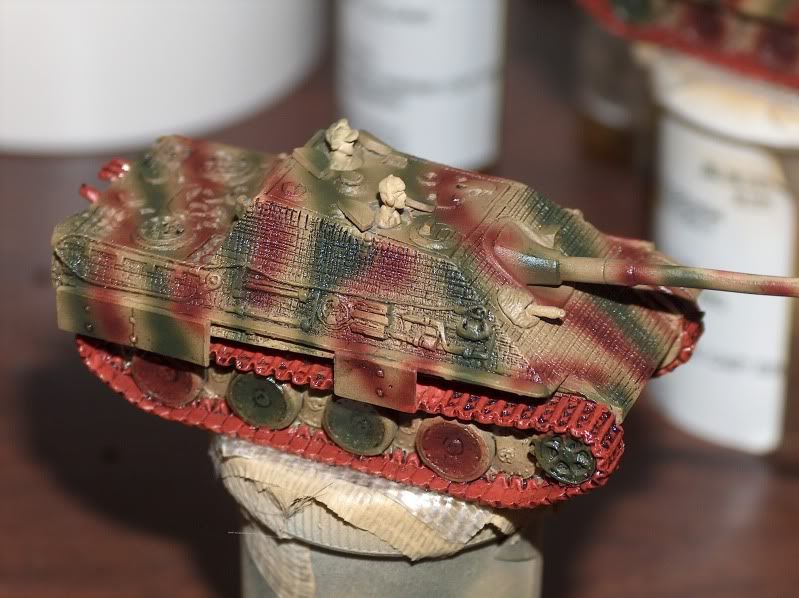
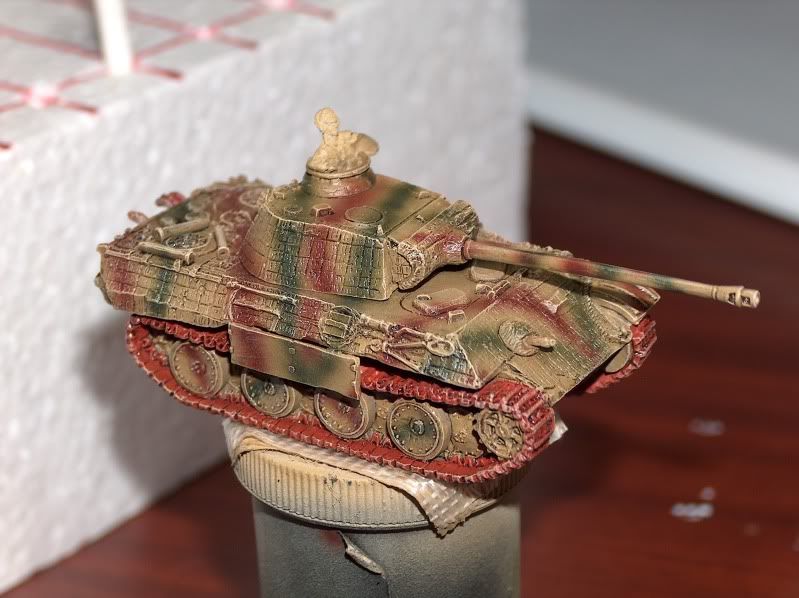
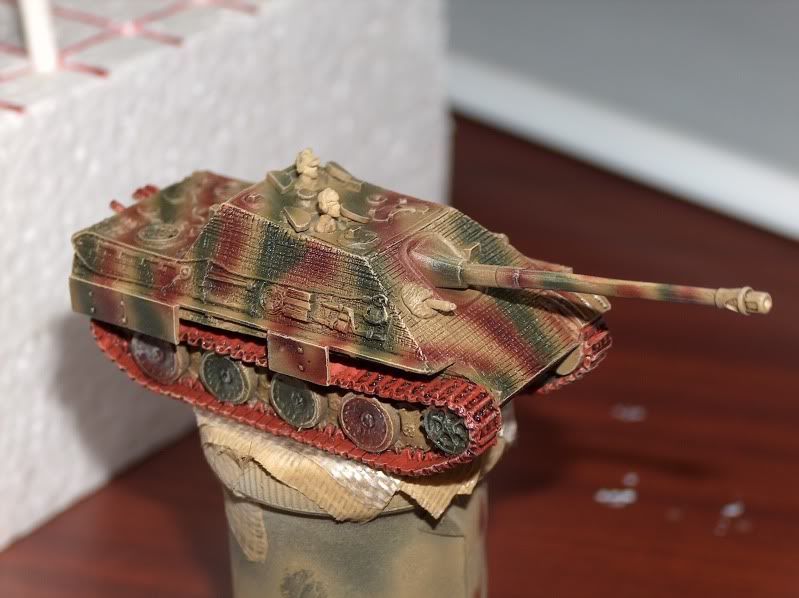
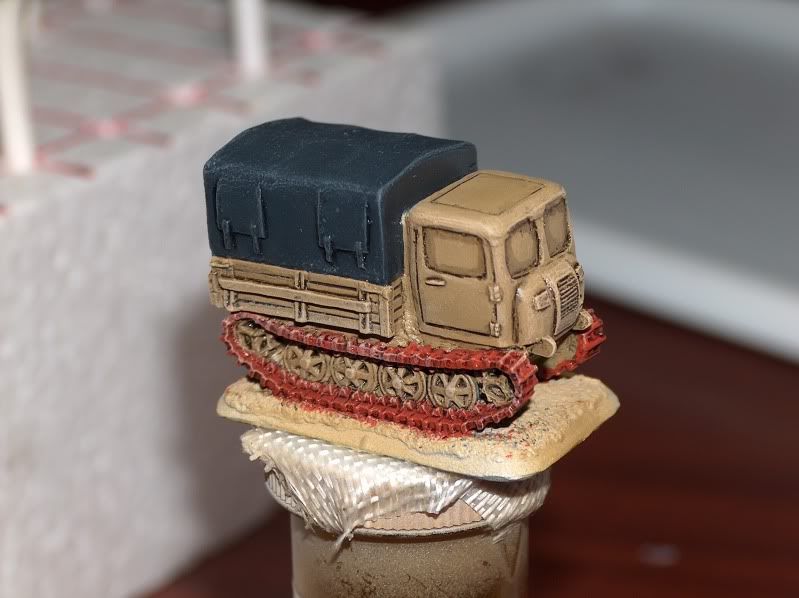
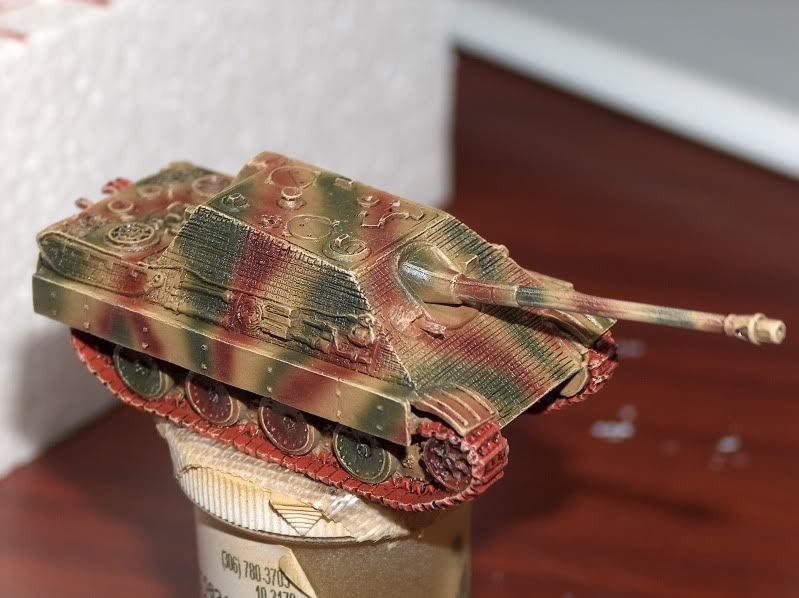
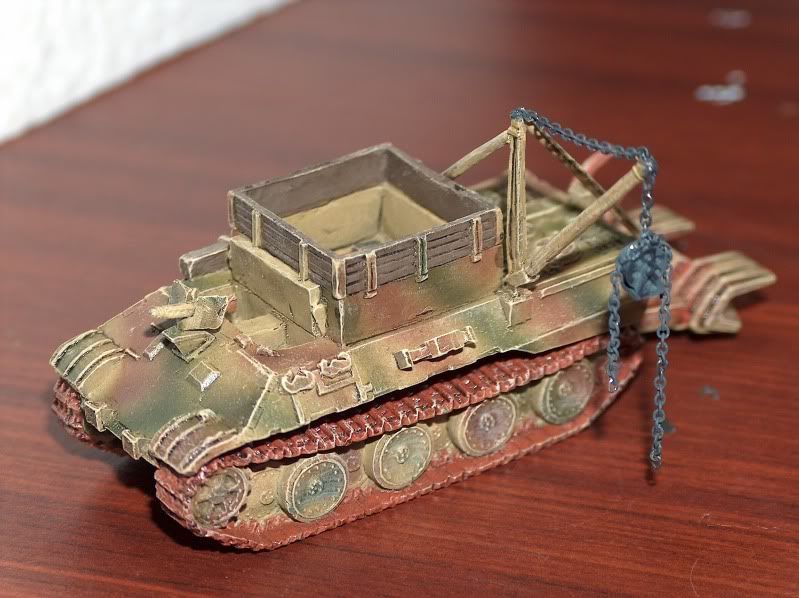
Here are the rest of the vehicles for this project. Not a single bit of silvering, and all conform to the zimmerit.