Showing posts with label Airburshing. Show all posts

Monday, March 21, 2011

Schwere PanzerJagerKompanie Part III - Airbrushing

In case you missed some:
Schwere PanzerJagerKompanie Part I - Intro
Schwere PanzerJagerKompanie Part II - Preperation

And now its time to do the airbrushing.  I'll do all the airbrushing for the entire company.
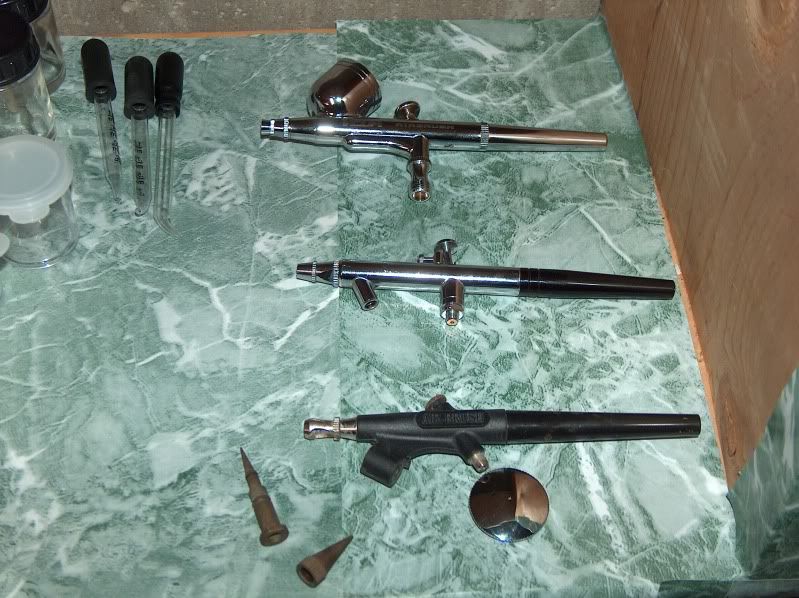
I use 3 kinds of airbrushes.  I use a single action for all the priming and base coating of vehicles.  I use a double action 3.5mm suction for infantry.  And I use a double action 3.0mm gravity fed for camo patterns.  I do have a 2.0mm airbrush, but really haven't broken it out yet.  the 3.0mm seems to be good enough.   

For all the noobs out there.  If you can get gravity fed airbrushes do it.  I love these things.  They use way less paint, way less maintenance, and they just spray perfect every time.  The suction ones are always just so much work, and they seem to work different all the time.

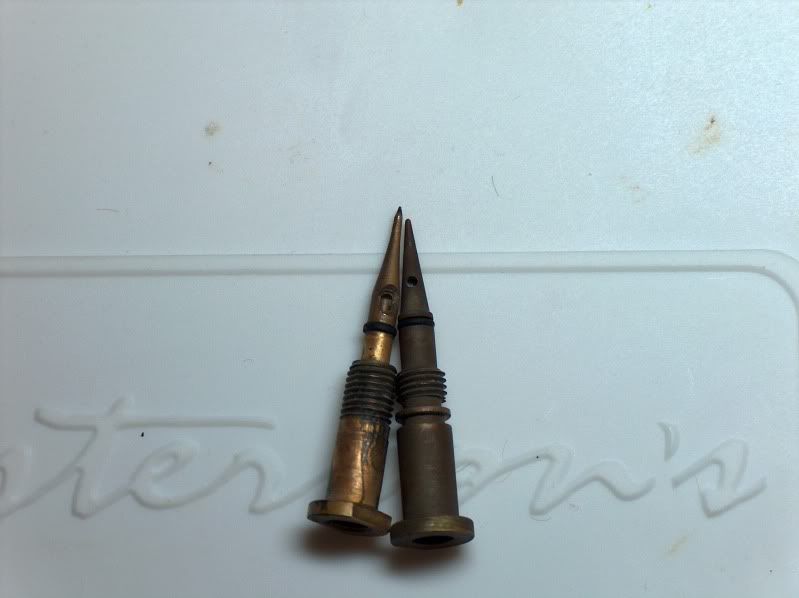
The single action ones especially you have to be careful.  Maybe this is common knowledge, but I certainly didn't know.  I thought all these single action airbrushes were the same.  Apparently they aren't.  I bought 2 of them, 2 different brands, but seemingly exactly the same.  The packages certainly didn't mention anything different about something very important say...oh I don't know....the nozzle.

I was using these 2 single action airbrushes in conjunction so that I wouldn't have to spray, clean, spray, clean.  I thought I could spray 2 different colors and then clean both.  One of the airbrushes I could almost never get to work.  And if it did work, it went through paint like it was going out of style.  Then for some reason I happen to see the nozzles side by side.  Well HOLY SHIT.  Look at the size difference in the nozzle.  No wonder that stupid thing sucked.  No pun intended.  Needless to say I've stopped using that airbrush.

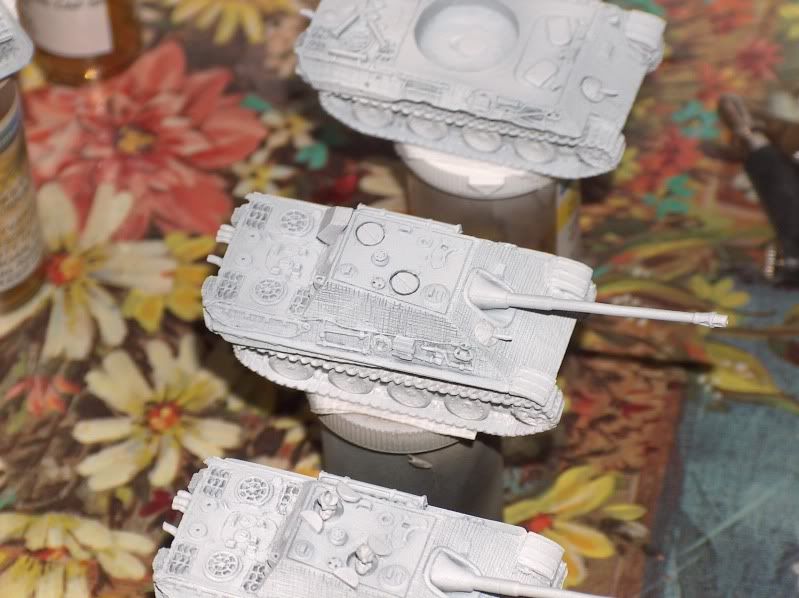
Anyway, on to the work.  Because I'm always trying to improve, I'm always trying new things.  So, who knows how this stuff will turn out.  First thing I did on this project was to prime the vehicles, using the single action airbrush.  This is a first for me, I primed them white.  Normally I'll prime black, or just do 2 base coats.  I wanted to see how it would work.  The problem being, if anyone actually reads this stuff, I mix Windex with my paint for airbrushing.  This turns your white paint blue.  So, I had to use thinner, which I find usually makes your paint too watery.  I used about a 3:1 mixture and it seemed to work pretty good.  Once that is done I will clean up the brush and let the nozzle sit in some Simple Green.

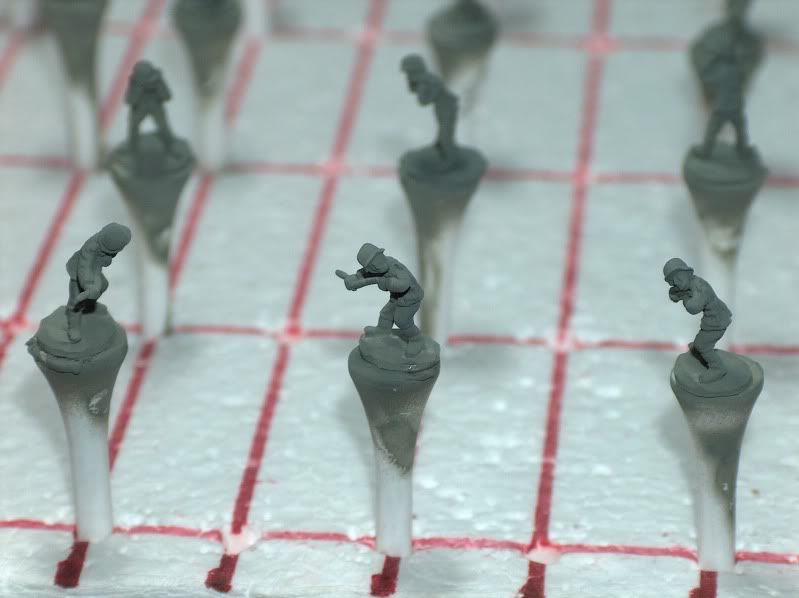
Moving on to the infantry, I use the 3.5mm to prime and base coat them.  I don't really prime them though, I just do 2 or 3 coats of base coat.  I pretty much exclusively use Tamiya in my airbrush, and I don't find colors are brighter or darker just because of the base coat color.  For Germany uniforms I use XF-22, RLM Grey.  I mix 3 parts paint with 2 parts Windex.

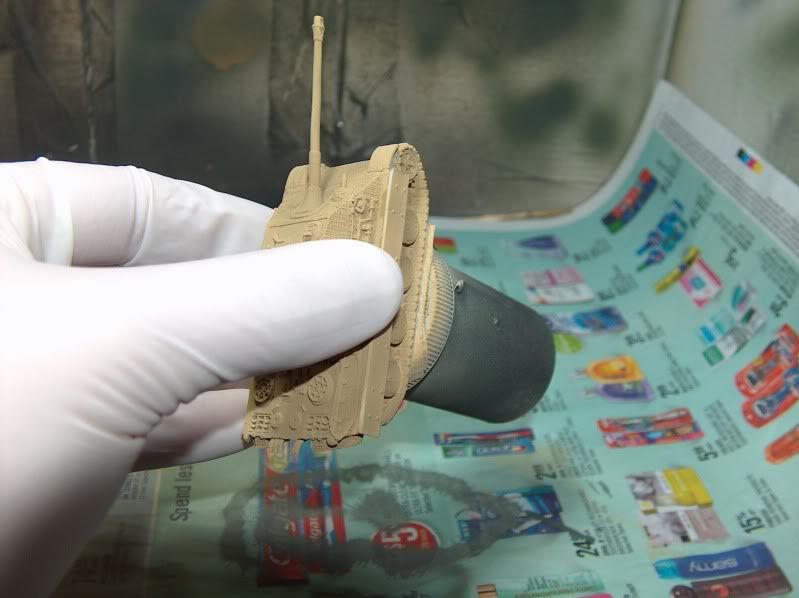
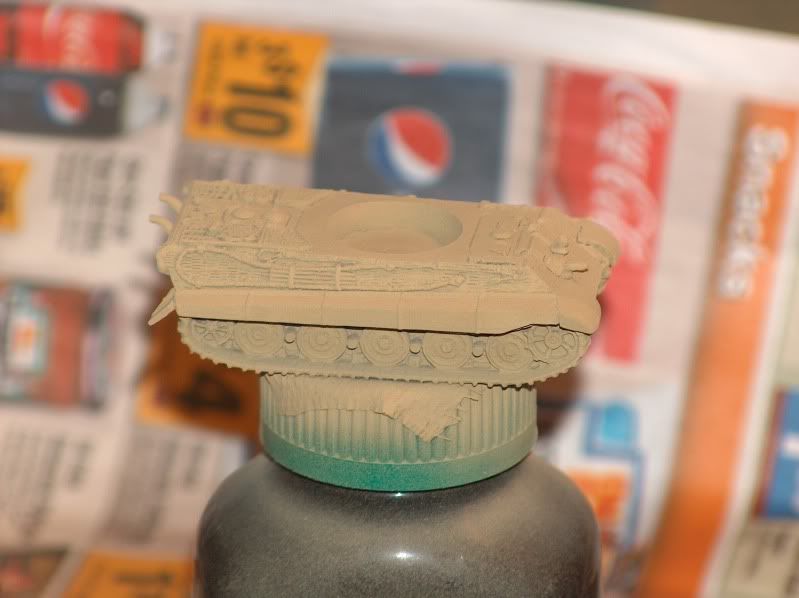
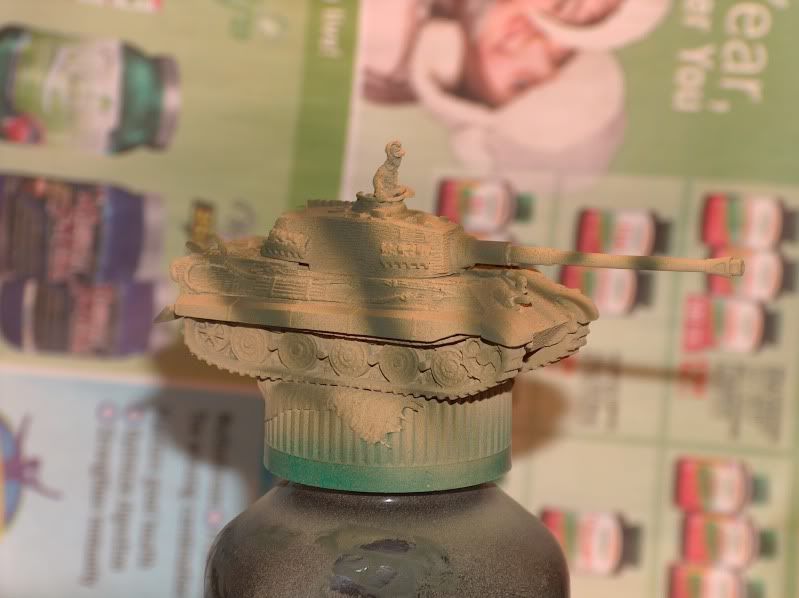
Lets see whats next?  Oh yes, I go back and clean the single action brush that has been sitting in the simple green.  Then I get ready to base coat the Tanks and RSO tractors.  I use XF-60, Dark Yellow for German late war vehicles.  Again I mix it about 3:2 with windex.  Oh ya I almost forgot to paint the Schurzen as well.

I once again I stick the single action nozzle in simple green and let it soak for a bit.

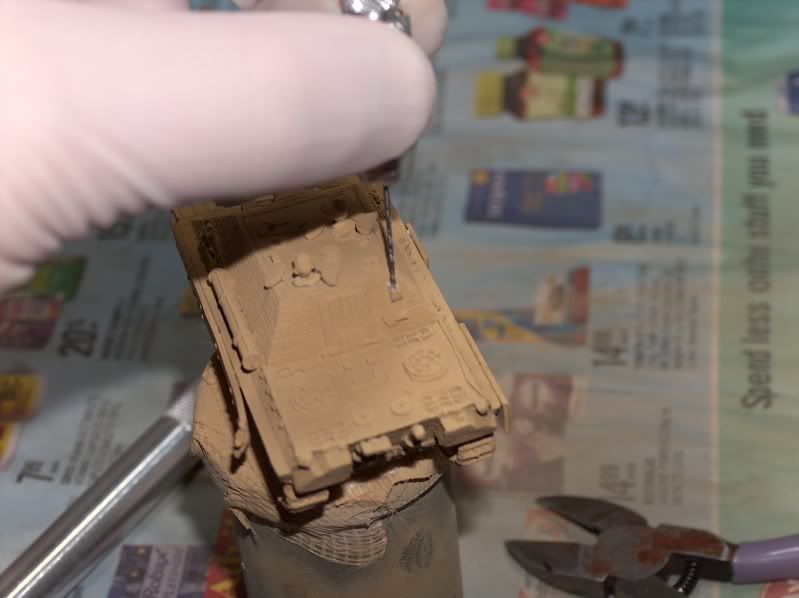
At this point I forgot about the antenna.  So I quickly drilled out the holes where the antenna will go.  I find if the hole isn't deep enough, the antenna will easily snap off if you accidentally touch it during game play.  So, I drill that hole nice and deep.  Ha ha...I said deep!  Inside joke for those that know me.

Tamiya paint dries very quickly so, I now take this opportunity to glue the Schurzen on.  I try to wear gloves when ever I'm going to be touching painted parts.  These jagdpanthers may have actually given me a revaluation with the panther shurzen.  I wonder if I've been putting them on upside down?  They have these tabs that look like you would glue them under the hull. The problem is on the jagdpanther they don't fit.  If you put them on the same as a regular panther they end up crooked.  the jagdpanther actually has this lip they fit on, but the only way they fit is if you cut these tabs off....or put them on upside down.  They fit great upside down and the tabs sit right on the track.  When I put my panther A's together, I may have to see if they fit that way as well.


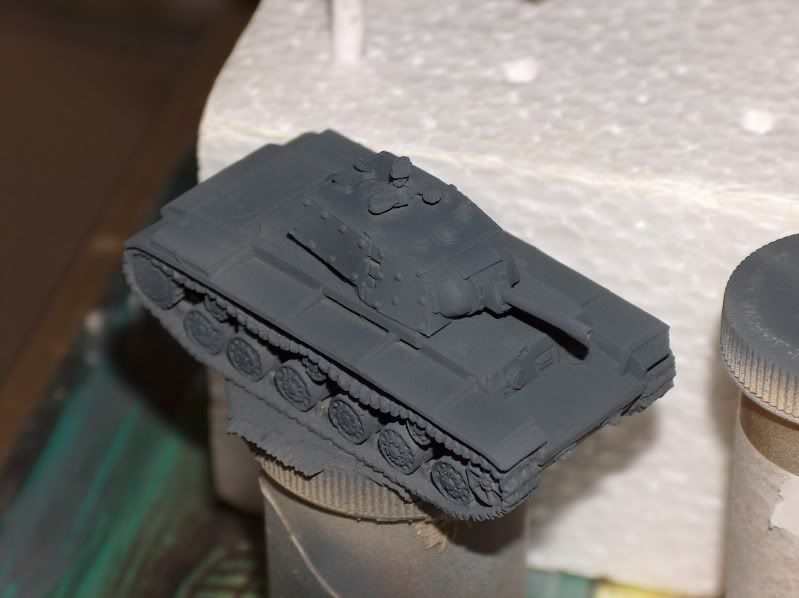
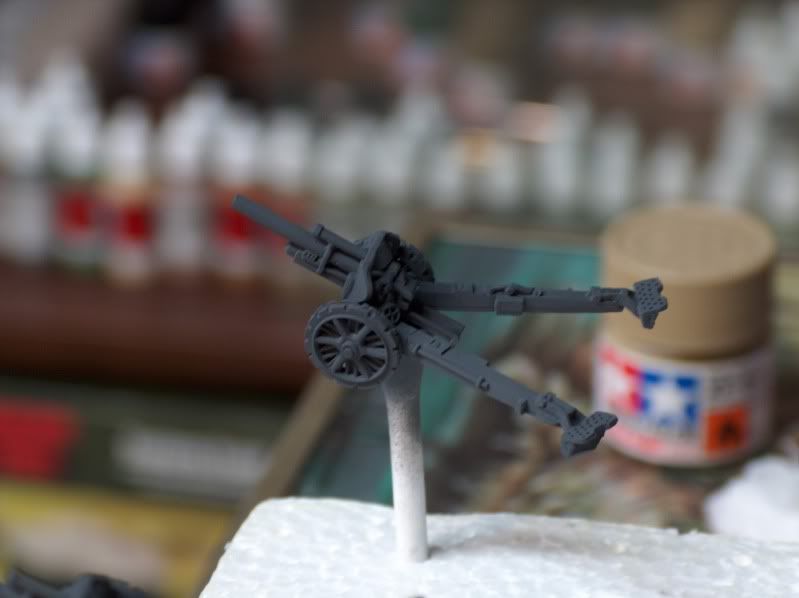
While the glue dries, I will paint up my 10.5cm guns.  I'm using XF-63, German Grey for these.  Even though this is for late war I want these guns to be mid war.  This is an older gun set, so If I ever decide to paint a late war gun set, I'll get the newer molds.  I also had a KV-1e captured tank I wanted to paint.  I had done it in dark yellow, but upon doing more research most captured KV's were German Grey.


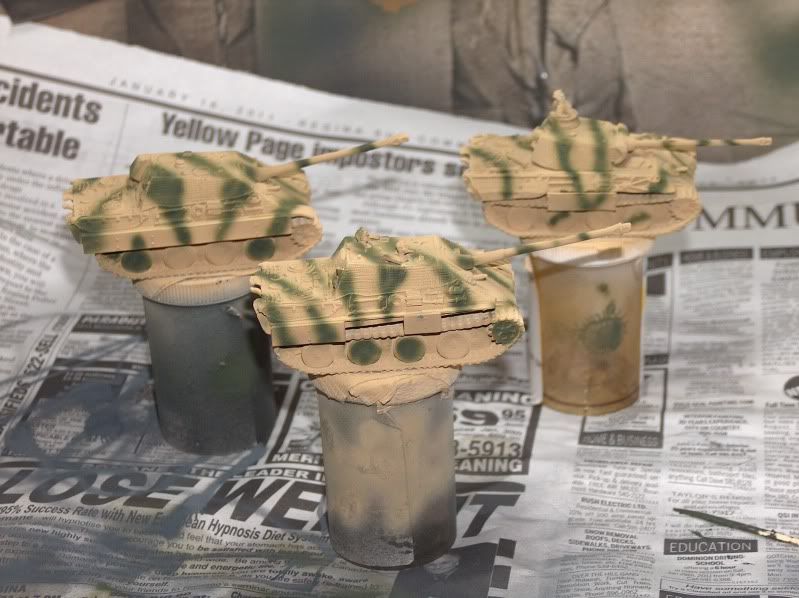
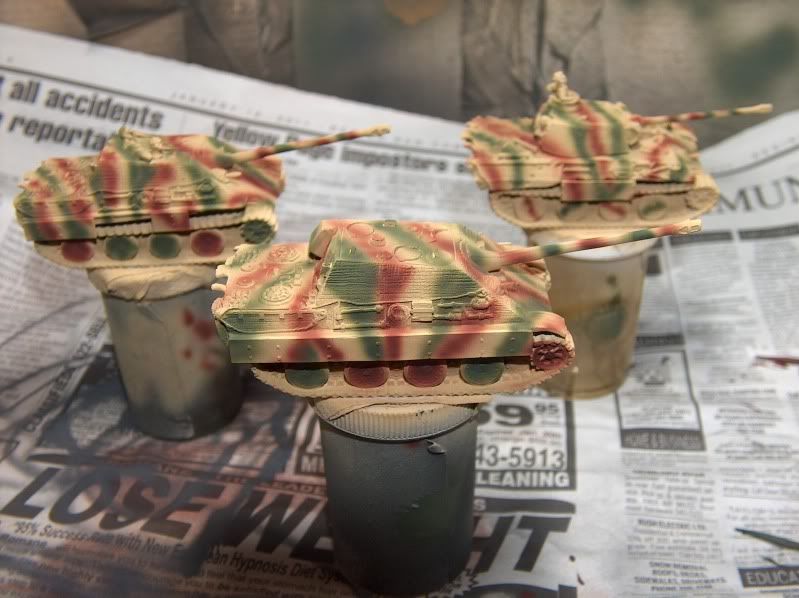
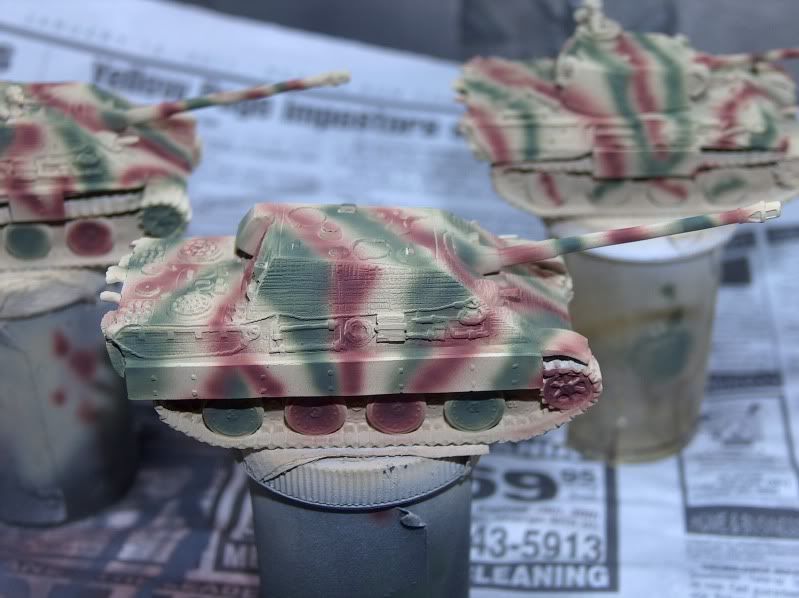
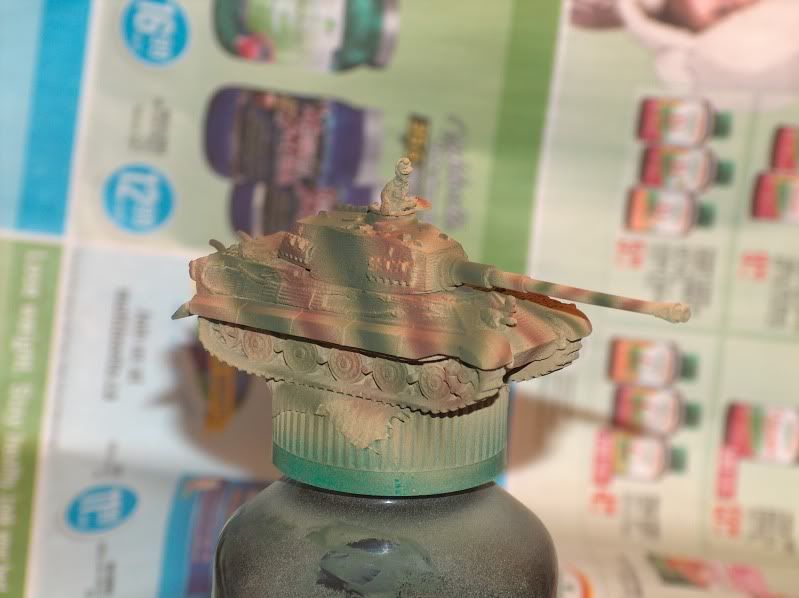
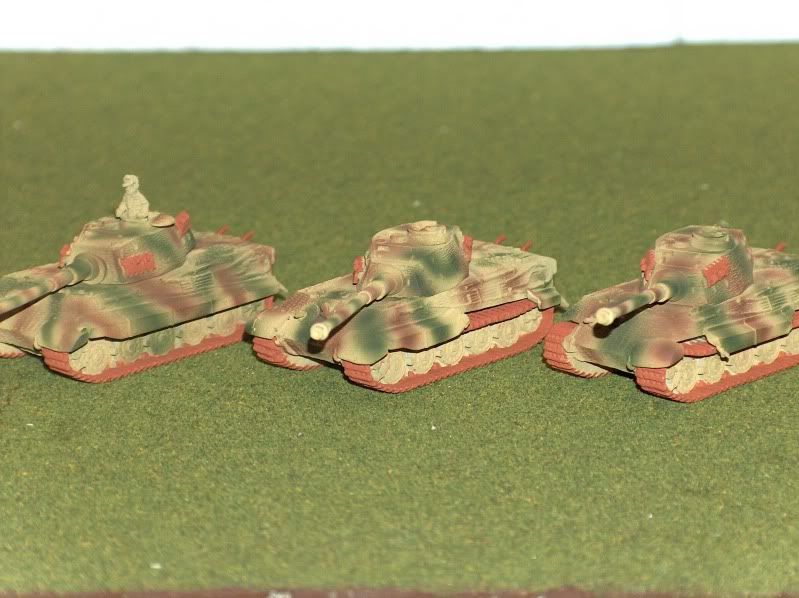
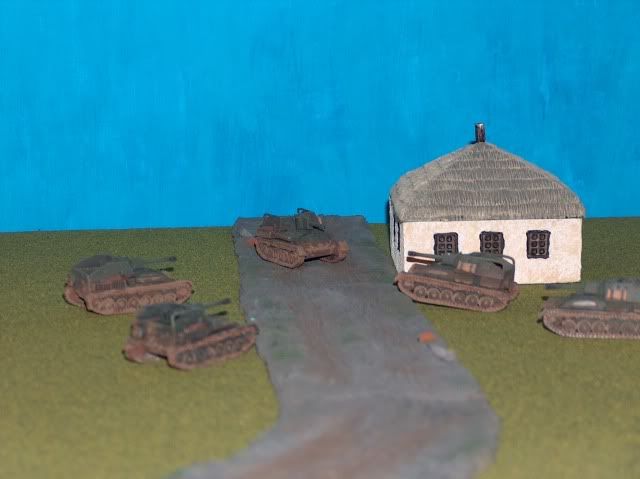
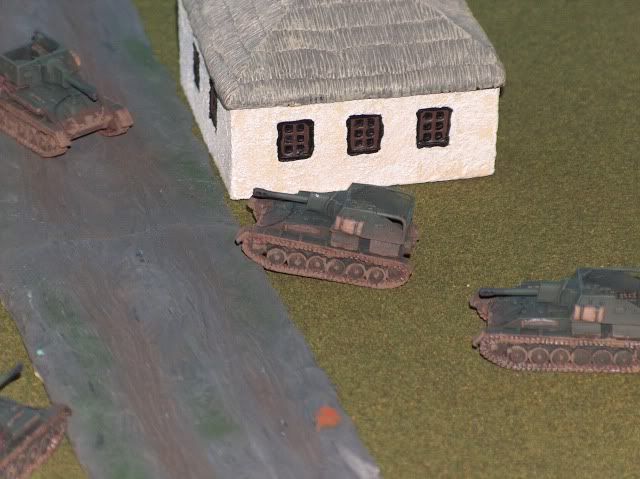
With the guns done, the schurzen should be dry, we can move on to adding the camouflage to the jagdpanthers and Noaks Panther.  For this I will use XF-58, Olive Green and XF-9 Hull Red.  Normally, like with my Konigstigers, I used XF-64 Red Brown, but I wanted to try this Hull Red.

I found some very good pictures of camo patterns for Jagdpanthers.  A lot of them for the time period had shown wheels painted in full colors.  So, thats how I did the jagdpanthers.  I kinda like it.  Normally I just do smaller lines.  I still did this on Noaks Panther.

I started with the green and did all 3 vehicles.  Then the hull red.  I know it doesn't really matter when it comes to camo patterns, but it does really seem harder then it looks.  It never turns out the way you plan.  At least not for me.  But, I do REALLY like the hull red color.  I'm going to have to do an ambush pattern with this as my base coat.

Now its on to details.

Tuesday, January 25, 2011

Konigstiger Tutorial Part II

If you missed Part I read it here;
http://kagefow.blogspot.com/2011/01/konigstiger-tutorial-part-i.html

Step 9 - Decals

I use to do the decals before highlighting but, the highlight seemed to catch the edges of the decal and I don't like that.  So I'm going to try it in a different order.  We'll see how it works out.

First thing, is do your own research.  You'll be sorry if you don't.  Especially if you are trying to build historical units.  For example when I started building my Panzergrenadier Halftracks the decal has unit symbols.  And it lists one of them as the 17th pzdiv and another one as the 3rd pzdiv.  Well they had the designations backwards.  So, because I wanted build 17th PzDiv halftracks, if I had not done my own research my halftracks would have had 3rd PzDiv symbols on them.

I like to use Micro Sol and Micro Set for my decals.  As I mentioned before I used to do a varnish before I did highlighting and decals.  That is because when ever I painted on a gloss varnish or the micro sol, it would wipe off the paint that was already there.  what a piss off that is.  But since the wash uses mostly future floor polish this gives your paint some protection already.

The first thing you need to do is brush the area with a Gloss varnish.  I use Tamiya X-22 Clear.  Put it on fairly thick.  What this will do is help fill in any imperfections that might ruin your decal.  We all hate that "silvering" you get with improperly applied decals.  It dries fairly quickly but its usually best to have a bunch of vehicles to do, so it gives time for the varnish to dry.

You will then need a small bowl of warm water.  Carefully cut your decals out and put them in the water 1 or 2 at a time.  NEVER put all your decals in the water.  I've read where some guys say to do this in their tutorials.  I can't stress this enough NEVER NEVER NEVER.  In my experience if you leave the decal in the water to long it will float right off the paper and good luck trying to get it out and on to your tank properly.

While your decals are soaking, brush on some Micro Set to the area where you are going to apply the decal.

With that same brush gently brush your decal in the water to see if it will slide off.  Once its ready take the decal out and dip your brush into the Micro set.  with that brush slide your decal into place and brush it with some more micro set.

Next, take a stiff Q-tip.  The reason I say stiff, is because if its too fluffy or fiber parts will stick to your decal.  I usually pull all the fibers tight, and then gently press it against the decal.  This should get all the air bubbles from behind the decal.

Then move on to your next decal.

Once you have done another decal or 2 go back to your original one.  Check to see if you can see any silvering.  If you can take a pin and poke small holes.

Whether you find any silvering or not apply some Micro Sol to the decal, and press a little harder then the first time with a new Q-tip.  I never use to think there was a difference between Micro Sol and Micro Set.  I actually always thought Micro Set worked better and I stopped using Micro Sol.  Until I did this Konigstiger.

This tank was the first tank I've painted with Zimmerit.  I was very nervous about doing decals on this stuff.  I thought it was going to look terrible.  And after adding Micro Set it looked like I was going to be right.  But then I added micro Sol, and the decal conformed right to the Zimmerit.

Do all your decals this way and they were turn out great.  This could probably be a tutorial all its own.  Maybe I will do one with pictures.

Step 10 - Detailing

Now you do all your detailing.

First I give my tracks a thick dry brush.  I used to use black, but someone mentioned using German Grey.  So, I tried that.  Then a very fine dry brush of gun metal.  This should give your tracks a very nice dirty rusty appearance, but still looking metal.  You should have rust, black in the creases from the wash, and then the gray and silver.  I find tracks make your tank, no matter how nice you paint your tank, if you just paint your tanks black or silver, it makes them look too clean. 

Next, detail everything on the tank.  Tow cables, tools, engine deck, what ever stands out on the tank.

I paint tow cables black and then do a very very small highlight of gunmetal.

Tools I'll do beige brown handles and then gunmetal on the metal parts.  Some times these can be the most painstaking.  There is almost always "handles" or something that holds the tools to the tank.  these should stay the same color as the tank so you have to be carefully to paint around them.

The engine deck (or fuel tank on Russian tanks) you can do another wash to give a grimy look.  I just starting trying to do oil and rust stains.  take a wash on a stiff brush apply it and then do a rough motion downward.  This will give a "leaky" impression.  Nothing like this on the Konigs so another tutorial for another dirty tank.

Step 11 - 1st Matt Varnish

Here I do a quick Varnish before weathering same as the main formula in step 13 below.

Step 12 - Weathering

Once you have your tank nice a beautiful after all that great highlighting and detailing....its time to dirty it up.

For damaged parts, I will take 2 parts black and 1 part earth brown.  brush it on damaged parts.  then with a white pencil crayon I will highlight edges of the damage.  You have to be very careful about this.  I find that the pencil will sometimes rub paint off down to the metal.  which doesn't look to bad actually, sometimes.  I guess maybe a case for doing that middle varnish stage.

I tried adding dust to 2 of them.  I used artists chalk for this and stipple it on with a stiff brush.  I stopped doing this because the Aerosol varnishes used to turn the dust wet and it looked like crap.  It didn't even look like mud, it just looked crappy.  But I thought I would try it again now that my airbrush formula is Uber Flat.  It seemed to work ok, but I may have to try using more because it disappeared in the varnish step below.  You for sure can't see it with the camera.


Take some German gray and lightly dry brush the end of the gun barrel.  Another first on this project for me I tried doing this with an airbrush this time.  Worked out ok. 

Normally I put mud on my tanks but, I don't think I'm going to do that with these.  That may have to be a tutorial for another day.

They turned out pretty well, so I may leave them as is.

Step 13 - Varnish {only 13?  Seemed like a lot more}

Now you are almost done.  Varnish through an airbrush.  This tutorial is already long enough so I'll take some time to explain some back ground.

I had just as many problems with aerosol varnish that I did with primer.  And there was no way I was going to brush it on.  So, when I got my airbrush I was determined to varnish through that.  When I asked around, the general concession was that it wasn't possible or a good idea with out ruining your brush.  It sounded like no one did it.  After a lot of searching of the great wide web I came upon someone who did it for model airplane or something.  If I can remember where and who it was I'll post link....but:

His formula when through the airbrush alright but it didn't really work.  My models where still shinny.  So, after much refining and testing I came up with my own formula.

  • 3 parts Tamiya XF - 21 Flat Base
  • 3 parts Tamiya XF - 22 Clear Base
  • 5 parts Future Floor Polish.
The clear base gives your model the protection it needs to play with.  As does the Future.  But the Future is acts like Thinner and allows the thicker Tamiya stuff to go through your airbrush.

The key though is the Flat Base, but it is also the downfall of this formula.  The flat base takes all the shine off your model.  How ever it almost does its job to well.  So far I find you loose a lot of your highlighting and wash effects.  This could still be partly that my wash isn't dark enough and my highlight isn't light enough.  but I'm slowly working on those.  It also leaves a tiny bit of a white film, but from what I've read so do other aerosol varnishes.  Its defiantly far less then some of the aerosol varnishes I've used so I'm fine with it.

Because of these downfalls I've tried to scale back the flat base even just a little bit.  I've found even if you remove 1 part of flat base, the model is still to shinny.

But I would give it at least 2 light coats.

Conclusion

There you have it.  Three Konigstigers ready for battle.

I'm defiantly not the be all ends all for painting...far from it, but you can defiantly apply this to any tank.  I've found following anyone's tutorials even to the letter never works. 

When I first tried doing a wash, because I was sick of my crappy dry-brushed models I tried following this tutorial.

http://www.flamesofwar.com/Default.aspx?tabid=126&aff=10&aft=184284&afv=topic
There is no denying how good these tanks turned out, but i'll be damned if anything he did works for me.  I followed his Wash formula to the letter.  My first try turned out almost black.

So, take what I've done with a grain of salt.  If you are a beginner looking to improve, I think I'm at that stage where a beginner could take that first step to becoming a great painter.

Hopefully as I improve on these techniques my stuff will start too look as good as the FoW community.  I've improved more in the last 6 months just following their advice and trying things then my entire life of painting.

Shoot me a message if you have any questions, want some clarification or even have ideas of how I can improve my techniques.

Happy Painting!
Kage
Monday, January 17, 2011

Whats to come?

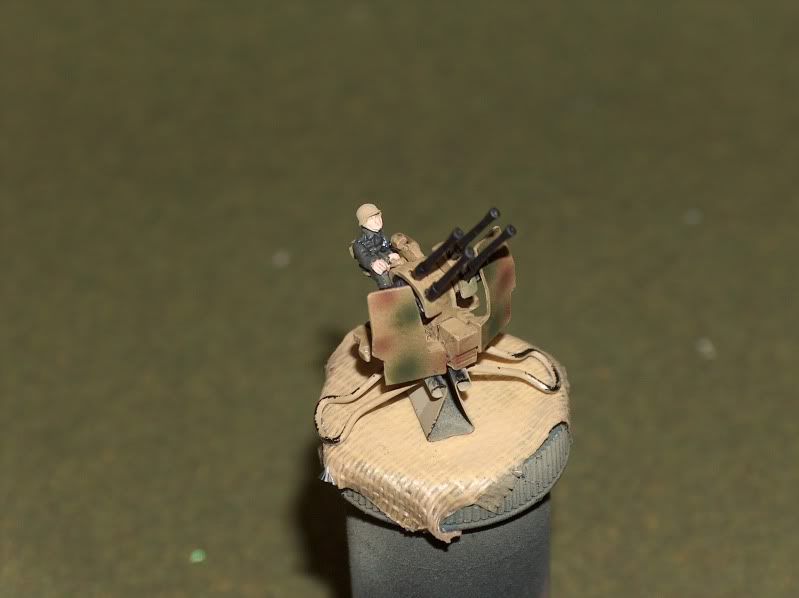
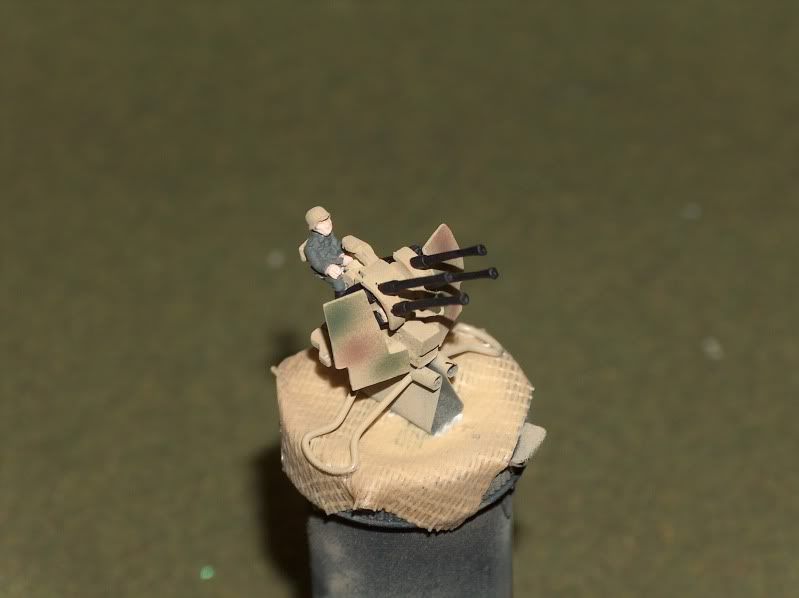
I'm about half done a bunch of projects, so I thought I would post some picks of what I'm working on.  Don't know if you can see but this is almost everything I have on the go right now.

I was originally going to stick my Russian Infantry, but now a tournament is coming up ("near") where I live. And its going to be an Official Battlefront tournament, where the top 2 will be eligible for nationals. I have to go to this. And the only way I'm going to get a fully painted army is if I go with a tank army. I'm not sure what yet, but I've pulled out some German vehicles and started painting them. If they turn out good, I will figure out what army I will take from there.

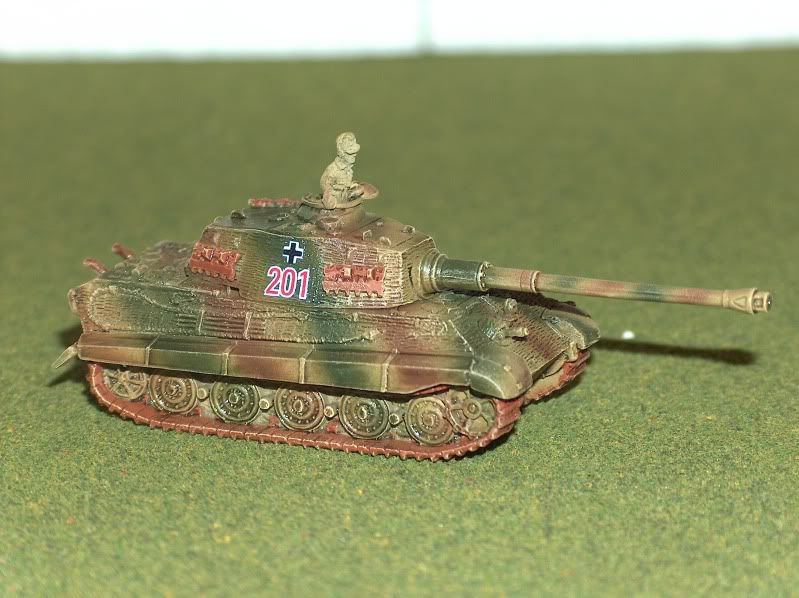
One thing I've been working on is a step by step Konigstiger tutorial. here is a couple of pic's of how the Tiger II's look so far.  Its really the first time I will use all the new airbrush techniques along with doing camo with the airbrush.


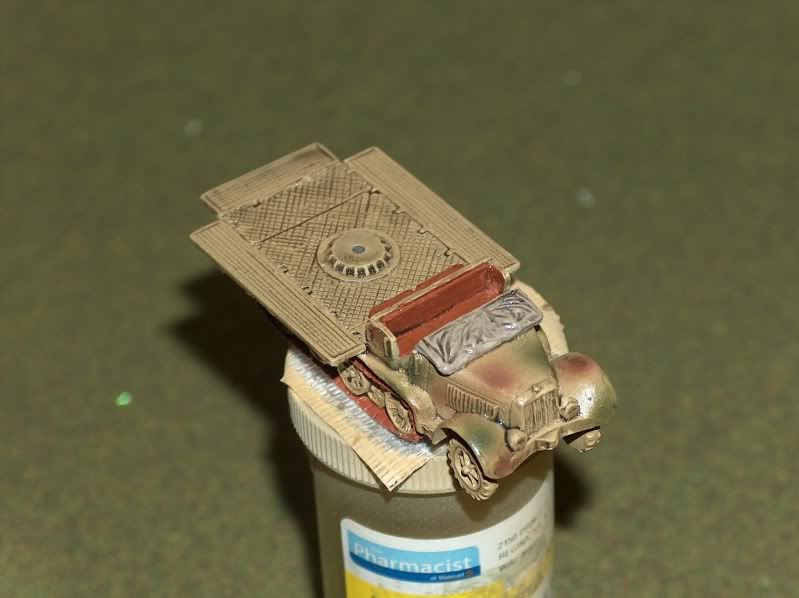
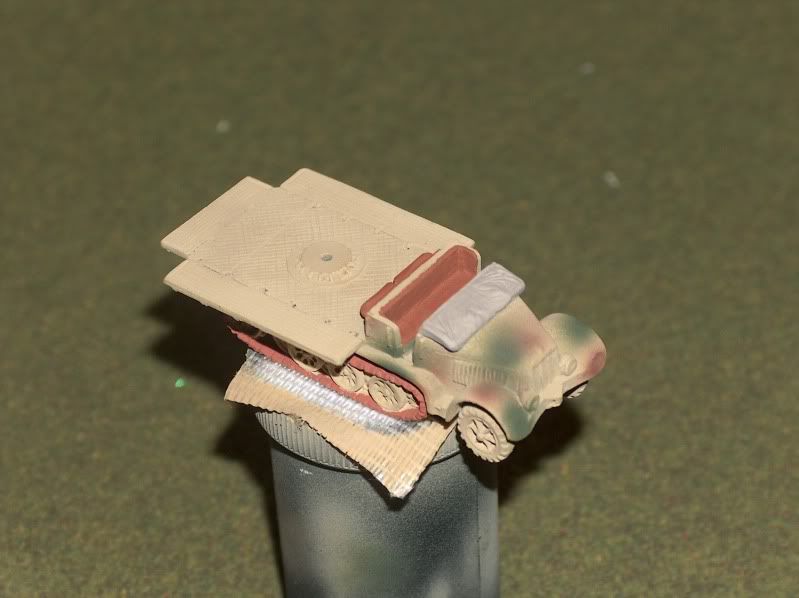
I'm also painting some Sk Kfz 7/1 half-tracks. Thought it might be cool to show a couple of pic's of before and after a wash.


One of my favorite things that I'm working on right now is a BergePanther. For those that don't know, this is a Panther converted to a recovery vehicle. Its so cool. It was one of those things that is so cool, I was going to leave it until one of the last things I paint...but I couldn't wait any longer. I don't have any pictures of it yet, but it's almost done. I think its going to turn out pretty good.

Then there is everything else I need to do. All this infantry I already started. Soviet Anit-tank company, Soviet Artillary Company, and a Strelkovy Company. The Strelkovy company should be cool when its done. I decided to mix naval, grey coats, and regular Soviet infantry into one mixed Strelkovy Company.

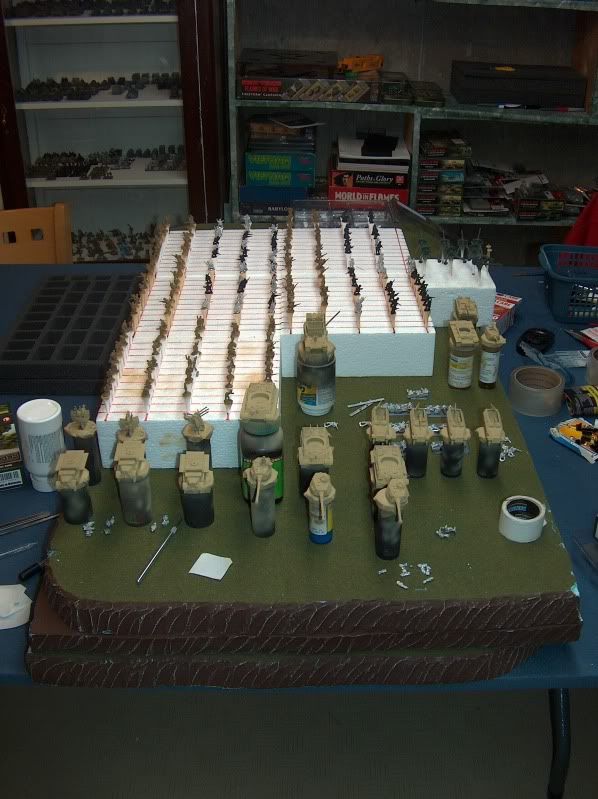
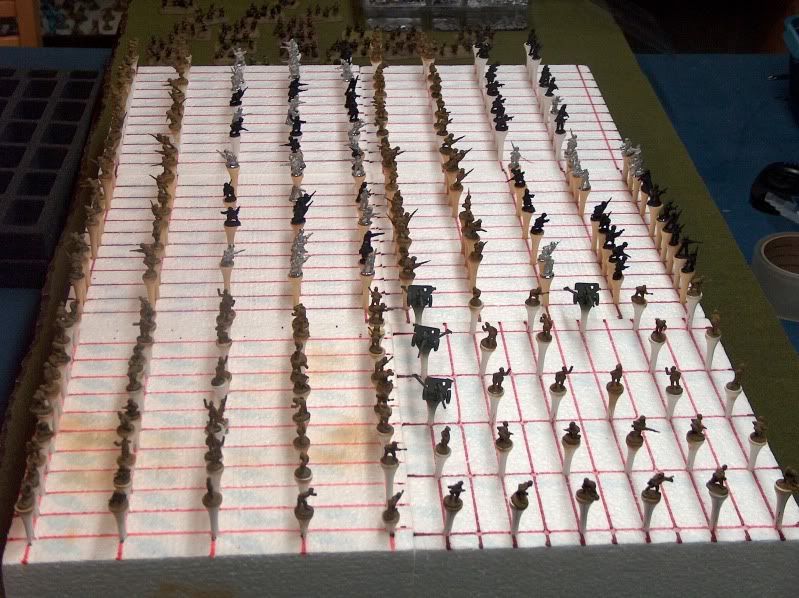
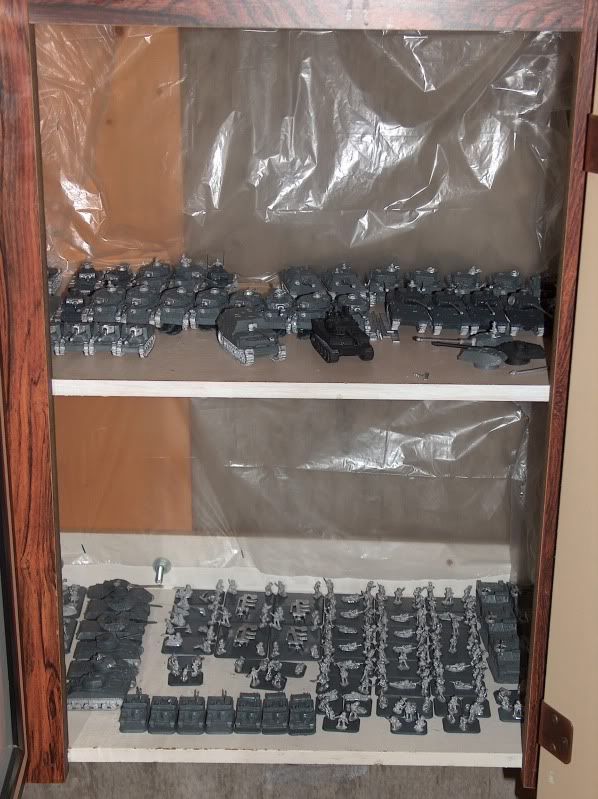
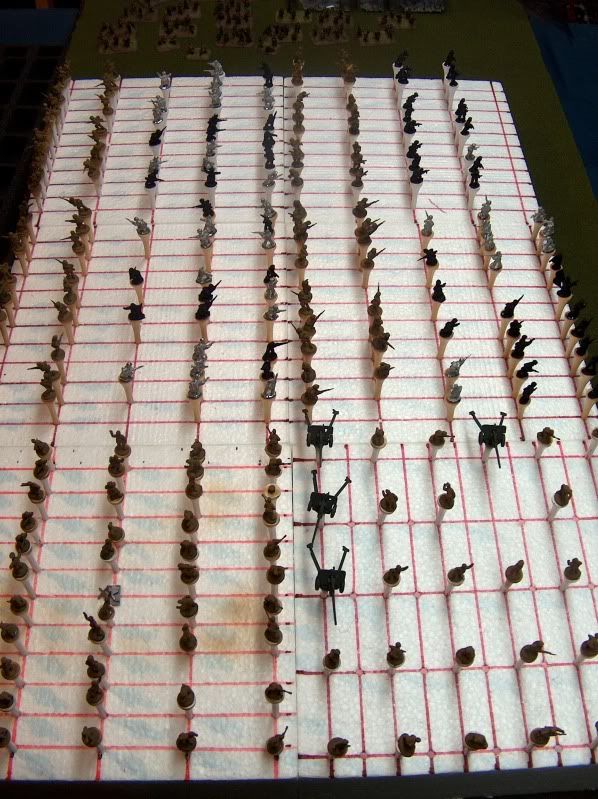
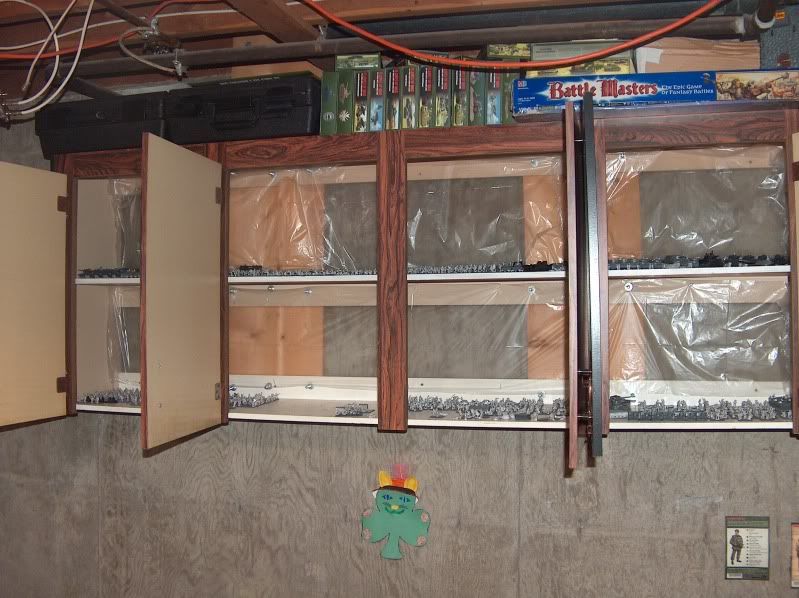
And i'll leave you with a few pictures of everything I still need to paint. I have cupboards of assembled infantry, guns and tanks, and a whole shelf of unopened stuff. This doesn't even show the Panzer Lehr, and Italians that are in my flames of war bag unpainted.


Tuesday, September 7, 2010

IS-2 and SU-76m

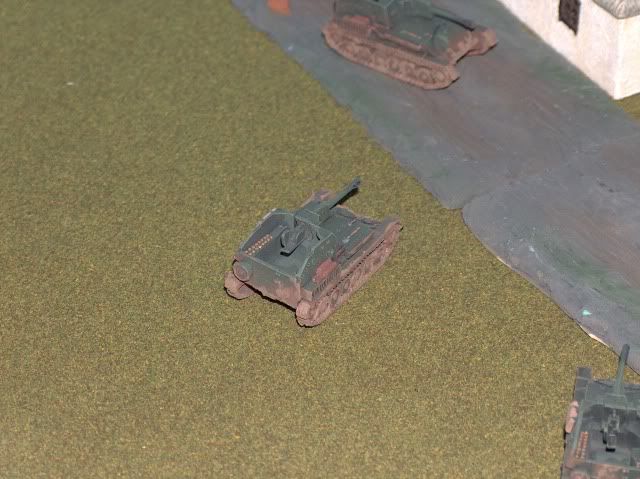
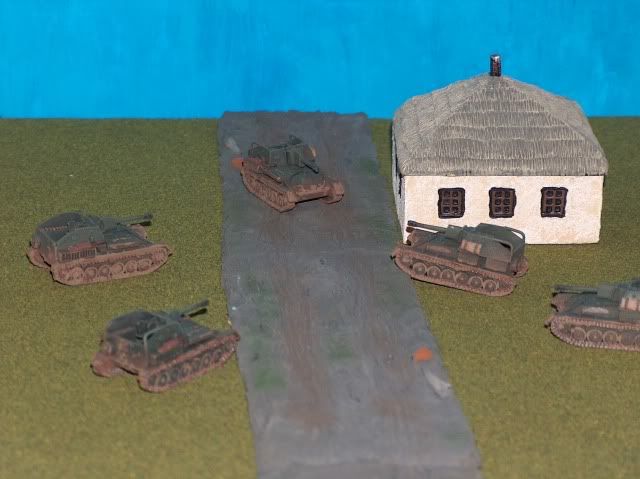
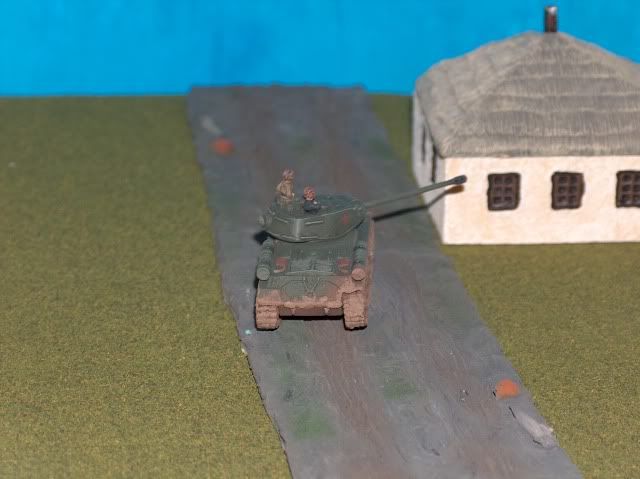
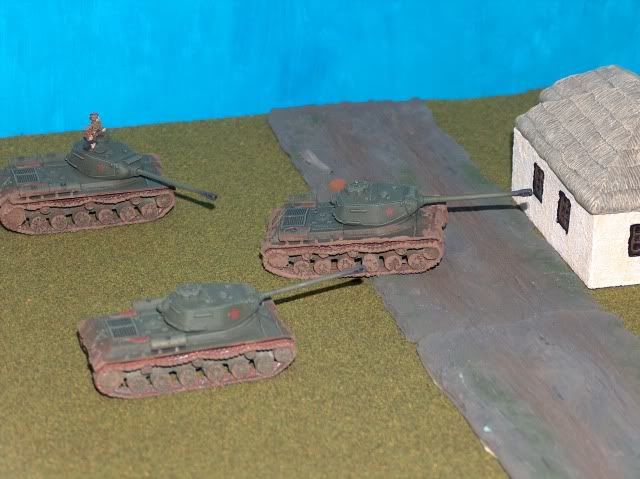
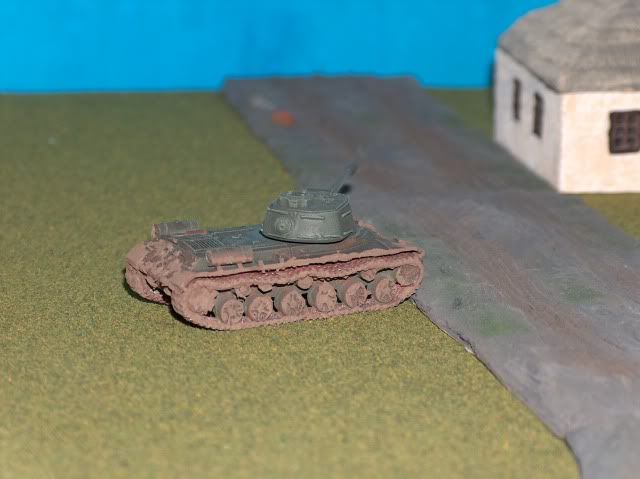
Here are some IS-2's and SU-76's. There are the first finalized vehicles that I've done using an airbrush and wash.

I'm still a little iffy on the wash. the lines are showing up as much as I thought. but still not to bad.

Next I will try doing some camo with the airbrush.

I also successfully figured out how to varnish with an airbrush. I will no longer need any aerosol cans to prime or varnish.

Enjoy


Sunday, August 22, 2010

Airbrushing Take Deux

Well, I'd have to say my 2nd attempt at airbrushing has been very very successful. I don't even know if I have enough to post here, besides saying WOW!I painted all of this, Prime and base coat in one night. I can't even say how long it would have taken me before with a brush.

The good things besides being faster, is I use way less paint, and I don't have to use aerosol cans to prime or varnish anymore. So, I can do it inside.

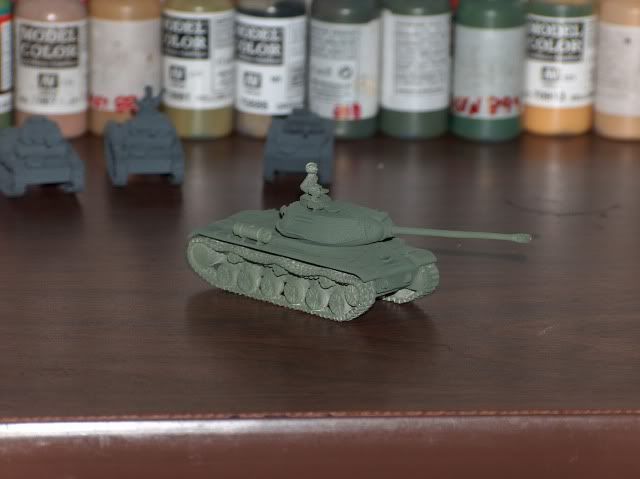
I even tried to spray a base coat on some IS-2's without using a primer. It seem to work pretty good, but I guess we'll have to wait for the finished product to see if it really works. Then we'll see how Varnishing works through the airbrush.

OH, and the secret to the success of my airbrushing...just like the wash, something you would have never expected...Windex. Using windex to thin the paint. I use it at about a 2:1 ratio. 2 parts paint, 1 part windex. It still might be a bit thick. but no where near as thick as an aerosol can. I tried at 1:1 but it was way too watery. I've read so many people having problems with clogged nozzles and such, and I've had zero problems using the windex.

Next i'm going to try airbrushing infantry. If it can speed up my infantry painting, I could quickly run out of things to paint. which is a good problem to have.

see you next time.

Wednesday, June 16, 2010

Air Brushing First Attempt

Wow, it is not easy to airbrush. I'm trying to get this all set up to make my painting go faster. And so I can start doing better camo on my tanks.

I just bought a cheap air compressor with a 1.5 gallon tank. I knew it was going to be loud, but holy cow. These things are insanely loud. I"m going to spend the extra $100 and get a quiet one that was made for airbrushing.

Next, the airbrush itself, isn't all that easy. Mixing paint was a pain. spraying was a pain, if I could even get the airbrush to spray. I had 2 airbrushes. I had a cheap $7 just to see how things would work, and an old Badger from 1978 that my dad gave me. Looking at some pictures of the 350 it hasn't changed since 1978

The $7 didn't work to bad. I actually go some Shermans primed with it. kinda splochy but not to bad. Think probably because it was cheap. The Badger I couldn't even get to spray at all.

I'm going to have to spend the money and get the double action airbrush that all these crazy painters use.

All in all, not a very fun experiencing for my first try. Then I'm going to need to try and find paint to match my Vallego WWII colors.

Back to the drawing board.