Thought I'd give a little bit of incite into my painting history.
I've probably been painting since my early 20's. Actually I'm pretty sure I painted model planes and cars with my dad but I don't remember much.
I started of with Fantasy figs. Games like Hero Quest and Battle Masters. This is where I discovered painting creases black, and dry brushing chainmail and fur looked really good. I was super happy with these paint jobs at the time I figured those techniques out. These were plastic not very detailed figures, but in hindsight very good for figuring out how to paint. I think I was still using oil paints that came in those glass jars for model cars and planes.

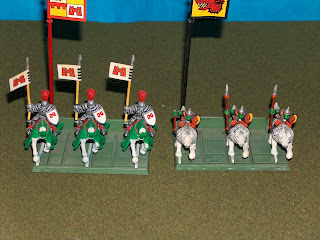
Then, right around the same time I met my beautiful wife, I "graduated" to a game called Chainmail. These were about 28mm scale, metal, and extremely detailed. This is where I learned to highlight raised edges to make the figs "pop" a little more.
These all turned out really well. They took a very long time to paint.
This is also when I discovered primer and Varnish to protect my work. All those plastic ones I don't think I ever used primer. I also ran into that age old miniatures question...Black primer or white. That can be an article for another day. Lets just say I used white for the Chainmail guys, but now I use black.
I took a long hiatus from painting as I was very disgruntled with what happened to Chainmail. It was the perfect game. I was a skirmish game so I didn't need to buy hundreds of guys to field an army like say WarHammer. You could use 6-12 guys.
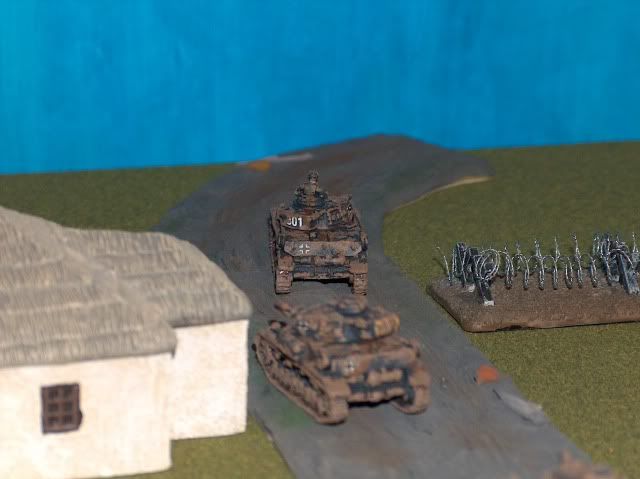
I've always loved WWII, so I tried A&A Miniatures. Didn't have to paint and you got lots of cool plastic tanks. But then once again, I decided to "Graduate" to Flames of war. Highly detailed metal figs.
Flames of War is a 15mm scale, and they were very difficult to paint at first. especially since I hadn't painted in a long time and those were 28mm. Huge difference. Also, Fantasy figures are bright colors, easy to make things stand out and look good. War games are lots of browns, greens and earth tones.
I decided to collect Soviet and German armies. Eastern front always had the coolest tanks. Little did I know, 27 teams of soviets equaled 8 teams of Germans...Lots of painting.

Anyway, these were my first soviet teams. I had no clue what I was doing...and needless to say they didn't turn out very well. Although with the smaller pictures they don't look as bad as they do in person.
I've always been afraid of washes. So I try the dry brush method. try to leave some of the black primer showing in the creases. I wasn't sure if this was the correct thing to do, but Tom Wise seems to do it the same way. I just wasn't doing a thick enough base coat. Needless to say my next set of troops was a lot better. And I improved the materials I used for bases.
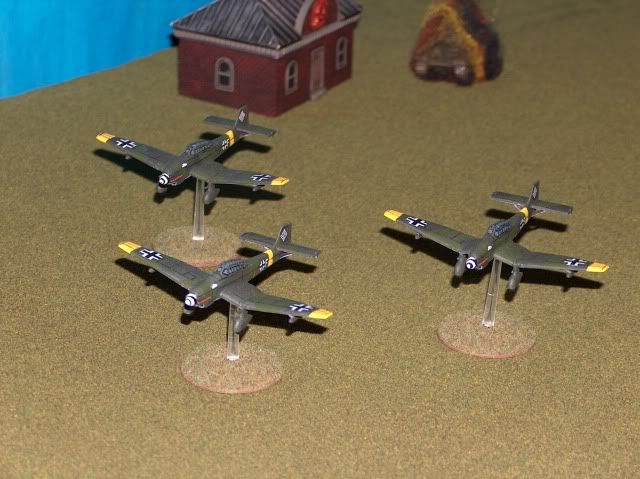
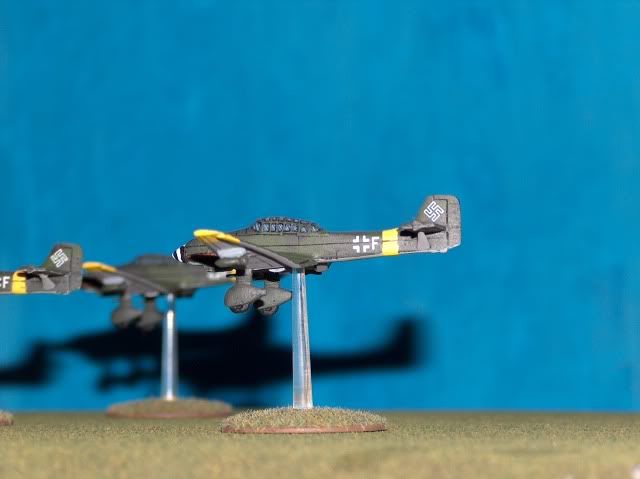
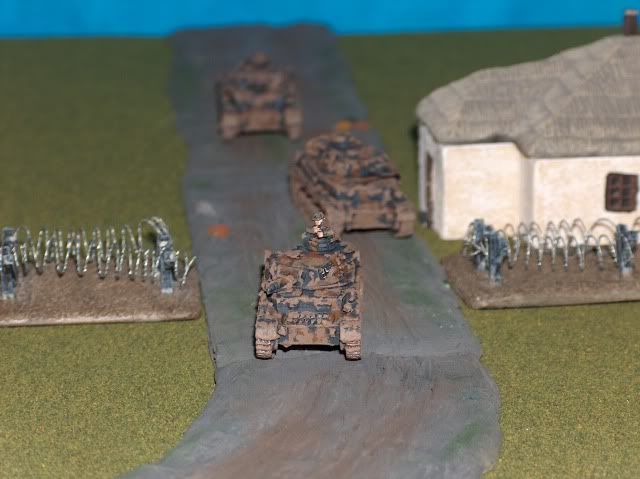
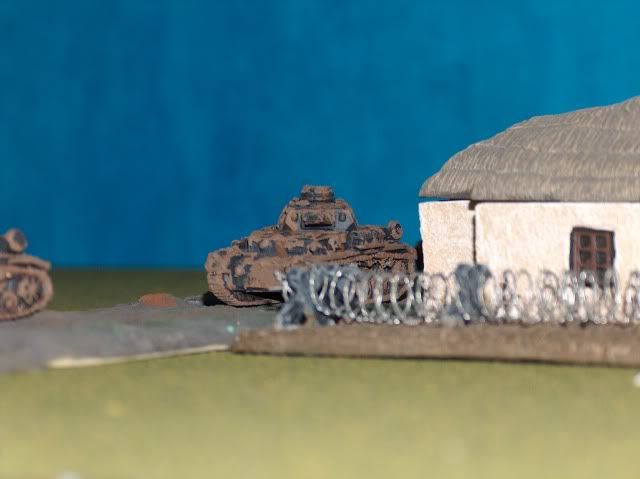
I am currently working on more russian troops, Stuka's, and Stug G's. These should be an even bigger improvement as i'm trying some new techniques. The troops I'm doing a super heavy first coat. The stuka's i'm trying the technical pen for creases. and on the Stug's I'm finally going to try a wash.
I'm really looking for better ways to speed up painting troops. It takes so long to paint all these Russians. Tanks are easy and fast, I could do 5 tanks in a few days.
But even my newer (Bottom) painted tanks are better then my older ones (Top)


 I finally finished off some KV-1s's that I've had painted for a while. They were just never varnished or had decals applied. I was always afraid to wreck them with my shitty decal applying techniques. So, they sat in the glass case, unable to be used because I was afraid to finish them.
  Then I applied the decals and used a good coat of decal solvent. And then once they dry I go over them again with the solvent. This softens the decal and apparently causes the decal to form to the surface. Then I dab them with a Q-tip to flatten them a bit more. To make sure all the air is out from underneath.