Showing posts with label Panther. Show all posts

Tuesday, January 3, 2012

Improving Photography!

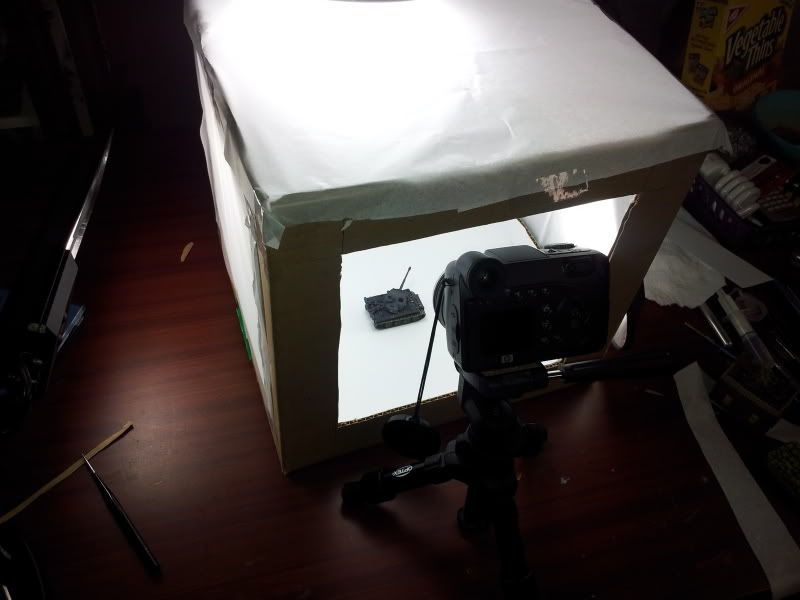
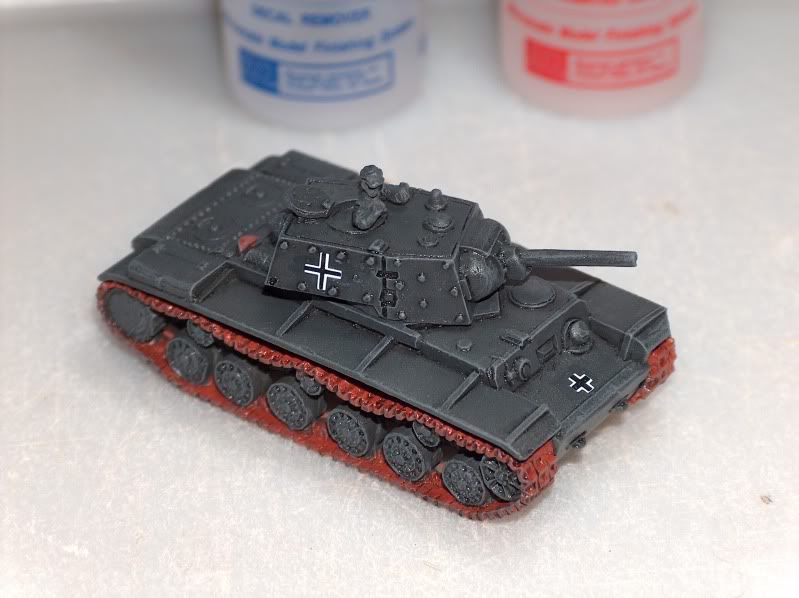
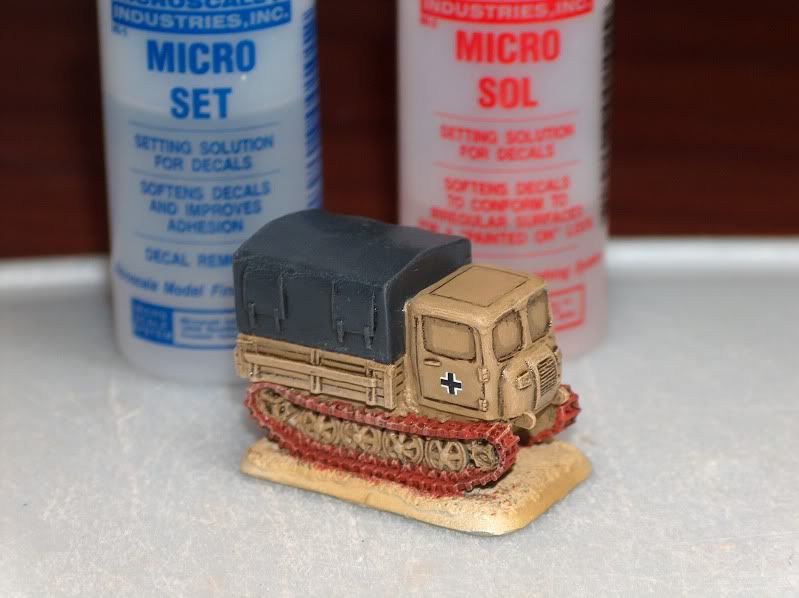
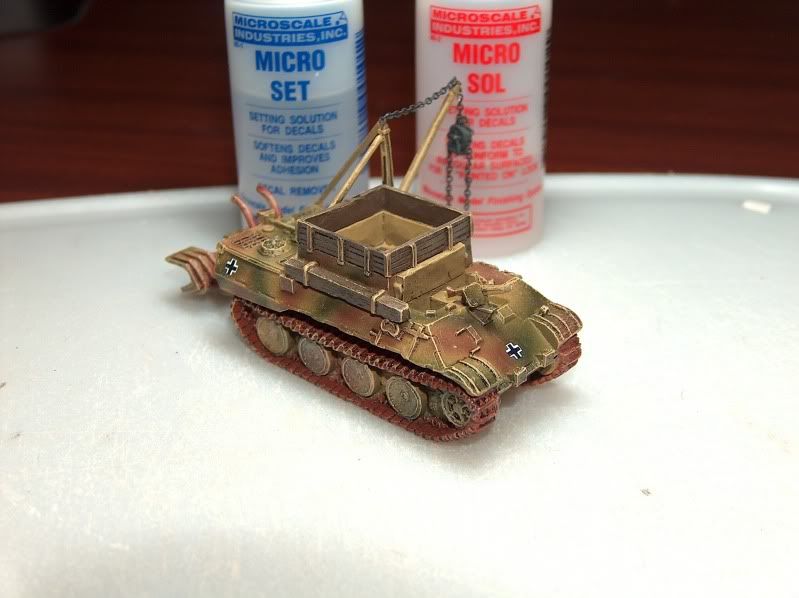
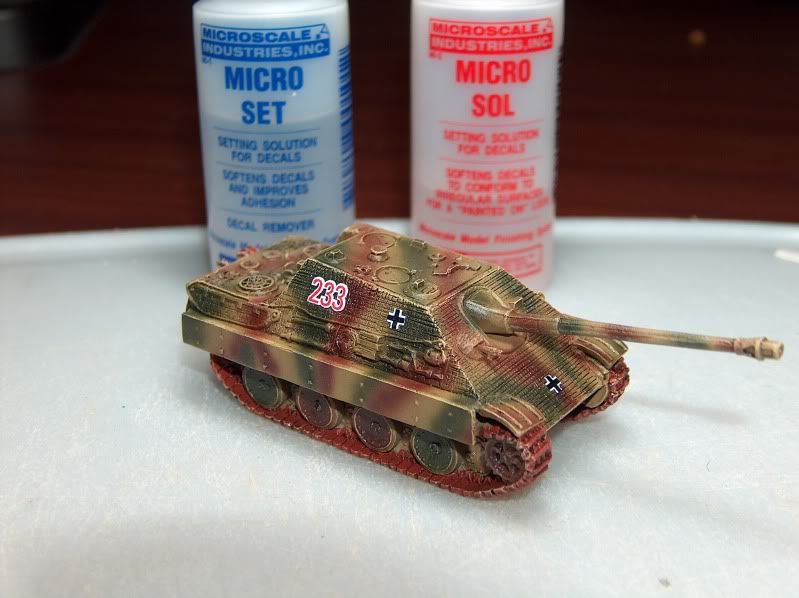
With a little help from one of my buddies and a very cool post I found. I've built myself a little Light Box.

Here is the site.
http://www.digital-photography-school.com/how-to-make-a-inexpensive-light-tent

I think this is going to work.  I will have some more discussions with my buddy to continue to try and improve things by playing with settings.

I'm finding just picking up and putting down tanks on the white is leaving marks.  Probably what photoshop is for I guess.  But I definitely like the direction this is going.

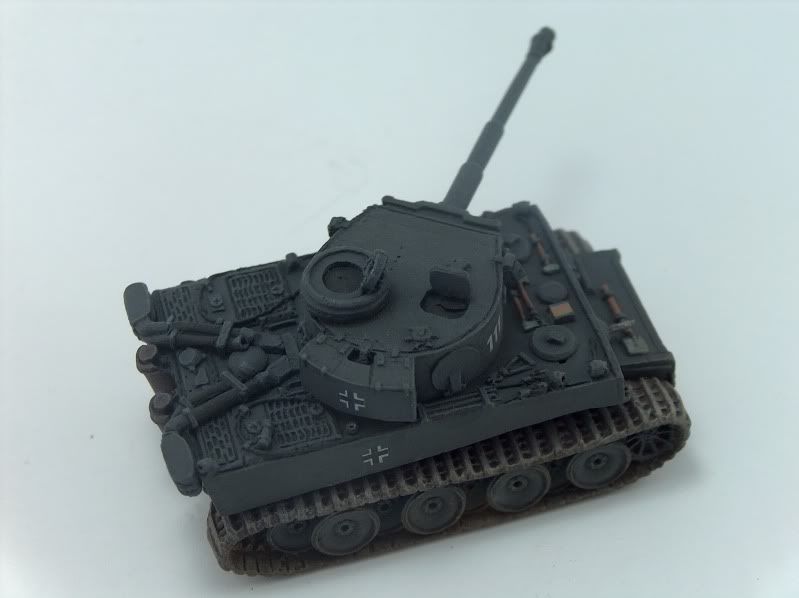
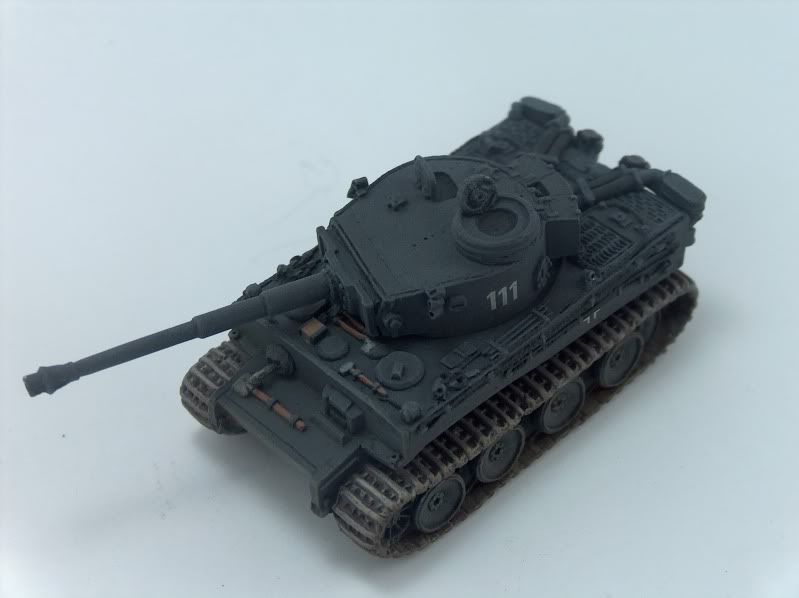
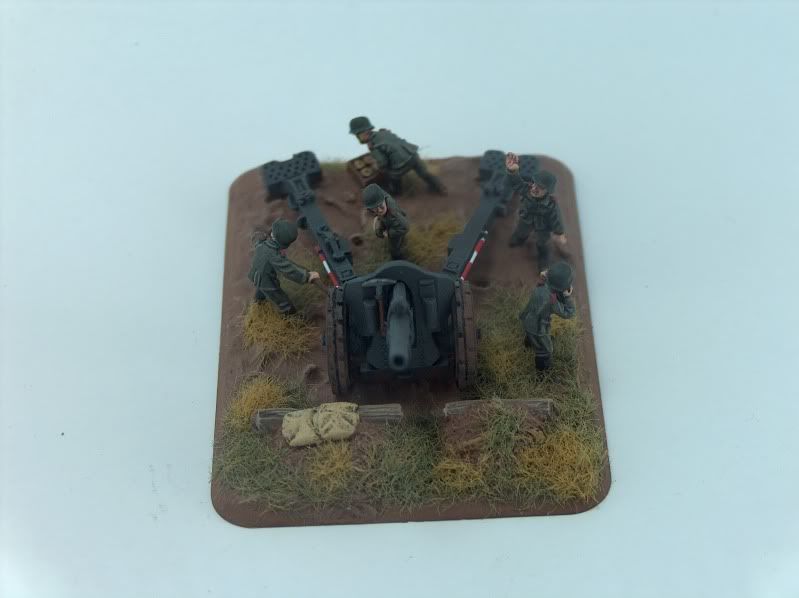
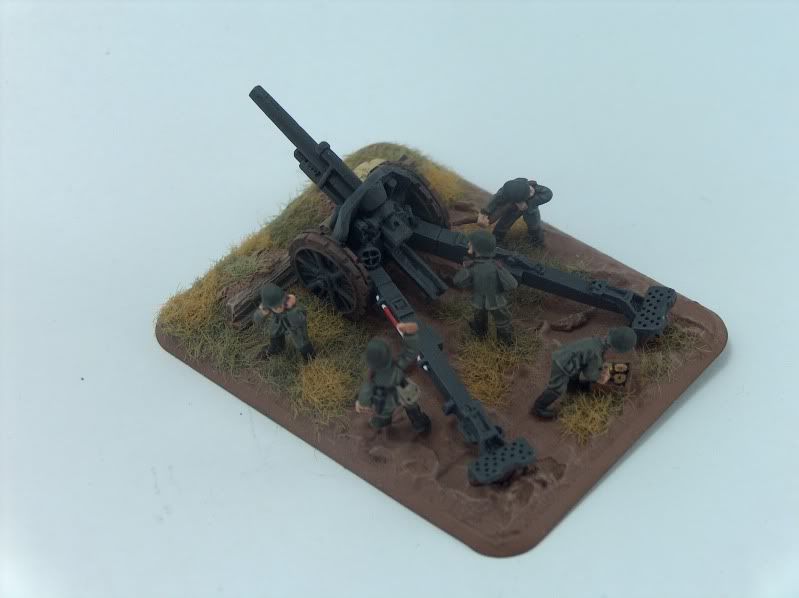
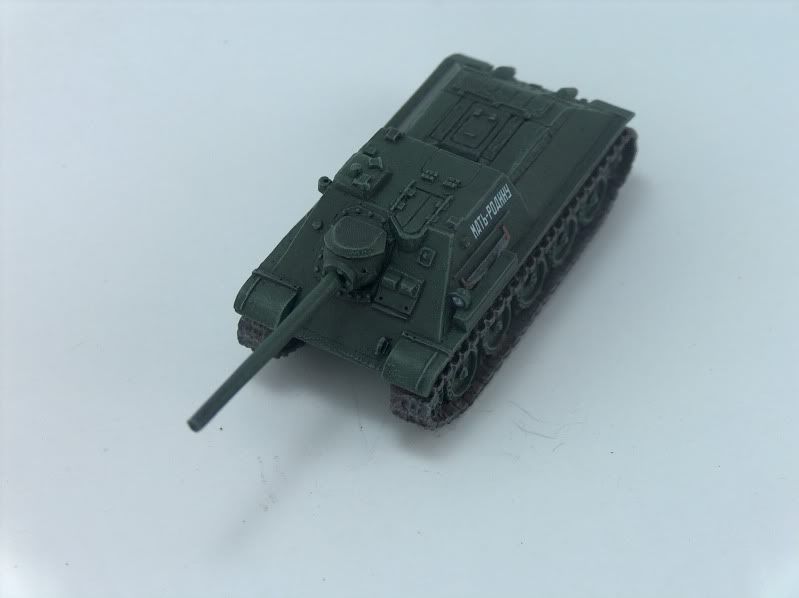
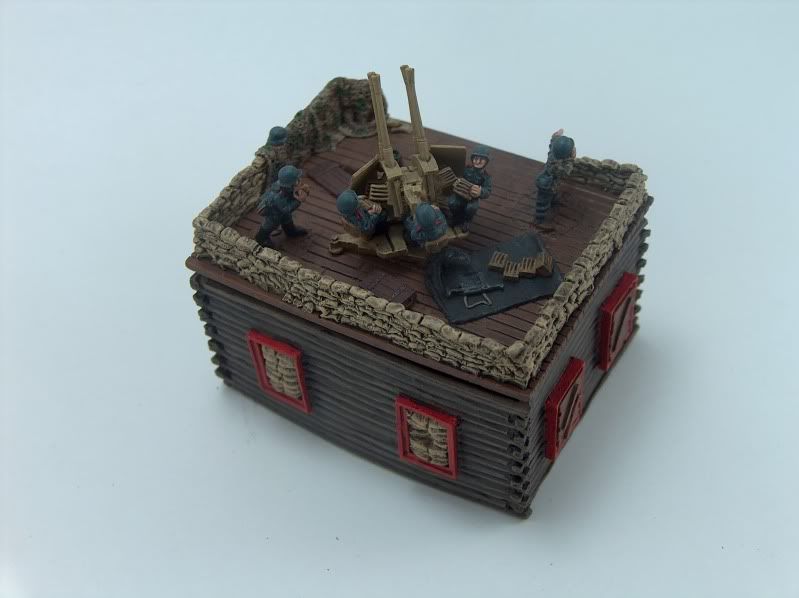
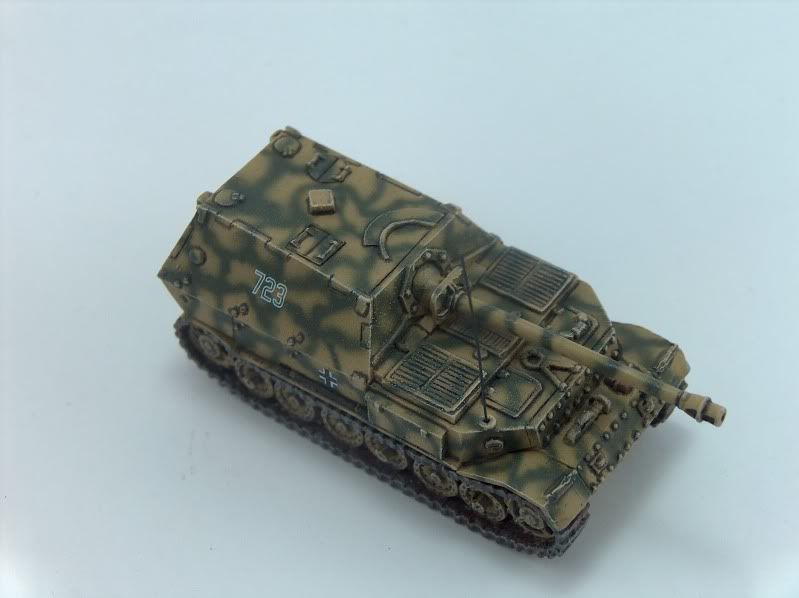
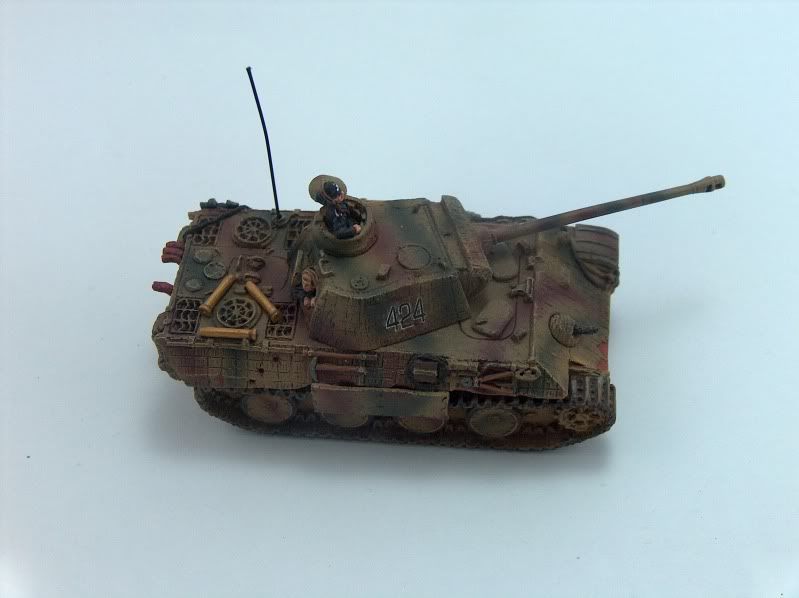
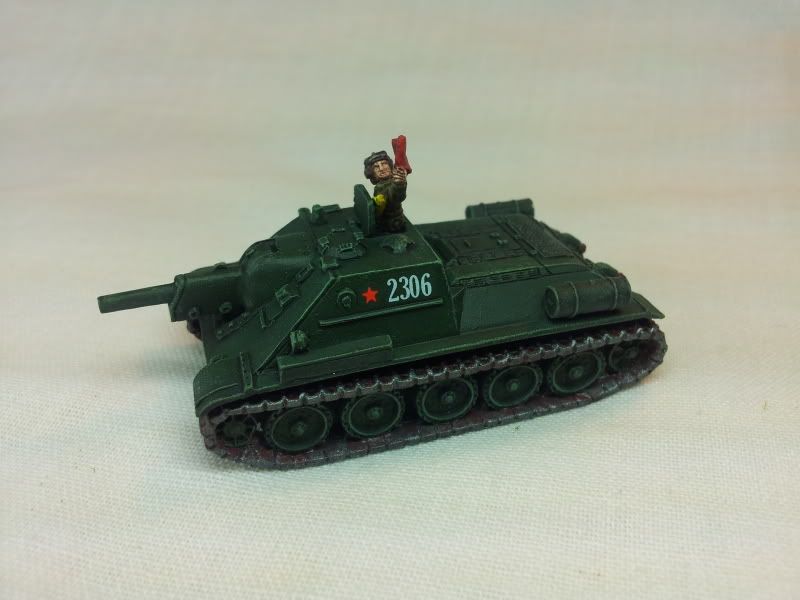
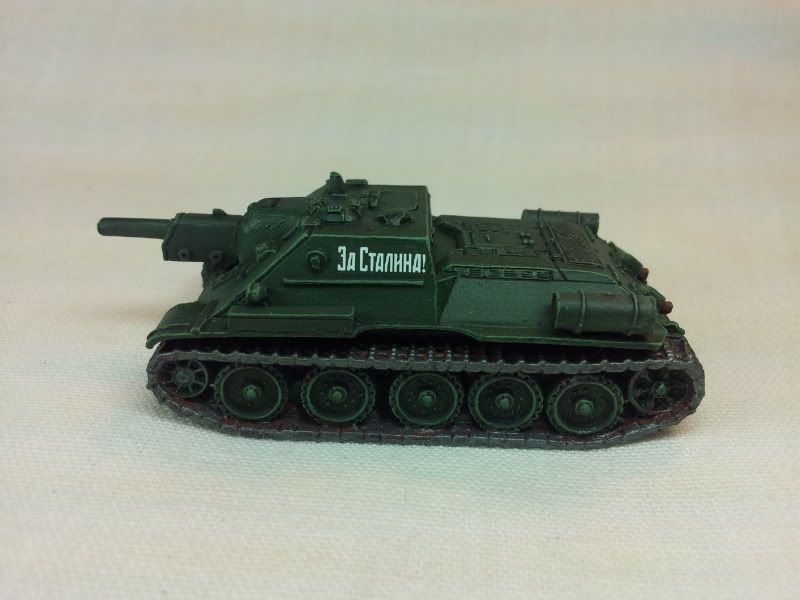
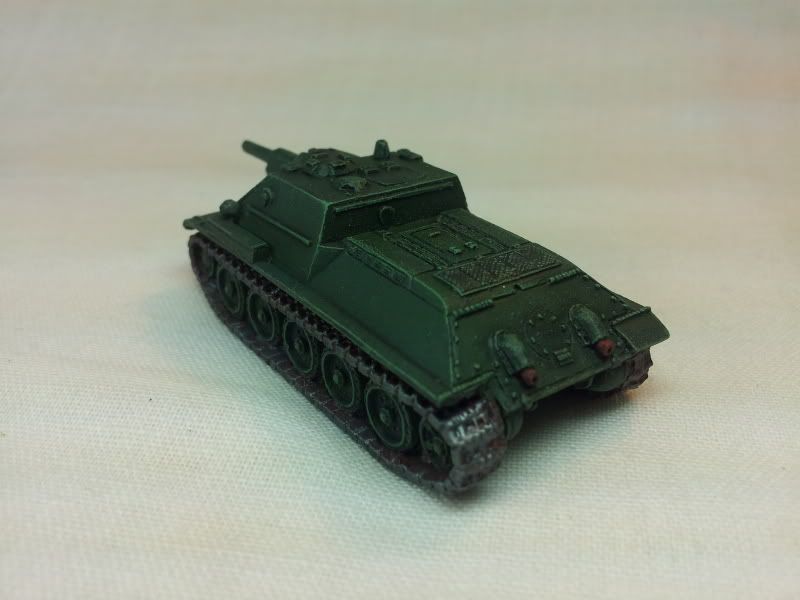
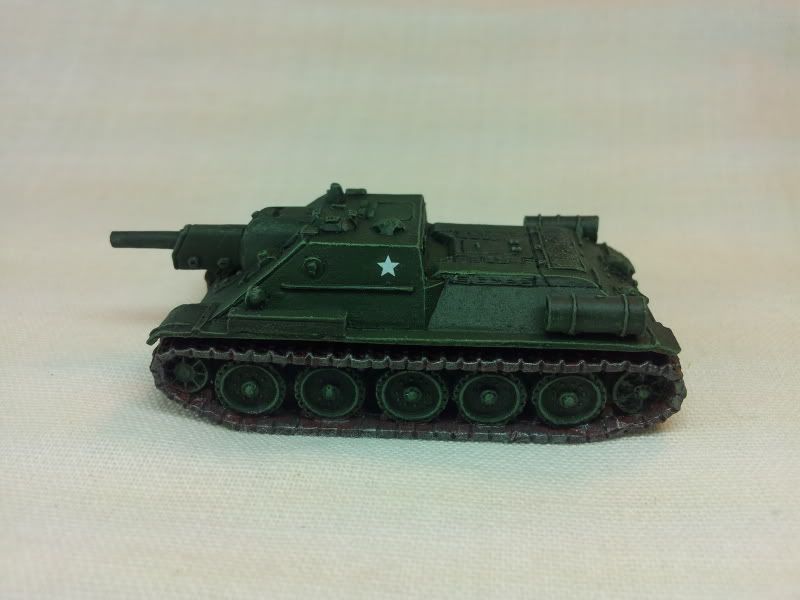
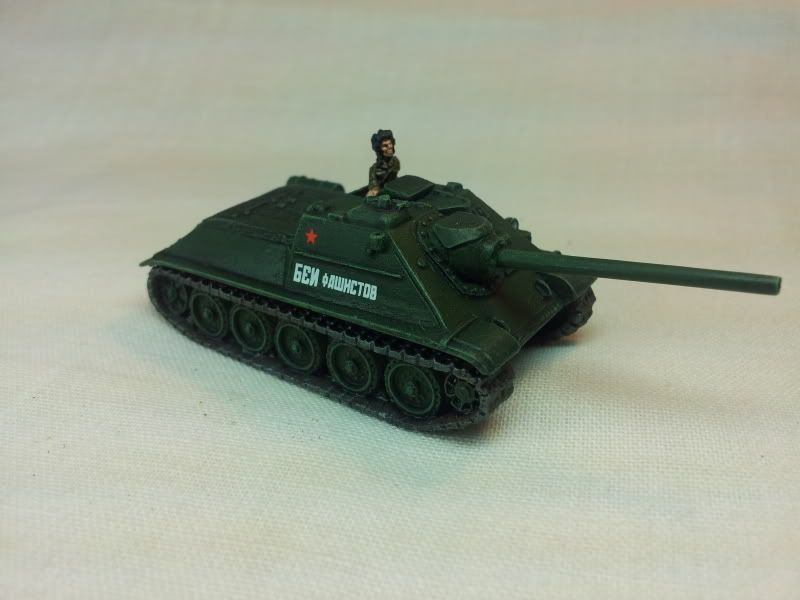
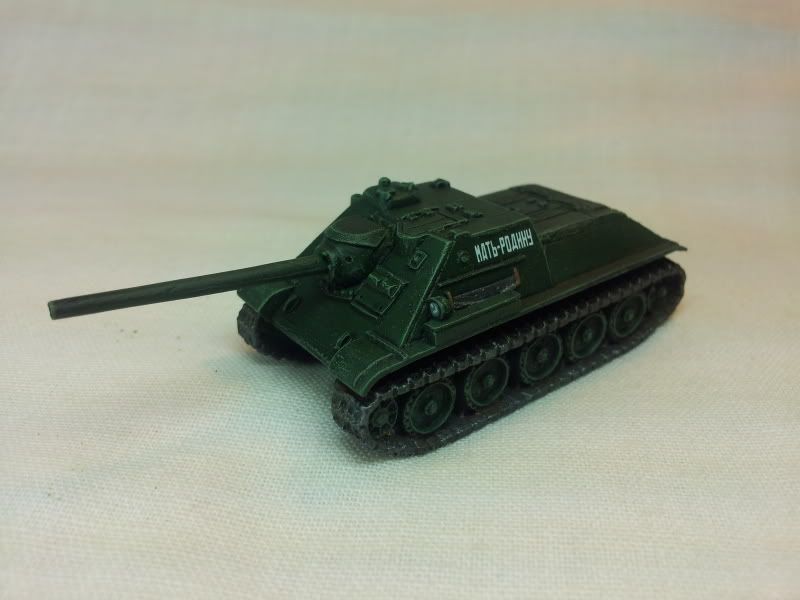
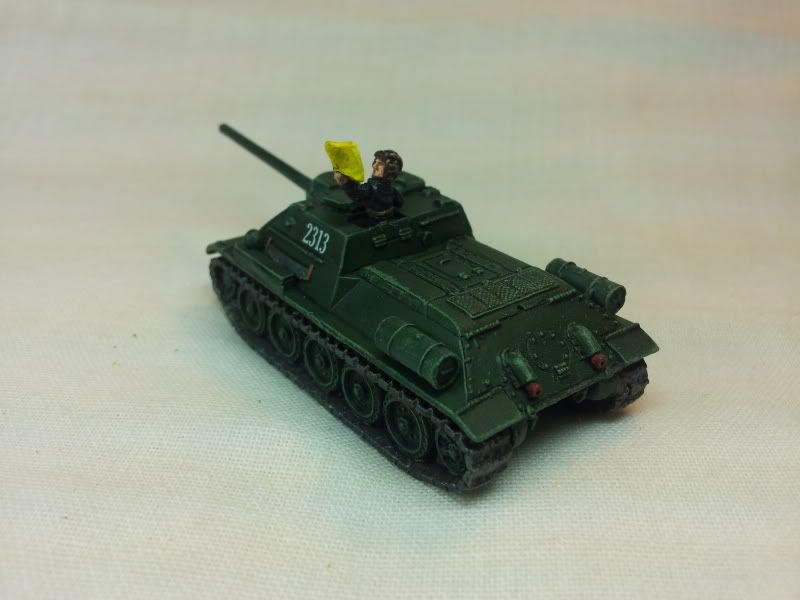
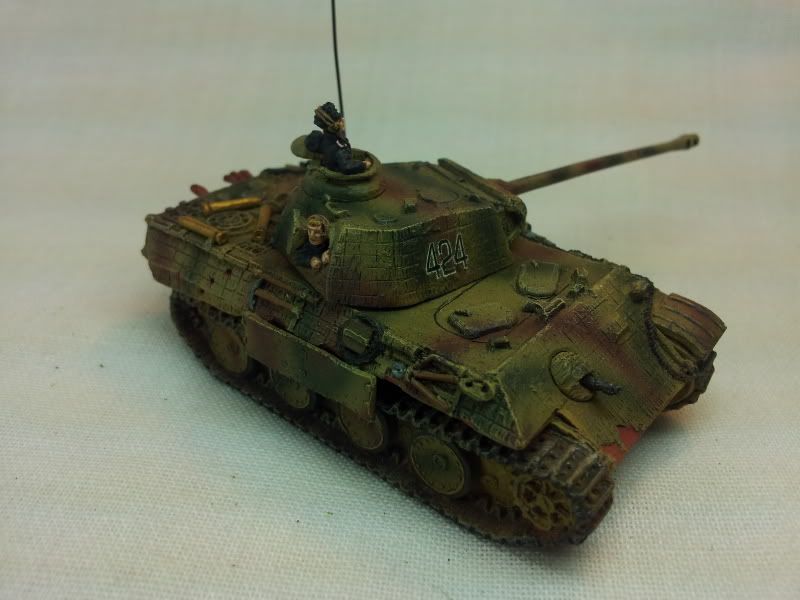
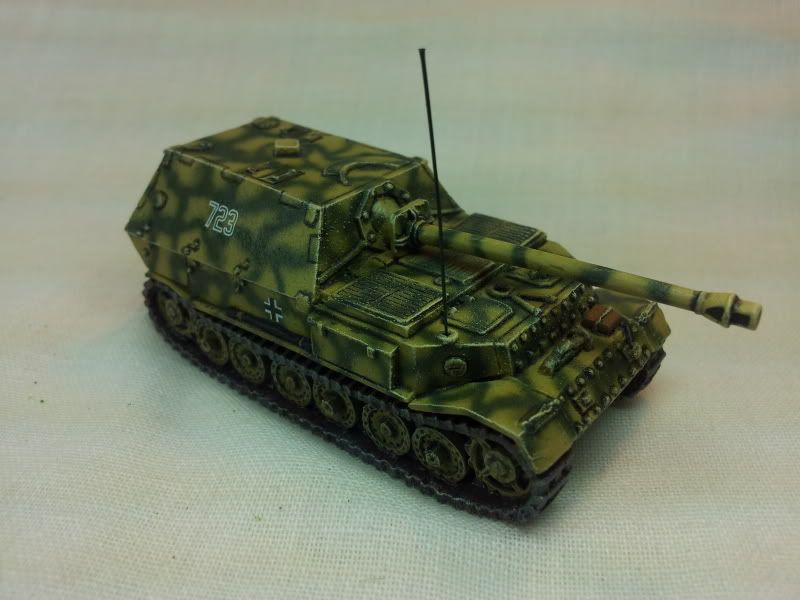
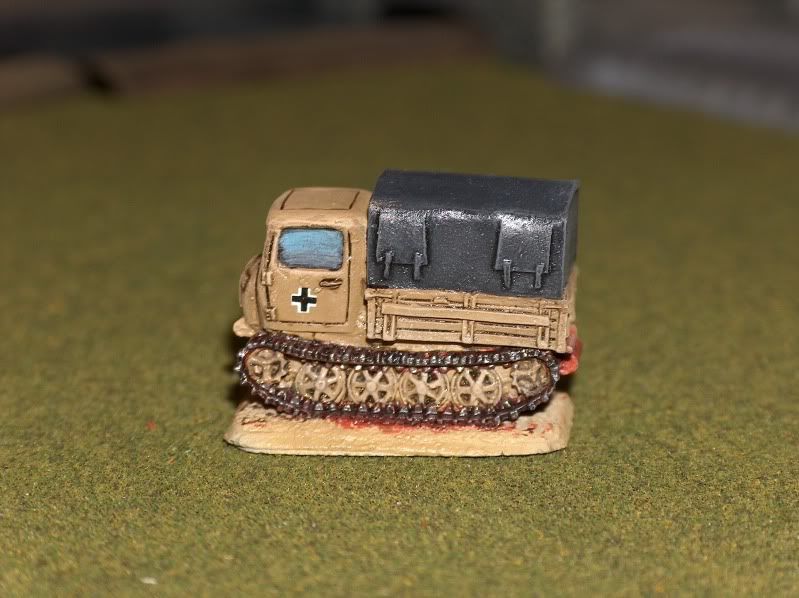
Here are some examples of my first attempts using the light box.  I went back to my old HP 5mp camera.  No photoshoping.

Monday, January 2, 2012

Happy Tank Destroyers...I mean New Years

Been working on these guys all week.

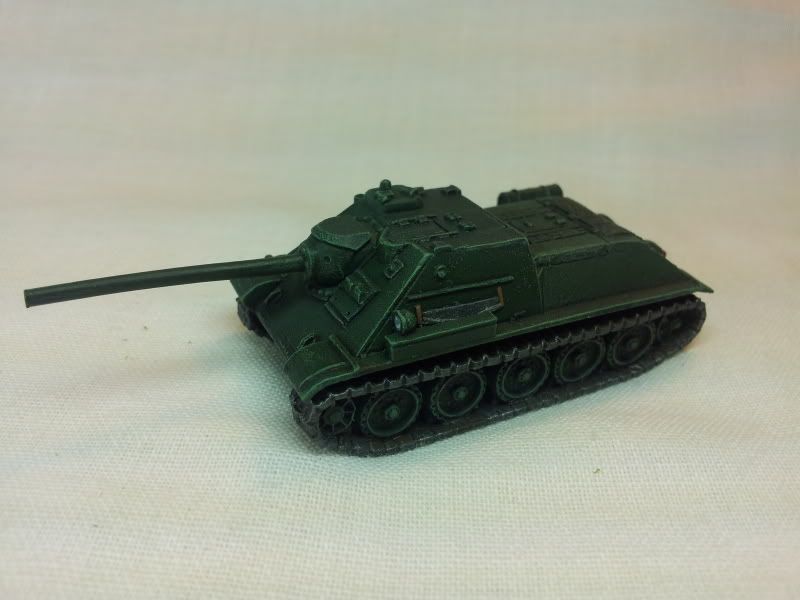
5 SU-85's
4 SU-122's
4 PanzerJager I's

The PanzerJager I's were very interesting to research.  I wanted the fire extinguisher to stand out.  But I was pretty sure the Germans were smart enough not to paint them red like normal.  What I found out is that they painted them the vehicle colour if they were outside the vehicle, and they were red if they were inside the vehicle.  I found some pictures of examples and they were about as multi-coloured as German uniforms.  I ended up painting them German Camo dark Green the same as gas mask containers.  This made them stand out a bit more from the Panzer Grey.

The 2nd thing which I found very strange, was the placement of the radio antenna.  Battlefront made their model with 2 places for it.  And if you google pictures of the PanzerJager I, you can see that the antenna did in fact appear on both sides of the vehicle.  I have no idea why this is.  Might have to do a bit more looking into that.  But I ended up placing it in the front.

I also wanted to put a unit marker on them.  I couldn't find hardly a thing.  I found a few pictures with unit marks on them, but I couldn't make out what they were.  So, I ended up putting the 60th motorized division symbol on them.  They took part in the attack on Stalingrad.  They were bound to have a few attached during or some time before. 

The SU's I tried a different kind of green.  Before the wash they were REALLY bright green.  But after a wash they really darkened up.  I think I like them better then the old green I used.

With the SU-85's I tried a brown base colour for the tracks instead of my usual Cavalry Brown.  Don't think I like it.  You can barley tell.  The Cavalry brown really stands out.

The reason these vehicles are very clean is because I'm going to test out the new BF pigments.  They only problem is I have no idea how.  So, I goggled, and there is about as much useful information out there as I found when I was trying to figure out how to airbrush...and by that I mean there is F'all out there.

One guy actually made a video tutorial.  Pretty much all it says on how to apply pigments is to "apply the pigment to the vehicle".  Thanx a lot donk!  Very helpful tutorial.  Just like the sound of your own voice or what?

Another guy says to use paint thinner but doesn't explain how.  Do you mix it with the pigment, do you brush it on first, do you brush it on after?  Another helpful idiot who likes the sound of his own voice.

Where do these people come from?  I guess I'll have to put together some trials like I did with airbrushing.  When I know, you will know.  Unless someone already knows, and can give me some idea's.  I have a couple of test models all set up.

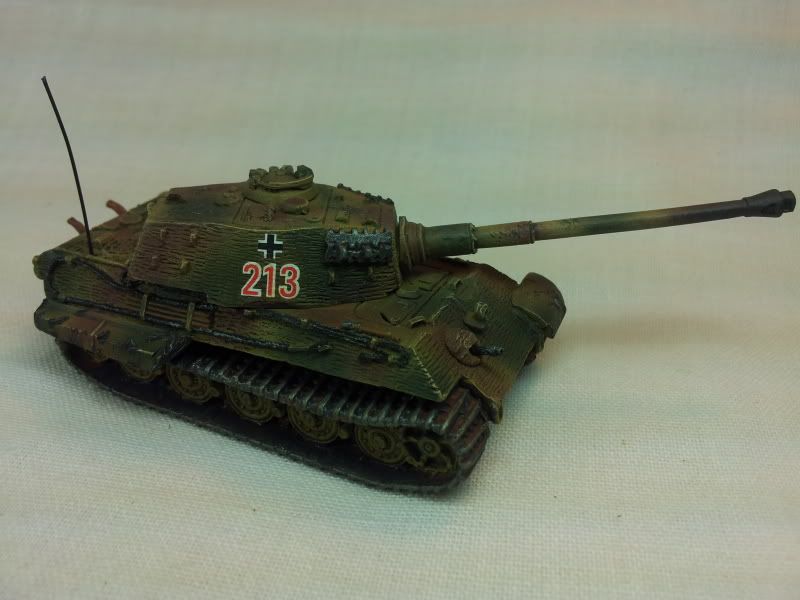
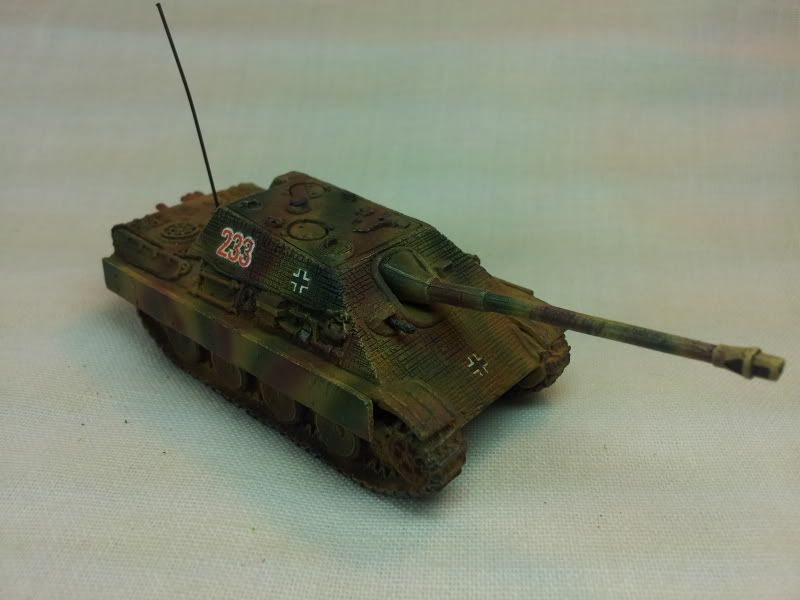
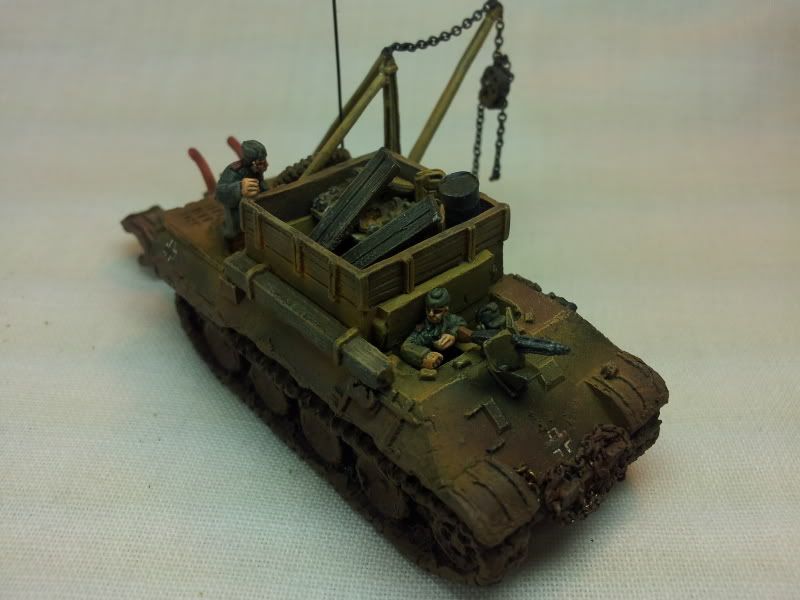
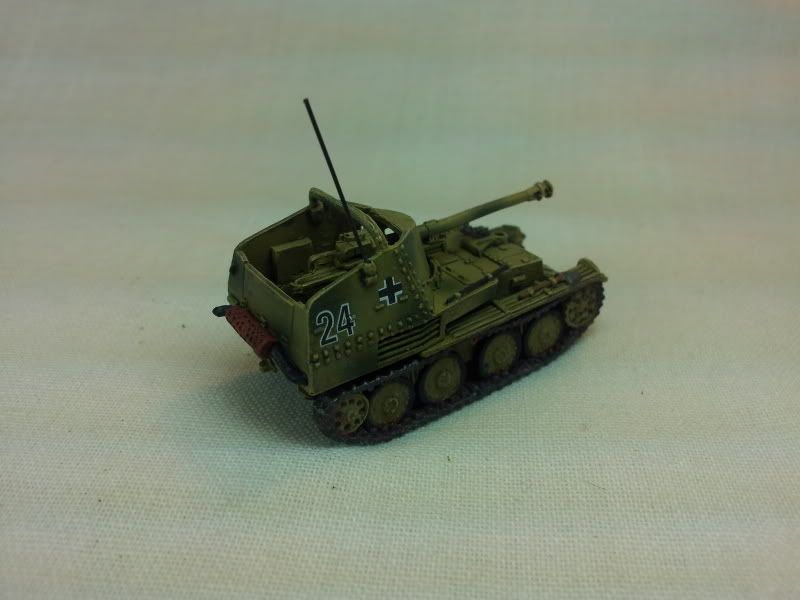
Anyway, that's it for now.  I will leave you with some of my favorite models from 2011.  Sorry if the pics don't look that good.  I'm trying some new photography stuff.  I may have to give my friend Randy Dickin a call, who is really into photography.  Maybe have him set me up a studio or something.

Happy new year everyone.

Thursday, April 14, 2011

Schwere PanzerJagerKompanie Part VII - Detailing...again?

In case you missed some:
Schwere PanzerJagerKompanie Part I - Intro
Schwere PanzerJagerKompanie Part II - Preperation
Schwere PanzerJagerKompanie Part III - Airbrushing
Schwere PanzerJagerKompanie Part IV - Detailing
Schwere PanzerJagerKompanie Part V - Wash & Highlight
Schwere PanzerJagerKompanie Part VI - Decal Tutorial

Yes, detailing again.  But this time I do all the detailing on the guns and vehicles.  Tow cables, tools, tracks and what ever other small details needs to be painted.

One of the more tedious jobs of this hobby is painting the road wheels on tanks.  I never used to do this because weathering just covered them up. But, several people on the forum suggested that a paint the road wheels.  So now I do.  Even though its a pain, they do look better painted.

One of the best parts of this hobby is research.  On the side of the 10.5cm guns are these red and white 'sticks'.  I always thought it was so stupid that these nicely camouflaged guns had these bright red and white sticks on it.  I had no idea what these were.  Even though I knew how to paint them, I like to know what I'm painting.  I thought I knew a lot about WWII before I started this hobby.  My knowledge has astronomically increased just from all the research of done.

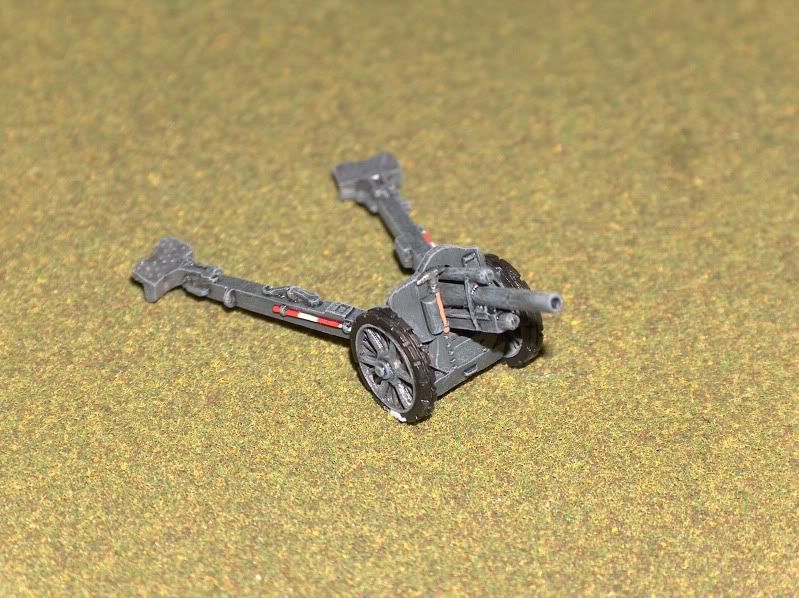
So, I did some research as to what these were.  It was really hard to find anything on Google, because I had no idea what they were called.  You can't exactly Google "red and white stick thingies."  I even looked in an artillery book.  There was no mention of them in there.  I asked on the forum and finally got an answer.  Apparently the FoW community understands "red and white stick thingies".  These 'sticks' are sighting rods.  Teams would use them to measure the horizon so all guns could range in on the same target.  Like surveying equipment I suppose.


Another bit of research I needed to do was the inside of hatches.  I never used to bother with this kind of stuff, but the better and faster I get the more detailed I want to get.  What I found was that the inside of German tanks were a yellowish ivory color.  But the bottom inside was green grey.  So I painted the inside hatches with a mix of Dark yellow base colour and white.  I did the captured KV like this as well.  Even though I know they repainted their captured tanks German Grey, I have no idea if they would have done the inside too. So, I just assumed they did.  This could be wrong.

Tracks, if you've been following I base coat in a rust brown.  At this point I will do a heavy dry brush of black.  Then a lighter drybrush of gunmetal.

This is how shitty my town is for FoW.  I couldn't find black hobby paint if my life deepened on it.  I tried the tamiya black I use in my airbrush, but it was way to light.  I would have had to do 20 coats.  No one here has the FoW paints.  I had bought the last Vallejo in the city, and of course it was totally dried out.  Man, this city sucks.   

Anyway, the other thing I do at this point is paint windows.  This always seems to be a crap shoot.  I've tried many different things.  Some times they look good sometimes they don't.  But I may have found something I like.  I applied 2 really watered down shades of gray over top of each other.  and they a realy watered down sky blue just on the top part of the window.  I think it turned out pretty well.  Almost looks like you can see the horizon in the window.

Anyway...next will be weathering, which will include basing the gun teams.


Tuesday, April 5, 2011

Schwere PanzerJagerKompanie Part VI - Decal Tutorial

In case you missed some:
Schwere PanzerJagerKompanie Part I - Intro
Schwere PanzerJagerKompanie Part II - Preperation
Schwere PanzerJagerKompanie Part III - Airbrushing
Schwere PanzerJagerKompanie Part IV - Detailing
Schwere PanzerJagerKompanie Part V - Wash & Highlight

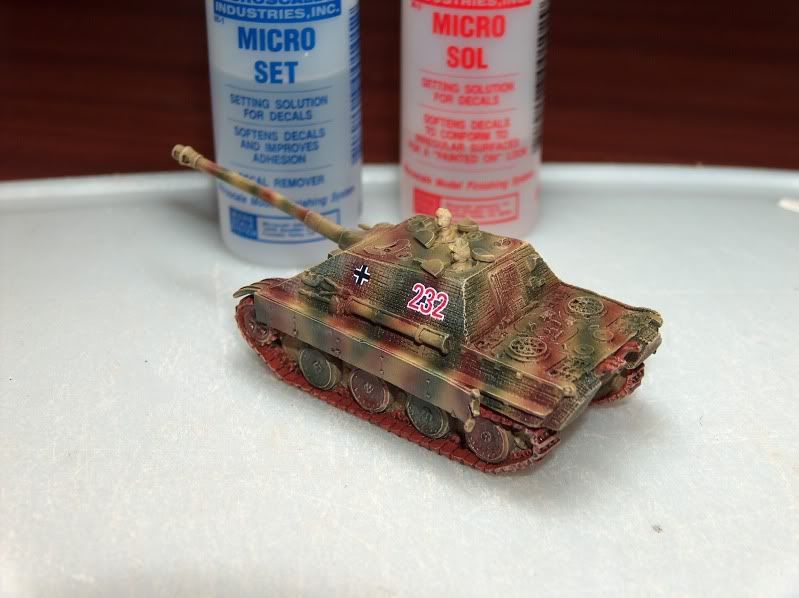
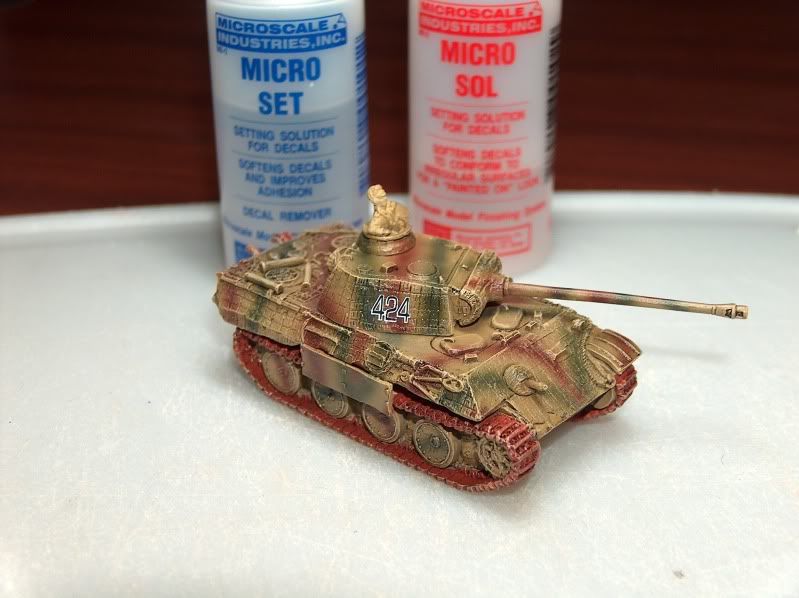
Well, getting near the end of this little adventure.  One of the few things I have become good at is decals.  I've seen paint jobs far superior to mine totally ruined by poor decals.  Even looking at the JagdPanthers in Earth & Steel pictures, they are riddled with 'silvered' decals.

I always said I should do a full blown tutorial of how to do decals, and I figure this is as good a time as any.

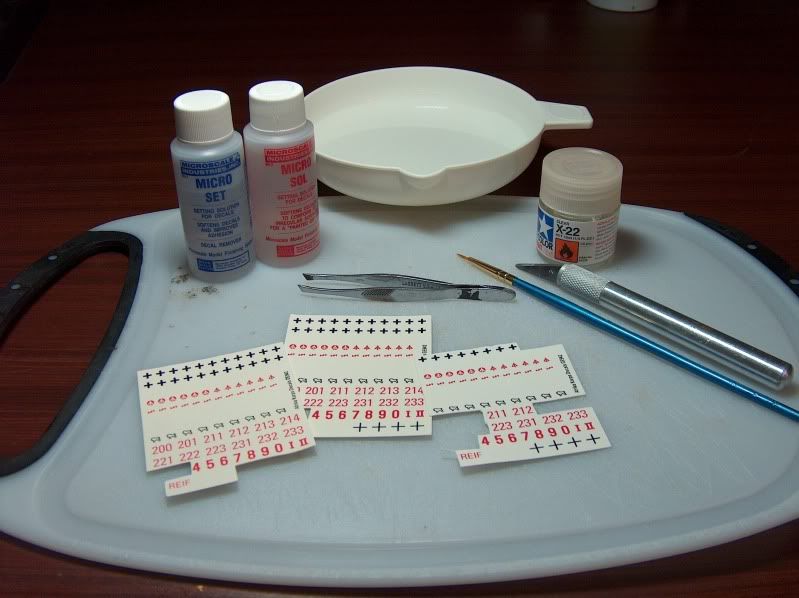
First lets start with what you will need;
  • Micro Set
  • Micro Sol
  • Gloss Varnish
  • Pin
  • Hobby Knife
  • Fine Paint Brush
  • Tweezers
  • Warm Water
  • Decals
Yes you will need both Micro Set and Micro Sol.  I have never seen any one else use both.  I have tried just Micro Set, and I have tried just Micro Sol.  Each alone doesn't really work that well.  There is a reason they make both.  Especially if you are doing vehicles with Zimmerit.

Step 1
You will need to cut out your decals.  If you shine your decal sheet in the light you can see the edges of each decal.  Be careful not to cut your decal.

Although some times you can cut the edges so that the decal will fit better.  Its not so bad now but with the older decals, there was a lot of 'extra edge' to the decal.  You could really shave them down.  German crosses used to be a single square piece.  Now they are better and are more uniform to the cross.

When you are cutting your decal, make sure you leave them with some paper out side the edge of the decal.  You don't want to actually be grabbing the decal with your tweezers when it slides off.

Now plan where each decal will go and how it will fit.


Step 2
Brush the area you planned for your decals with a gloss varnish.  I use Tamiya X-22 Clear.  Make sure you have done a full gloss varnish, or at the very least a wash, over the whole vehicle before doing decals.  If you don't you'll find that the brush on varnish and Micro Set will rub off your paint.

Do a bunch of vehicles at the same time to give the varnish time to dry.  For this tutorial I did about 10 vehicles.  The first one was dry by the time I glossed all the decal spots.


Step 3
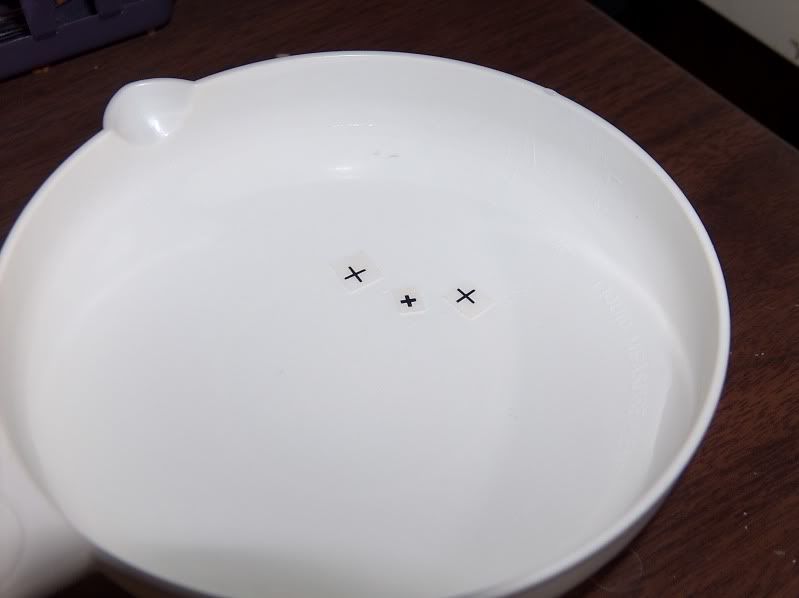
Now you want to put all the decals for one vehicle into your warm water.  Don't put to many decals in your water.  If they are in the water too long the decal will slide off the paper and you'll have a hell of a time trying to get it onto your vehicle.

And yes you for sure want to use warm water.  I find I change my water every couple of vehicles.  As soon as the water is no longer warm to the touch.  If the water is cold, you will wait forever for the decal to slide off the paper.


Step 4
Use your fine brush to see if the decal will slide on the paper in the water.  If it does its ready.  To start this step I have my fine brush in one hand and my tweezers in the other.

Grab the decal with the paper being careful not to grab the decal.  Keep your decal parallel to surface of the water as you lift it out.  If its been in the water to long and you lift it out perpendicular to the water surface the decal will slide right off.

Once you have a hold of the decal and its out of the water, touch the bottom of it to some paper towel.  This will suck some of the excess water from the decal.


Step 5
This is where you will need Micro Set.  Make sure you don't mix up using Micro Set and Micro Sol, it will make a difference.

Dip your brush into the Micro Set.  I usually pour some into the cap.

I try to put something under one side of the vehicle so i can easily slide the decal into position


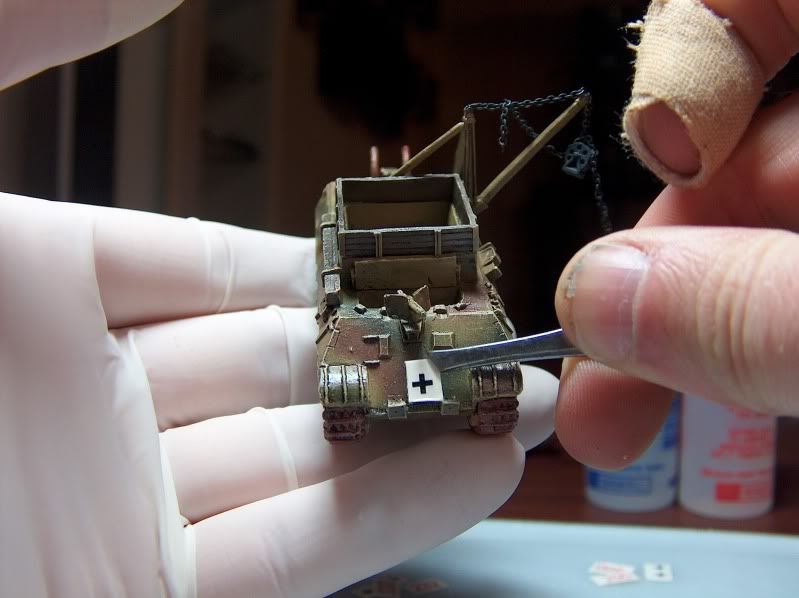
Using the brush, slide the decal onto the vehicle.  It doesn't matter if it goes on straight.  Just as long as it goes on to the spot where you brushed the gloss varnish on.

Dip your brush back into the Micro Set.  With the brush position the decal where you want it.  At the same time make sure you brush the entire decal with Micro Set.

What Micro Set does is make the decals glue more adhesive.

Step 6
Using a Q-Tip gentle press the decal against the surface of the vehicle.  Be careful, the decal could still slide around.  The Q-tip will soak up any excess water and Micro Set, so that the decal will stick to the vehicle.


Step 7
Now, repeat steps 4-6 for the other decals on the same vehicle.
And then repeat steps 4-7 for the rest of the vehicles you are doing.

Step 8
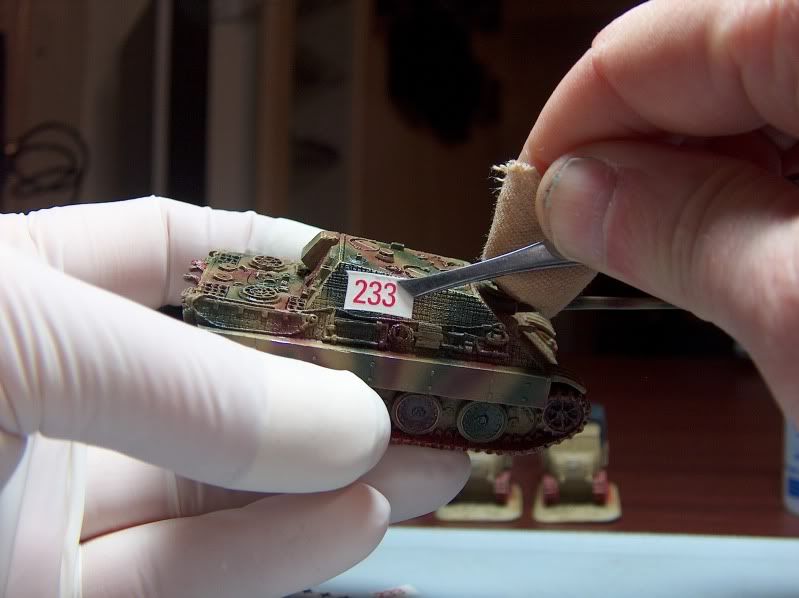
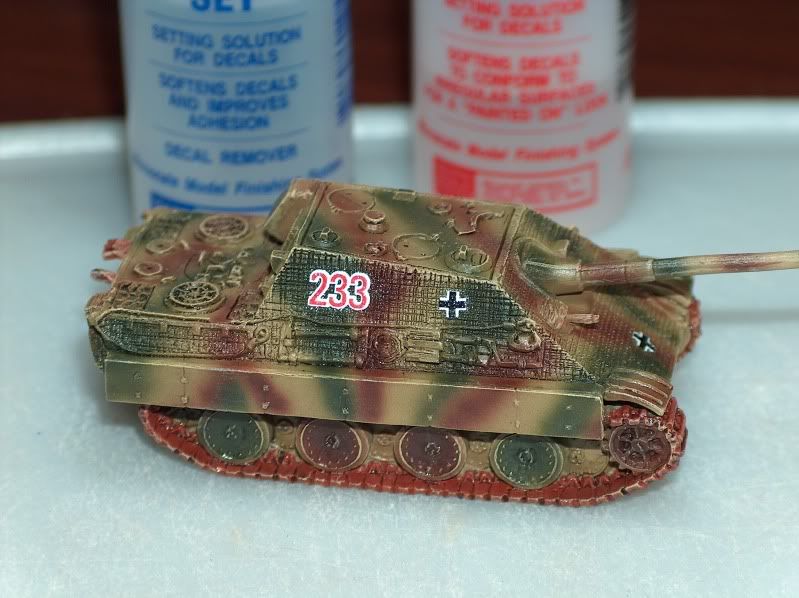
Going back to your first vehicle, check the decals for silvering.  Its ok if they do.  Most likely at this point your decal will only silver if placing it on zimmerit or on an odd surface.  This is the case when putting a 3 digit number on say a panzer III turret.  There isn't a big enough flat surface for the whole decal.


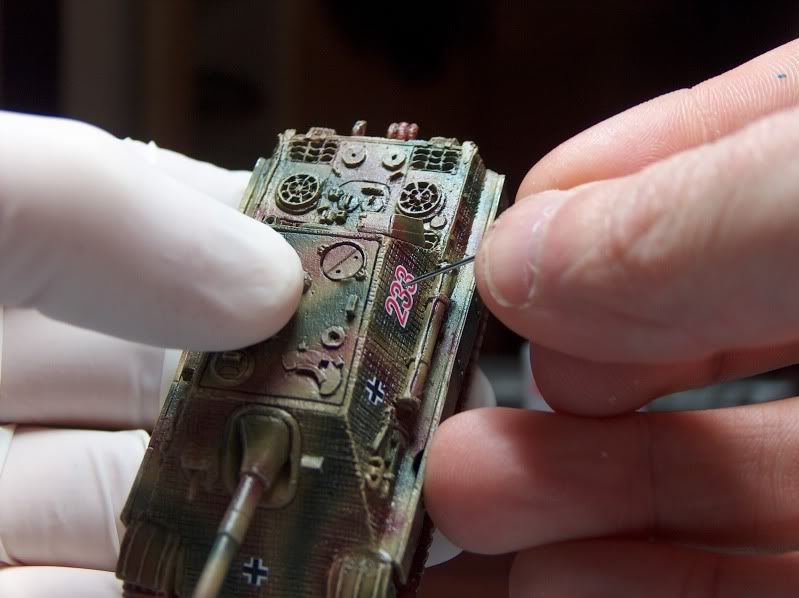
If you do find some silvering, take you pin and gently poke a hole in your decal.  I like to poke around and in between the numbers.  I don't usually poke the actually "paint" of the decal unless its black.  Be very very careful when doing this.  You can wreck your paint if you poke to hard.

Zimmerit is great for this because you can poke into the zimmerit.


Step 9
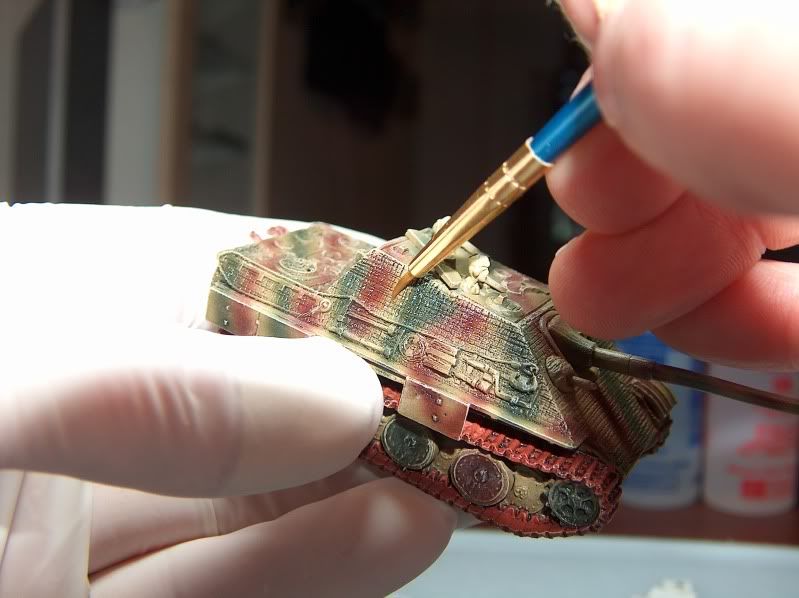
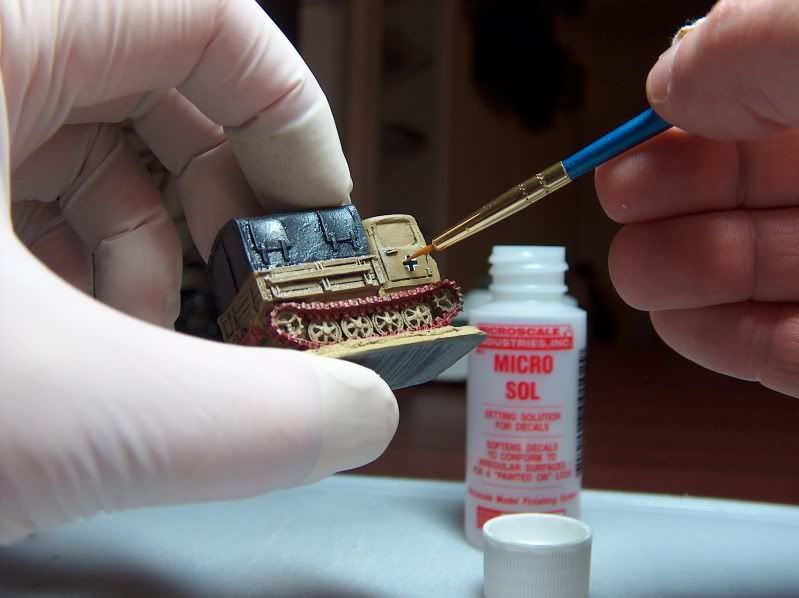
Now, take your Micro Sol and brush it into your decal.  Even if your decal had no silvering and you didn't need to poke your holes, I will still brush it on the decal.

If it did have silvering you should see the decal soak it up.

What Micro Sol does is make your decal soft so it will conform to irregular surfaces.  It doesn't matter if its zimmerit or uneven resin. 


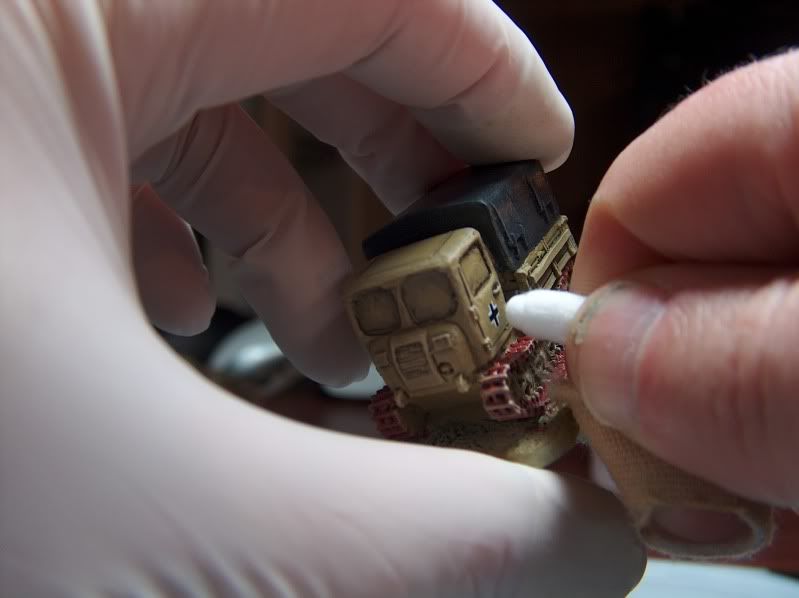
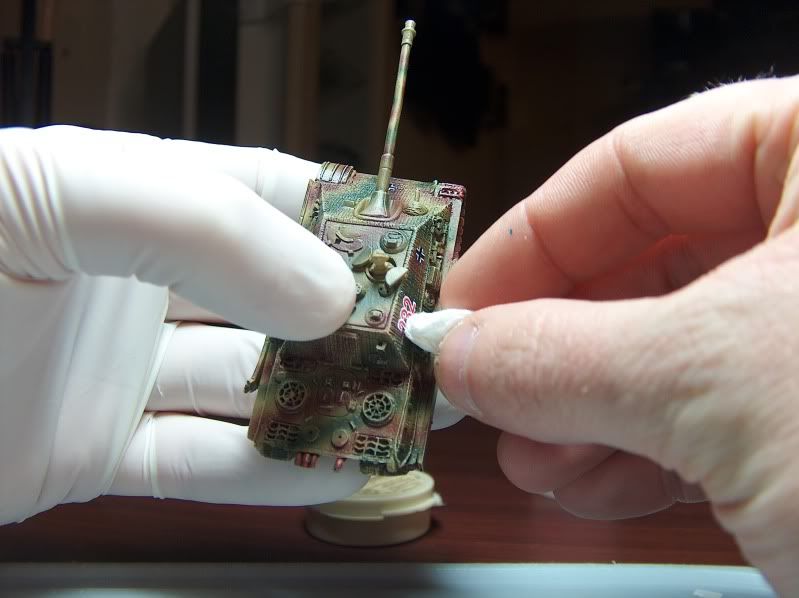
Take a small piece of paper towel and gently press the decal into the surface of the vehicle.  You can't use the q-tip for this because Micro Sol makes the decal sticky.  You'll find little fibers from the q-tip will stick  to your decal.

As you press, you can see the decal conform to the surface.  I'm still amazed how well this works.


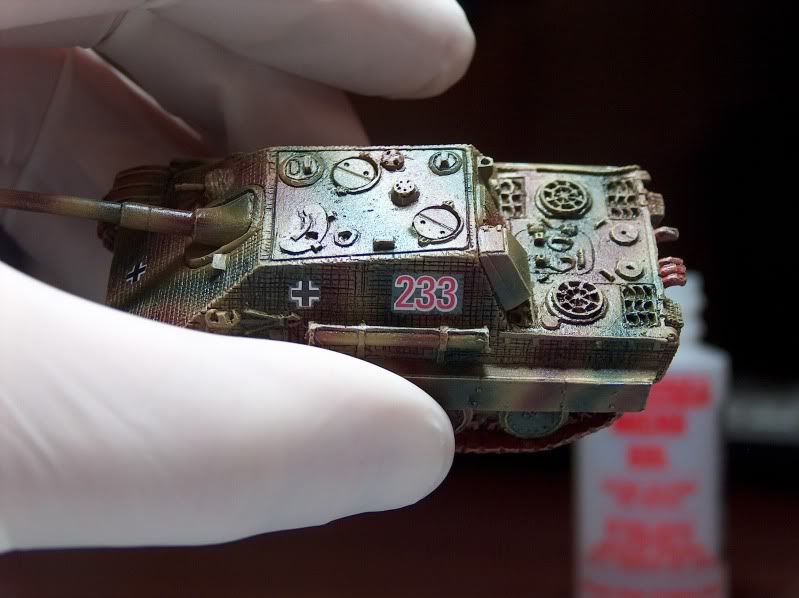
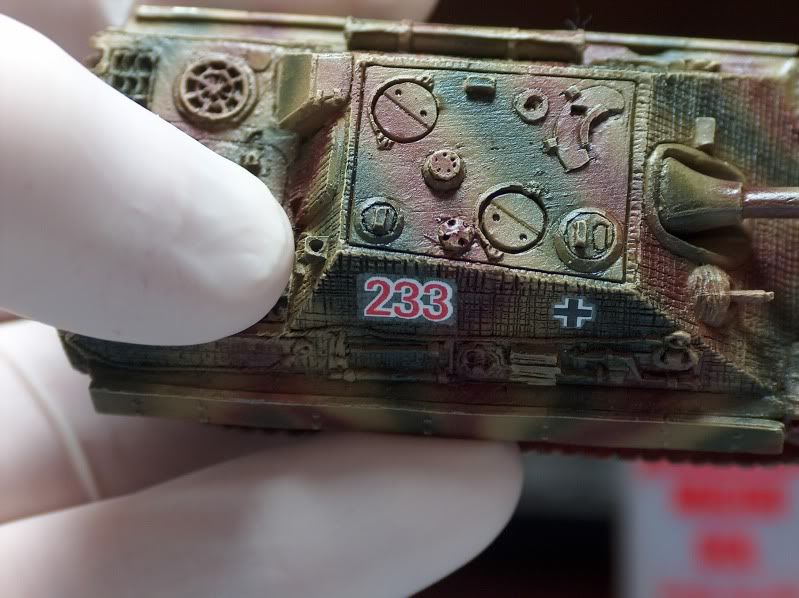
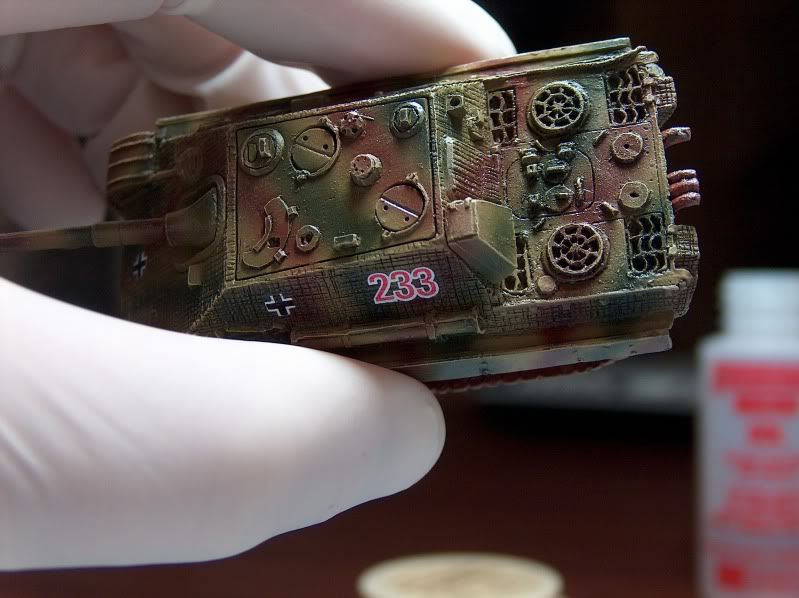
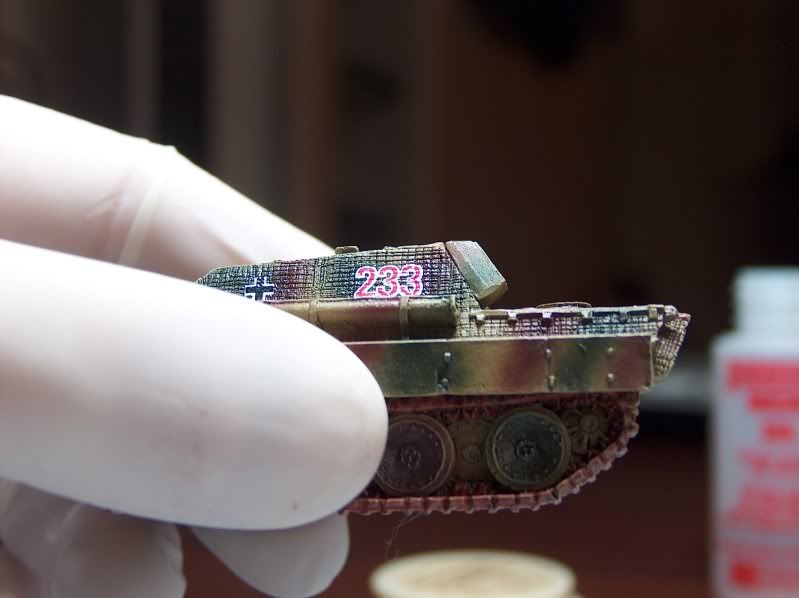
You can see in the pics below there is no more silvering. 


Step 10
Go back and repeat steps 8-9 for the rest of your vehicles.

Completion
There you now have perfect decals even on zimmerit.
Don't worry if your decals are still shinny and you can see the edges.  This will disappear when you do a matt varnish.  I even spray a little extra where the decals are.

Some people like to do a gloss varnish after they are done the decal.  I don't do this.  I don't see a point.  My matt varnish will seal them.
You may notice I also do my wash and highlight before I do decals.  I think a lot of people do this after decals.  I find some decals are thicker then others.  Mostly the older Soviet stars.  And the decal edges will get picked up by the highlight and wash.

You can still do weathering to dirty up the decals.  So, no need to do a wash and highlight after the decal.  Safer to just do it before.

There you go.  Hopefully this will help some people do better decals.  The key is using both Micro Sol, and Micro Set.

Here are the rest of the vehicles for this project.  Not a single bit of silvering, and all conform to the zimmerit.