Showing posts with label Bergepanther. Show all posts

Monday, January 2, 2012

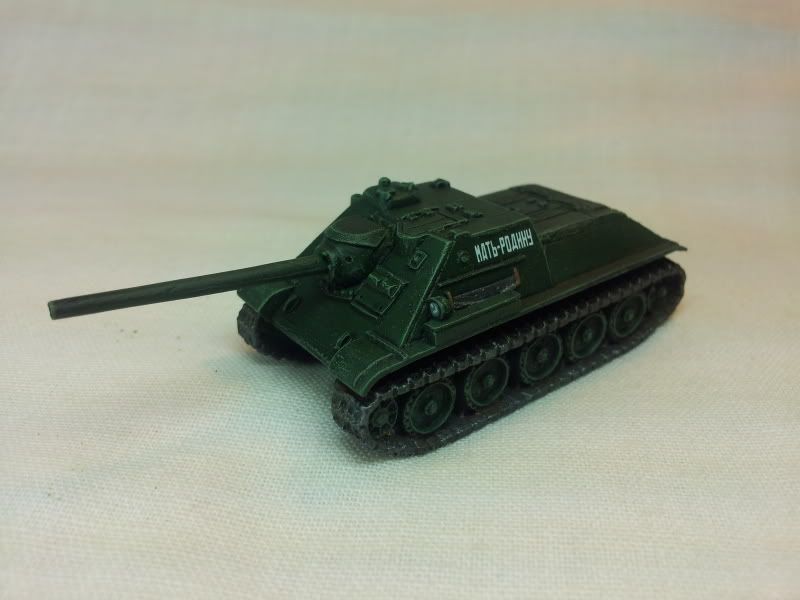
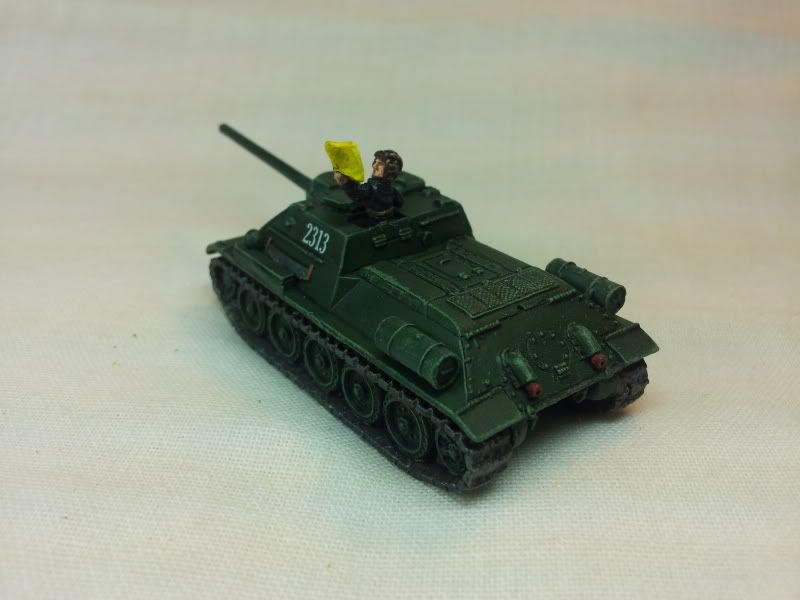
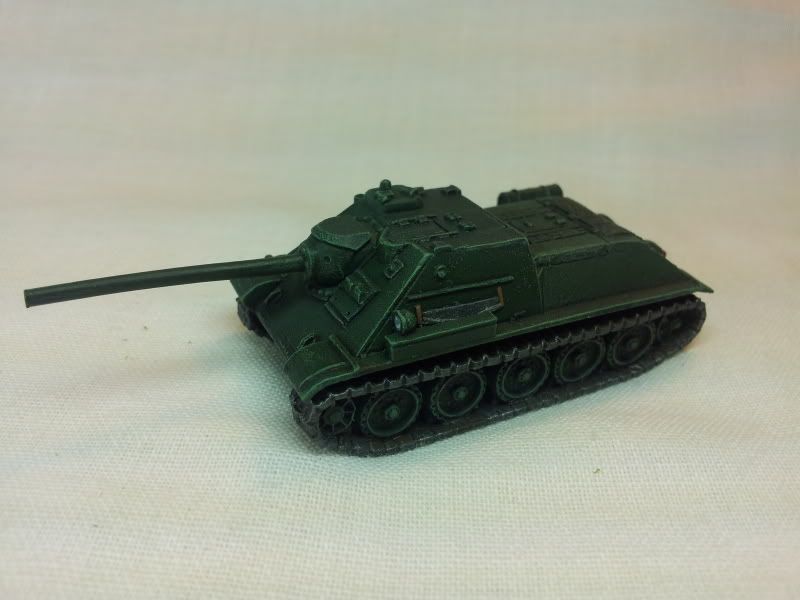
Happy Tank Destroyers...I mean New Years

Been working on these guys all week.

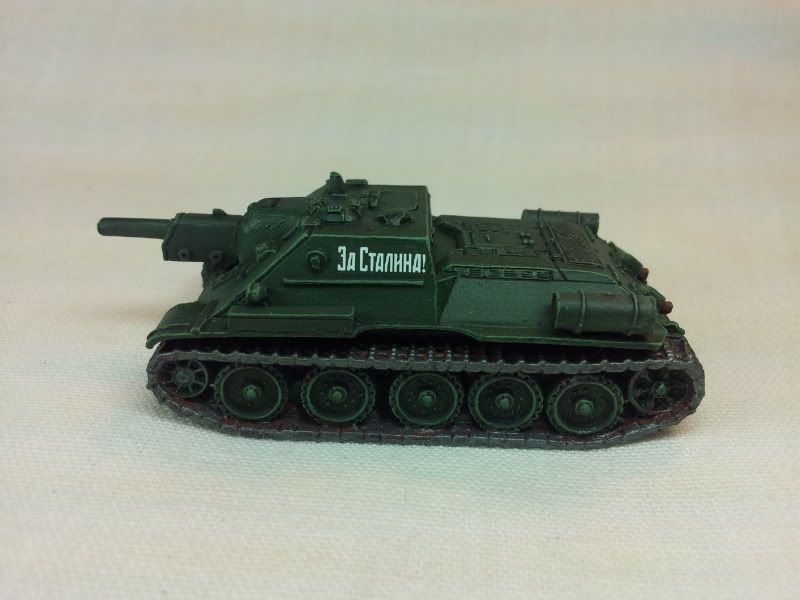
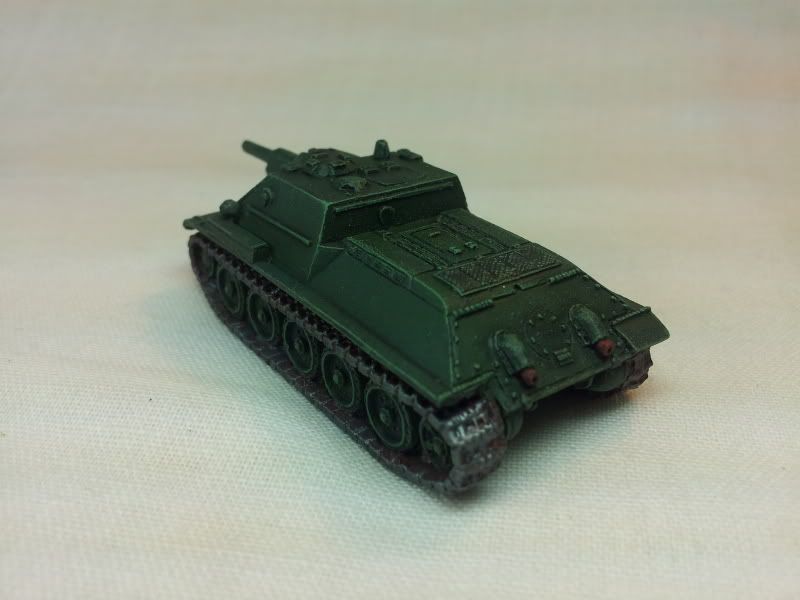
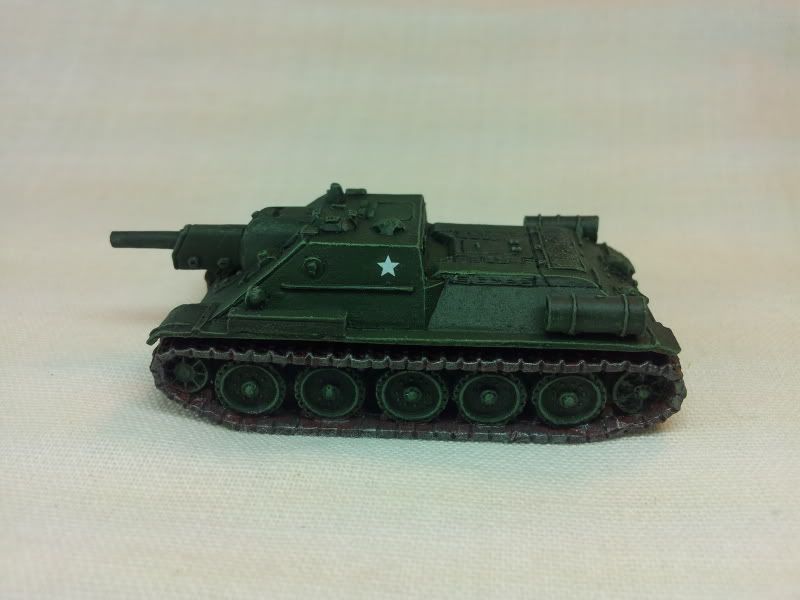
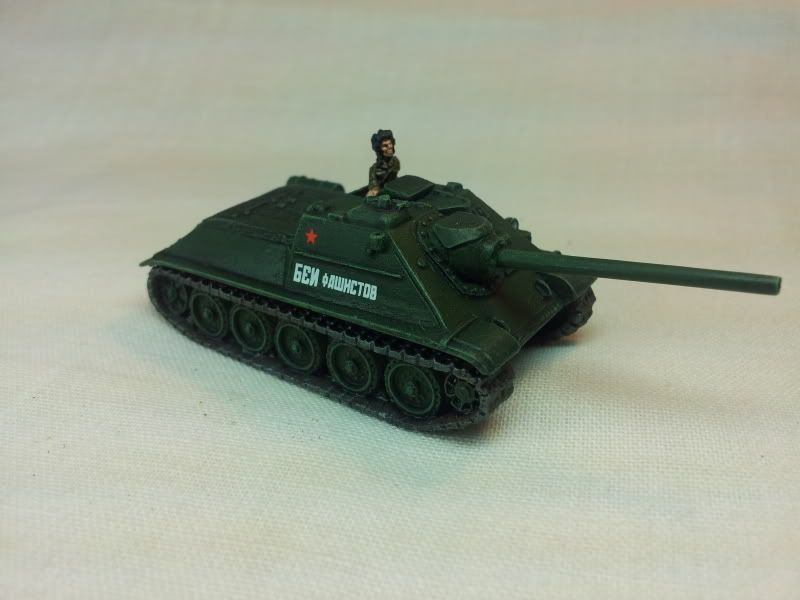
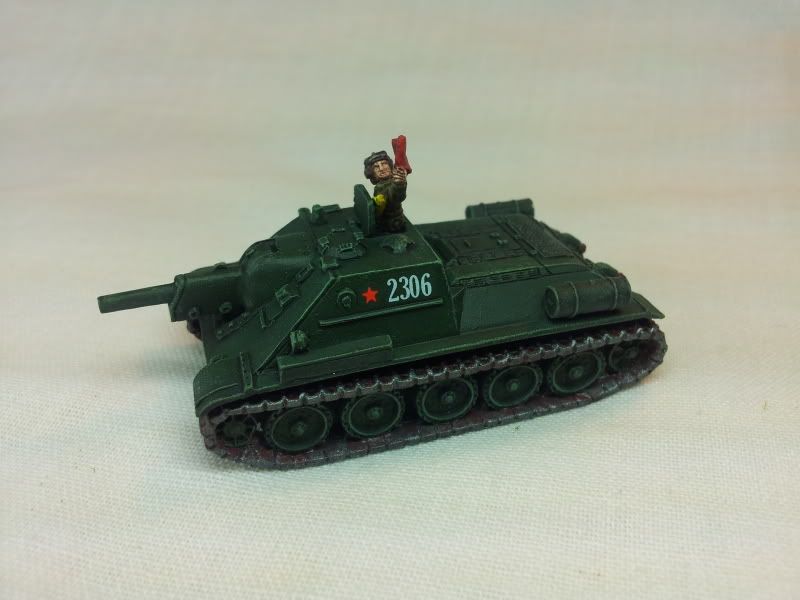
5 SU-85's
4 SU-122's
4 PanzerJager I's

The PanzerJager I's were very interesting to research.  I wanted the fire extinguisher to stand out.  But I was pretty sure the Germans were smart enough not to paint them red like normal.  What I found out is that they painted them the vehicle colour if they were outside the vehicle, and they were red if they were inside the vehicle.  I found some pictures of examples and they were about as multi-coloured as German uniforms.  I ended up painting them German Camo dark Green the same as gas mask containers.  This made them stand out a bit more from the Panzer Grey.

The 2nd thing which I found very strange, was the placement of the radio antenna.  Battlefront made their model with 2 places for it.  And if you google pictures of the PanzerJager I, you can see that the antenna did in fact appear on both sides of the vehicle.  I have no idea why this is.  Might have to do a bit more looking into that.  But I ended up placing it in the front.

I also wanted to put a unit marker on them.  I couldn't find hardly a thing.  I found a few pictures with unit marks on them, but I couldn't make out what they were.  So, I ended up putting the 60th motorized division symbol on them.  They took part in the attack on Stalingrad.  They were bound to have a few attached during or some time before. 

The SU's I tried a different kind of green.  Before the wash they were REALLY bright green.  But after a wash they really darkened up.  I think I like them better then the old green I used.

With the SU-85's I tried a brown base colour for the tracks instead of my usual Cavalry Brown.  Don't think I like it.  You can barley tell.  The Cavalry brown really stands out.

The reason these vehicles are very clean is because I'm going to test out the new BF pigments.  They only problem is I have no idea how.  So, I goggled, and there is about as much useful information out there as I found when I was trying to figure out how to airbrush...and by that I mean there is F'all out there.

One guy actually made a video tutorial.  Pretty much all it says on how to apply pigments is to "apply the pigment to the vehicle".  Thanx a lot donk!  Very helpful tutorial.  Just like the sound of your own voice or what?

Another guy says to use paint thinner but doesn't explain how.  Do you mix it with the pigment, do you brush it on first, do you brush it on after?  Another helpful idiot who likes the sound of his own voice.

Where do these people come from?  I guess I'll have to put together some trials like I did with airbrushing.  When I know, you will know.  Unless someone already knows, and can give me some idea's.  I have a couple of test models all set up.

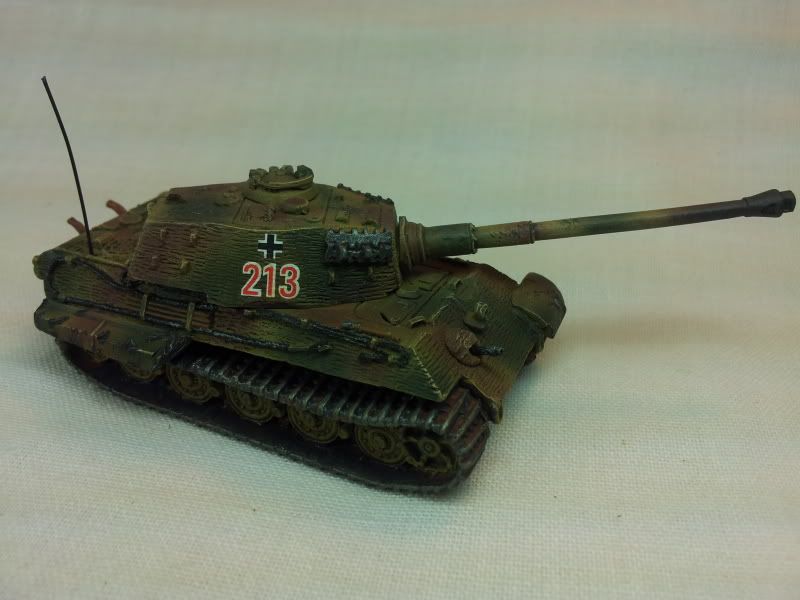
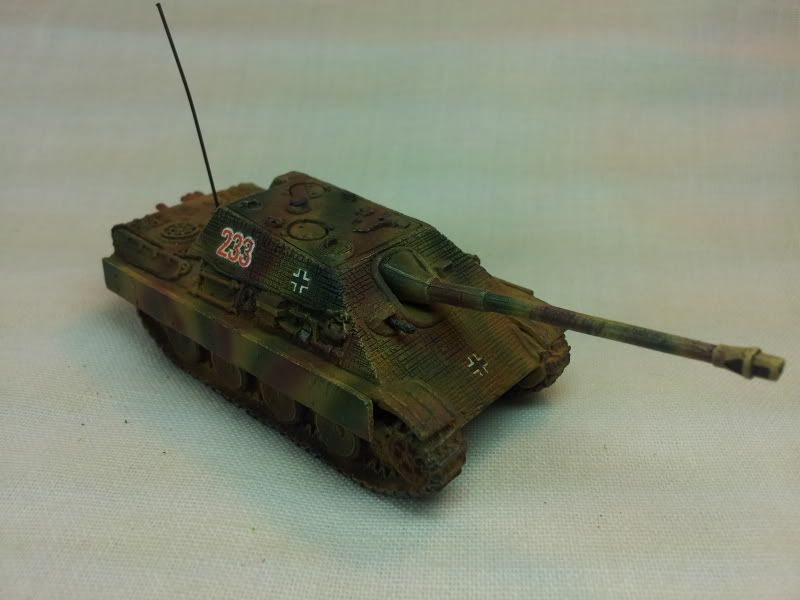
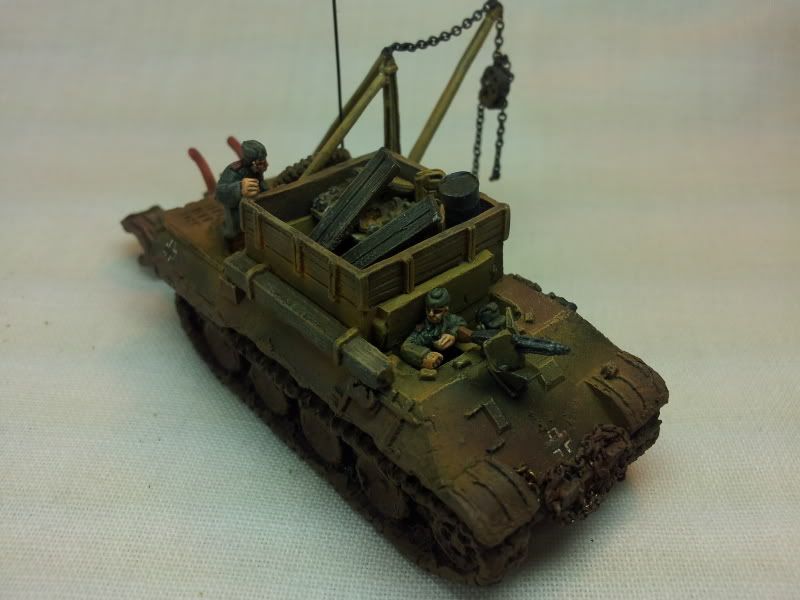
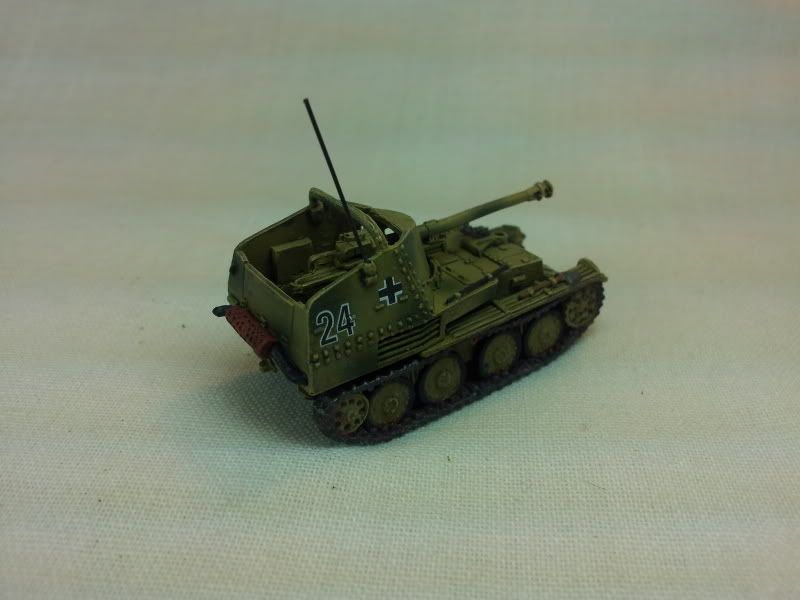
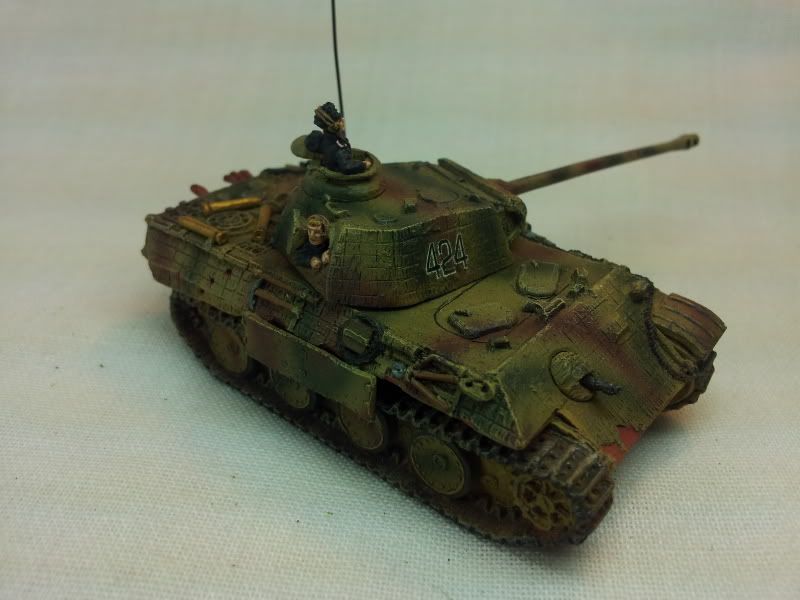
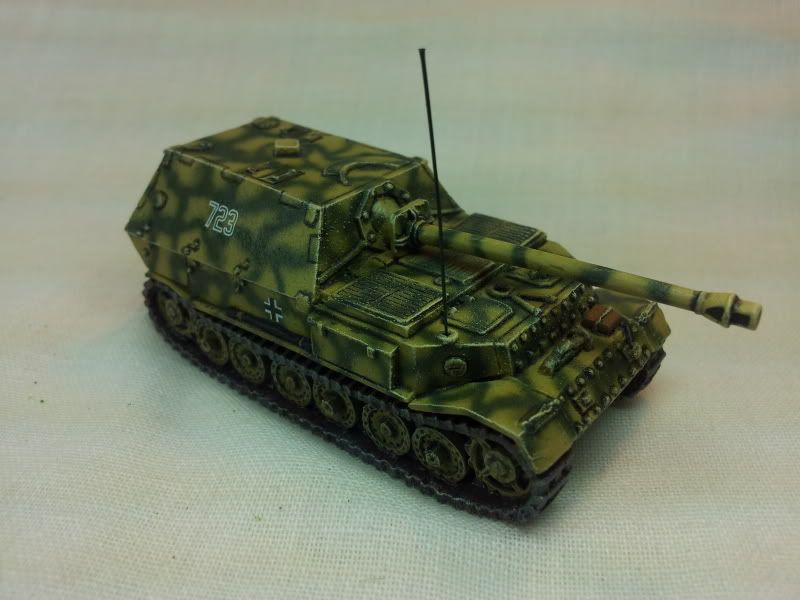
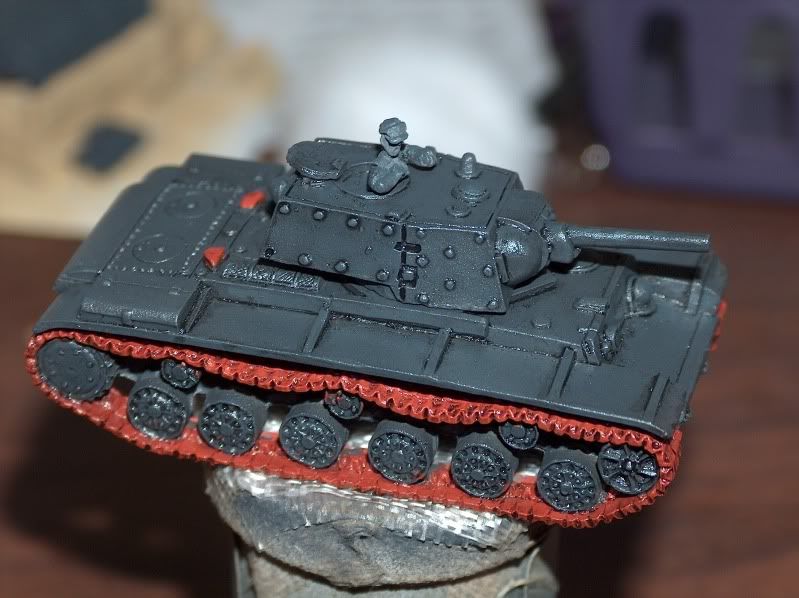
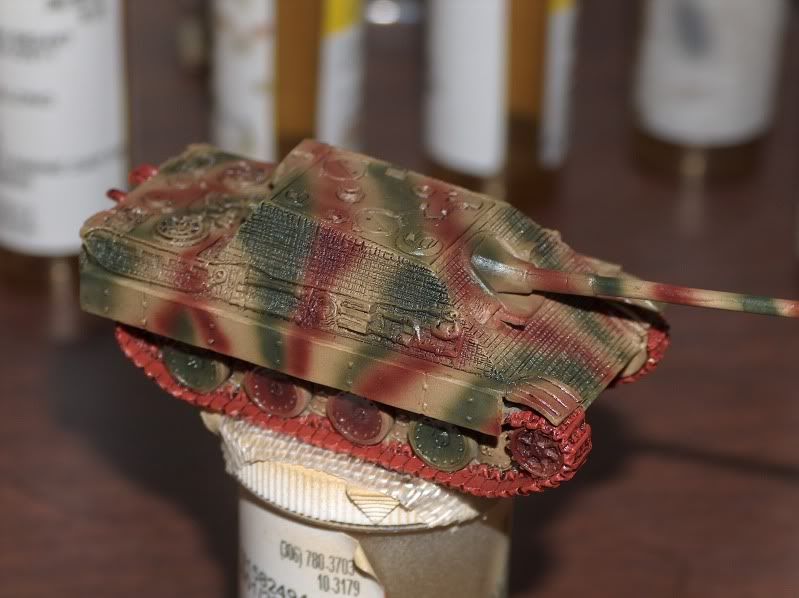
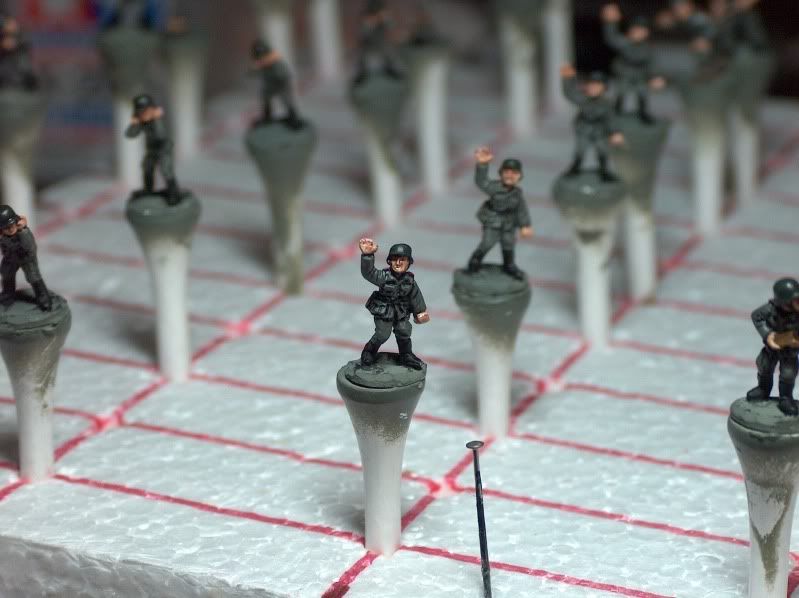
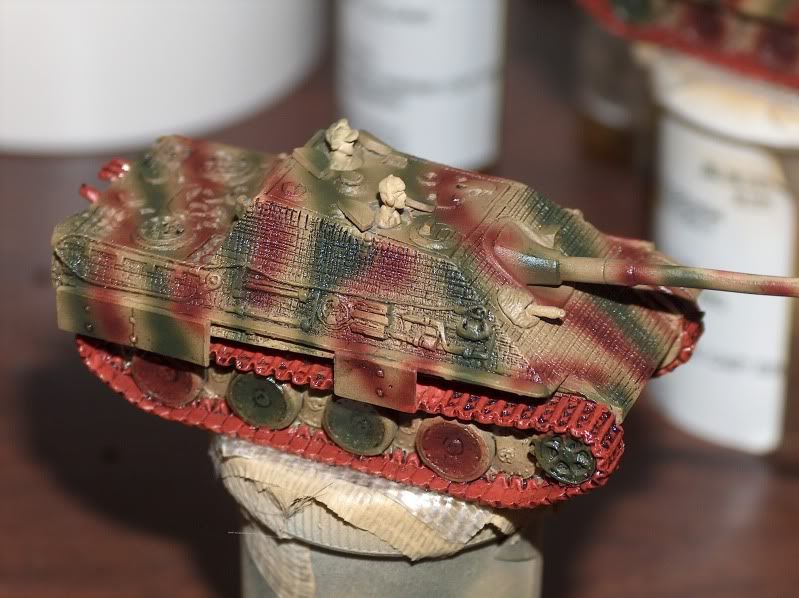
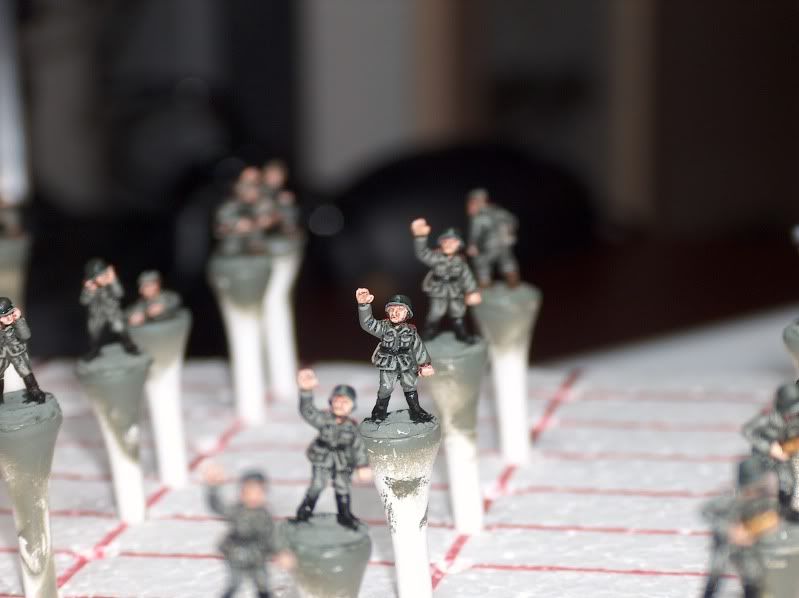
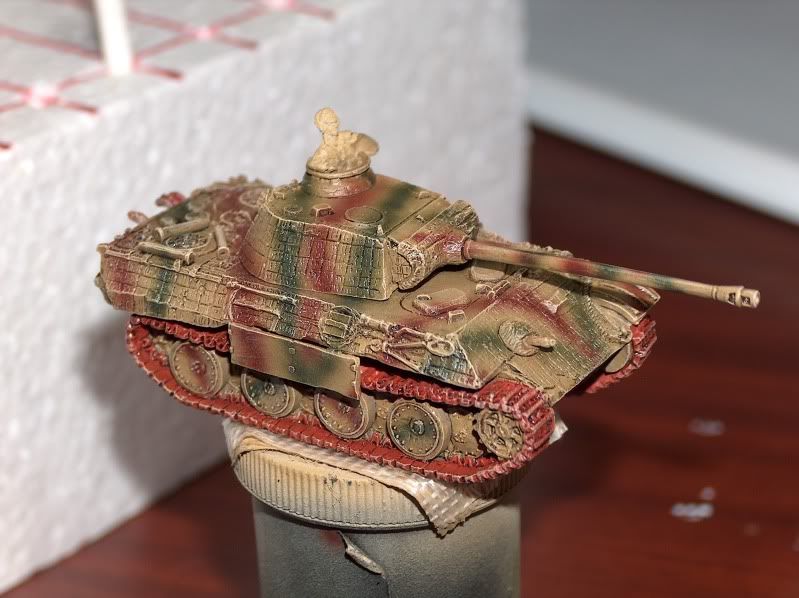
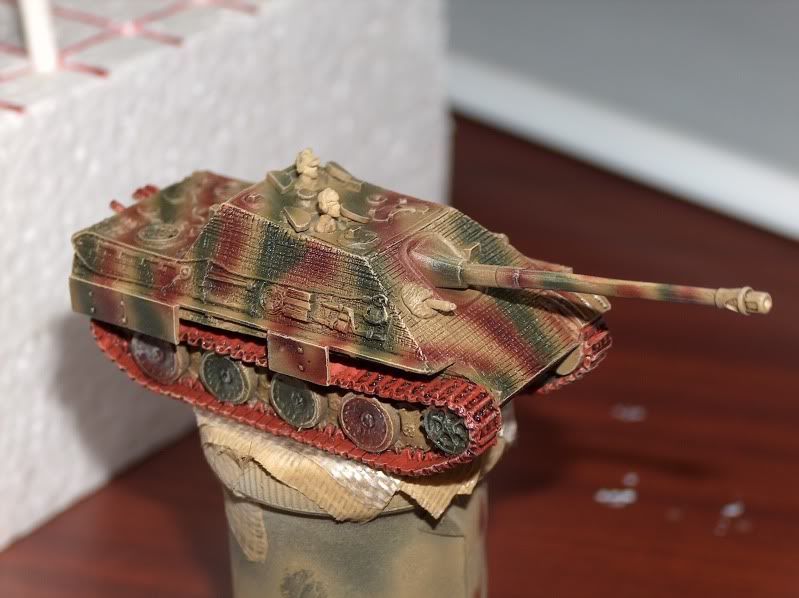
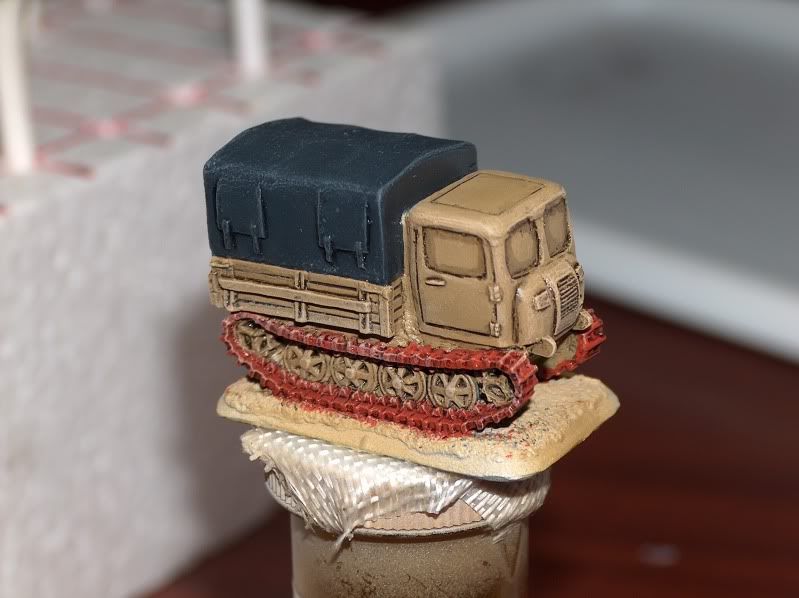
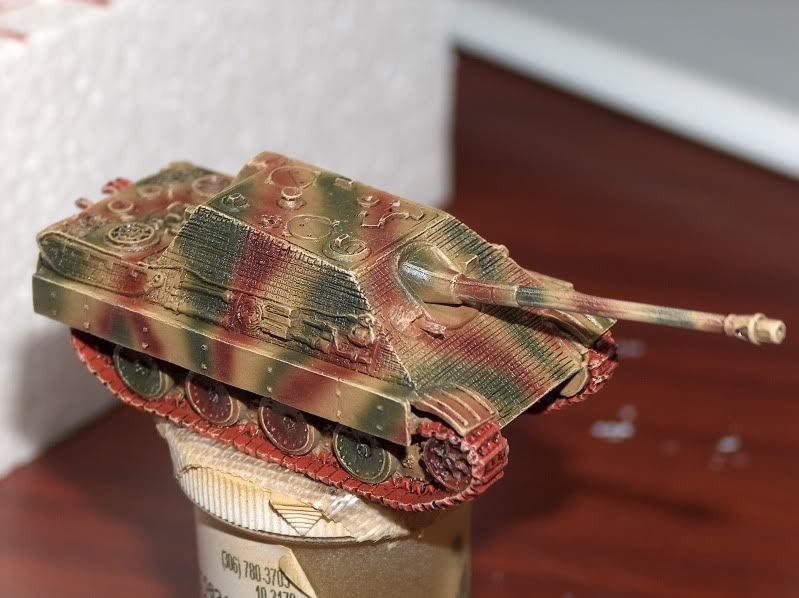
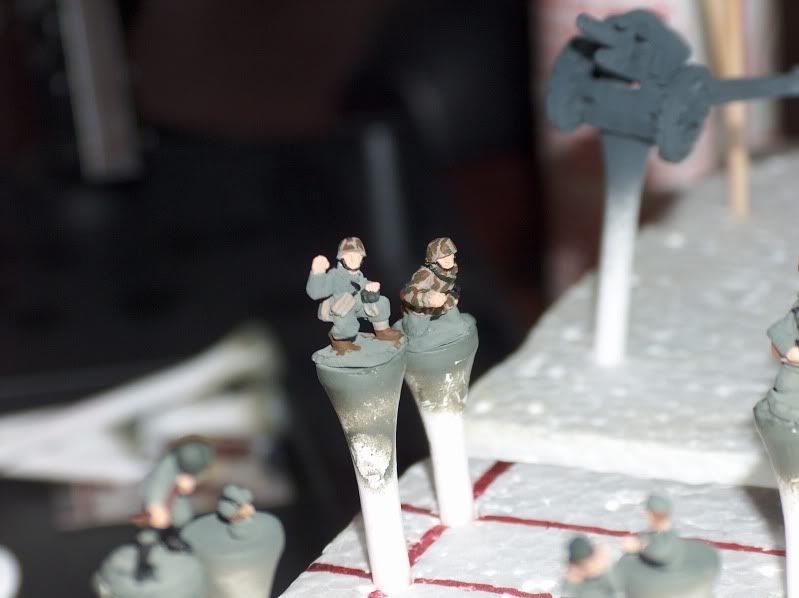
Anyway, that's it for now.  I will leave you with some of my favorite models from 2011.  Sorry if the pics don't look that good.  I'm trying some new photography stuff.  I may have to give my friend Randy Dickin a call, who is really into photography.  Maybe have him set me up a studio or something.

Happy new year everyone.
Sunday, April 3, 2011

Schwere PanzerJagerKompanie Part V - Wash & Highlight

In case you missed some:
Schwere PanzerJagerKompanie Part I - Intro
Schwere PanzerJagerKompanie Part II - Preperation
Schwere PanzerJagerKompanie Part III - Airbrushing
Schwere PanzerJagerKompanie Part IV - Detailing

Doing a wash seems to be the most popular but most obscure technique in all of painting miniatures.  Its so hard to find an exact formula of what a wash actually is.  It always "some" of this, or a "few drops" of this.  Never an exact formula.  And if I did ever find an exact formula I couldn't get it to work. 

The closest I found to the "Magic Wash" formula was 1 part future, 4 parts water, and "a few drops of your favorite pigment".  A few could be anything from 2 to 7.  In testing wash formulas I've found 1 drop makes a huge difference in how dark your wash is.  Just saying "a few"  doesn't cut it.

I always use an excel spreadsheet to keep track of EXACT formulas for anything I do in painting.  On this little project I'm actually finding there needs to be different formula for different jobs.  I also tried something new.  I did a pre-mix of future and water.  Usually I just did straight Future.  I tried the 1:4 future to water, but found it was to watery.  So, I tried 1:1.  This is now my "Magic Wash".

To get my "parts" I use droppers.  I use this when airbrushing as well, to mix my 3:2 paint to windex formula. 

For a black wash I use games workshop black ink.  I tried to Vallego black shade, but found it wasn't dark enough for what I like.  For tanks I used a 1:20 mix of ink to magic wash.  For infantry I used a mix of 1:40.  I also tried giving 2 coats of wash.  I never wanted to try this before because I figured it would make things too dark.  It seemed to work really well.

For flesh I use about a 1:2 or 1:3 W&N peat brown to magic wash.

If anyone else would like to share some EXACT wash formulas I'd be super interested.


After all the wash, I do a dry-brush highlight of everything.  Usually a 3:2 base coat to white.  I keep finding I have to do it lighter highlight then I would think, because my matte varnish really lightens things up, and the highlight disappears there isn't enough contrast between the base coat.  


Up next will be my decal tutorial.

Sunday, March 27, 2011

Schwere PanzerJagerKompanie Part IV - Detailing

In case you missed some:
Schwere PanzerJagerKompanie Part I - Intro
Schwere PanzerJagerKompanie Part II - Preperation
Schwere PanzerJagerKompanie Part III - Airbrushing

Well, I'm not sure how much I would call this detailing.  Not for the tanks anyway.  I basically paint everything that needs to be painted before a wash.

One thing that could possibly be the best thing to advance my painting besides the airbrush, is a wet palette.  I can't believe how many years I went without one of these.  It saves so much paint.  I always found, especially with brown and flesh colours that they dried up so fast.  Dried acrylic paint is amazingly hard to clean from a plastic palette.  The wet palette is just amazing.  Its super cheap for how much time and paint it saves.  I would suggest it to anyone.  Its basically a piece of paper over a wet sponge.  I can leave a spot of paint over night or even a few days, and still be able to use it.  I cannot stress enough for new painters (and experienced ones) to get a wet palette.

The artillery crew, I paint everything.  Belts, pouches, guns, everything.  Recently I've had a problem with what colours to paint this stuff.  Especially for the Germans.  I have 3 or 4 different guides for painting Germans and rarely do they say the same thing.  The helmets are a great example.  We've all seen WWII movies, and German helmets ALWAYS look dark grey.  BF's mid war guide says German grey, and BF's late war says German Camo Green or middlestone.  I've never seen a green German helmet except for DAK forces.  In doing some research it would seem that German helmets varied in colour as much as the soldiers themselves.  I found that no 2 helmets ever looked the same colour side by side.  So there is probably no right or wrong answer.

Another issue, is pouches.  Most guides say Green Grey.  Well this is insanely close to Field Grey, and hard to even tell apart using the 3 Foot rule.  But its all trial and error to find out what looks good and is still historical.

The last thing I do, once infantry detailing is done, is to go back over each guy.  Mistakes will be made.  Its usually flesh colour on the uniform base coat.  So, I just quickly check things over and cover up any mistakes.

Tanks I don't do any details.  I do a pretty heavy drybrush after the wash, and it ruins any details you might paint, like tool handles.  So there is no point.

What I do paint is the tracks and exhaust a rust colour.  And like with the RSO's I also paint the tarp.  Everything else is left until after the wash and highlight.

Then everything gets mounted (ha ha...I said mounted) back on the prescription bottles and ready for a layer of Gloss Varnish.

I'm thinking of doing a gloss varnish on the artillery crew.  I've never done this before a wash with infantry before.  But I'm hearing more and more the gloss varnish helps a wash flow...I'm still thinking about it.


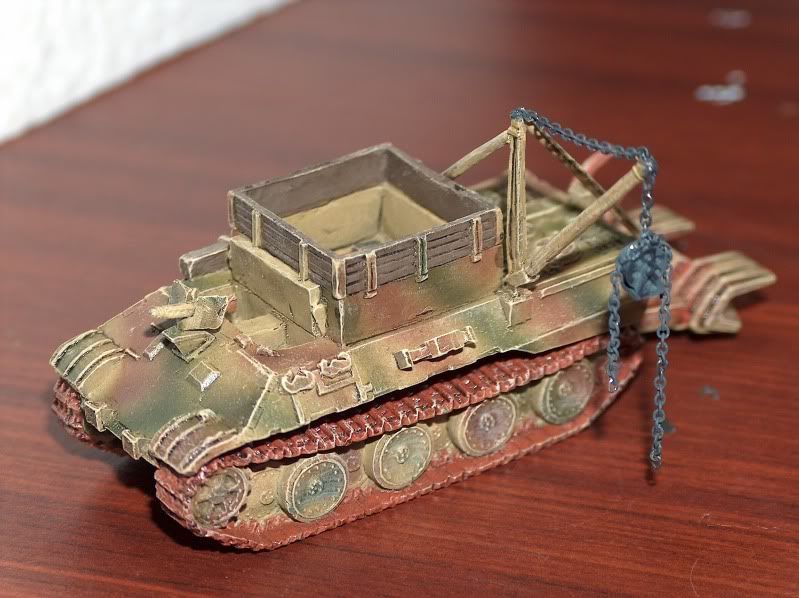
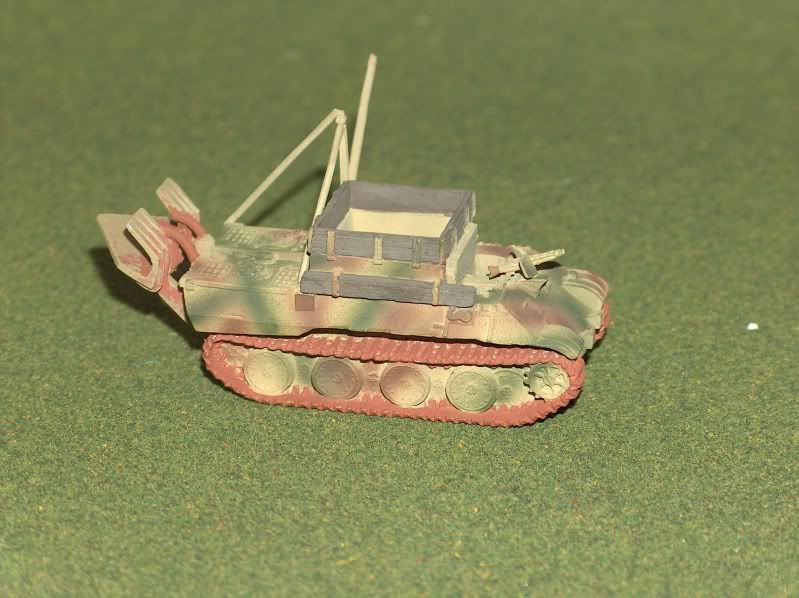
And a little teaser to the BergePanther. Added a chain and pulley.

Tuesday, January 18, 2011

Bergepanther Part I

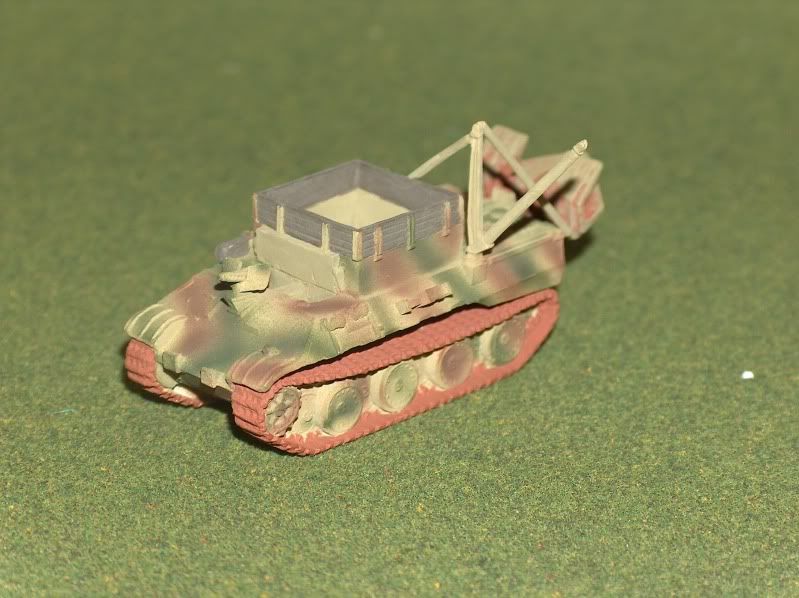
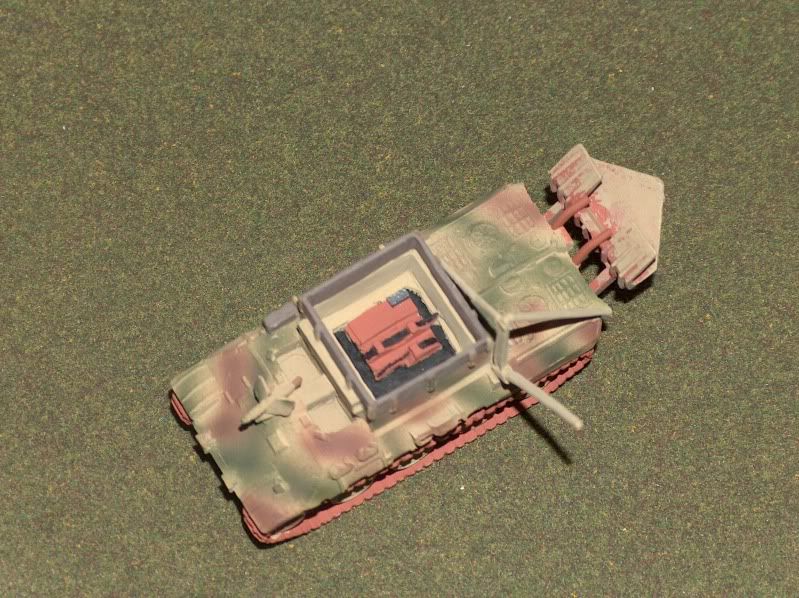
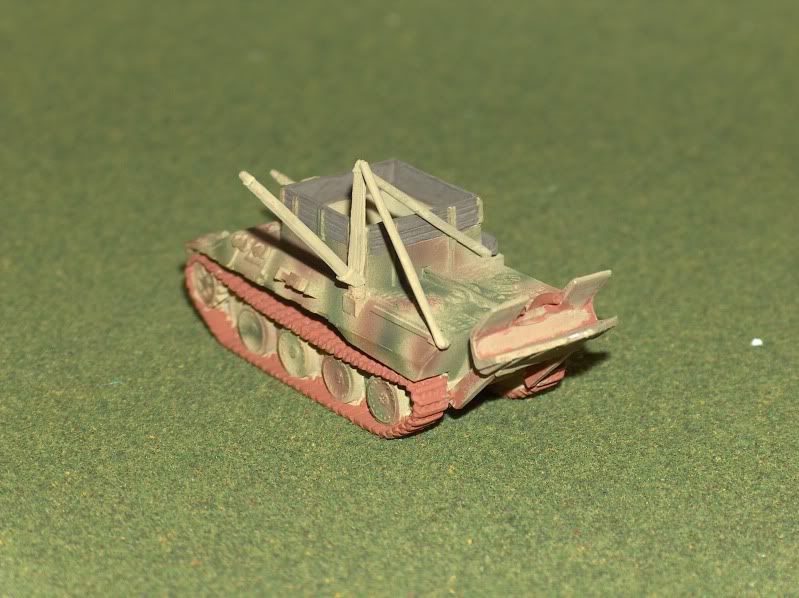
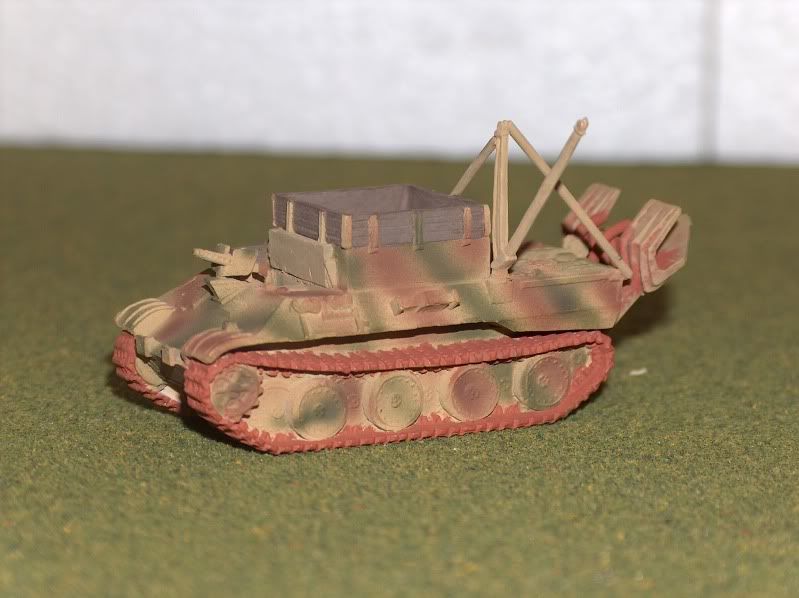
I decided I wanted to make a quick post about my Bergepanther.  I already thought it was going turn out super cool and I wanted to show some pics.

A Bergepanther was a German Panther tank converted to be a recovery vehicle for other vehicles that broke or bogged down. 

The whole time I've been working on this thing I kept thinking how cool it would be to have pulleys and chains.  I know I had seen others do this to their Bergepanthers.  Doing a quick search on the FoW forum I found 2 in particular that were very good.

One by Tommy_monaghan.  His had pulleys on it, and I couldn't fathom where he would get pulleys that small.  After reading through the post for a bit, sure enough someone asked him where he got his pulleys.  He said from the 88mm box set...I thought to myself...."Self, I have one of those".  So, I went and looked and sure enough 6 little pulleys.  I was super stoked.  I had pulleys...now I need a chain.

The 2nd Great Bergepanther was by Sentinal.  He has a fantastic chain on his.  I sent him a message to find out where he got it from.  In the meantime I showed my wife his Bergepanther.  She left uninterested but then came back a few minutes later were a handful of necklaces.  Sentinel got back to me this morning and said that he got his chains from a train store.  I had thought of this but dismissed it.  I didn't think they would carry something that small.  So, i'll go check it out.  If not i'll use the necklace.  I think they will work just fine.

I hope my Bergepanther turns out half as well as these guys.  But, I'm super happy with it so far.  I'm more excited about finishing this then my Konigs'.

These are before any wash, weathering, or modifications.  I just had to show it so far because its going to be kool.

Although, I did make one modification so far.  In the game the Bergepanther is armed with an AA MG.  But the model doesn't actually come with one.   In a lot of pictures of Bergepanthers they mount the AA MG on the front, so I've added an AA MG from a bunch of half tracks that I have.  I don't know if its the same AA MG its suppose to have but statistically its the same in the game, so it will work just fine.
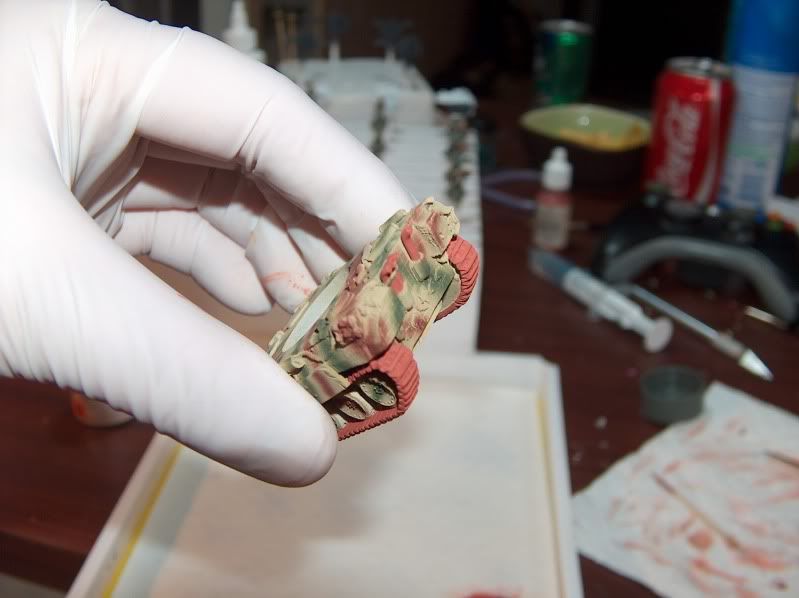
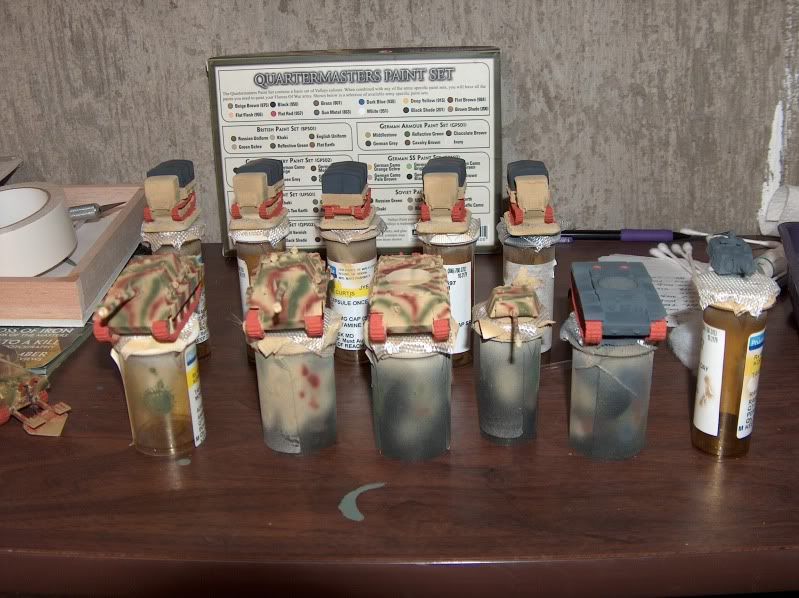
Enjoy...and look forward to Bergepanther part II....dun dun dunnnnnnn....is Stalin really Hitlers step dad, or will he be consumed by the dark side of the force?