Everyone refers to them as the King Tiger. But I've recently read that this is actually a mistranslation. It actually means Bengal or Royal Tiger. I still have a hard time not calling it a King Tiger. After all it is the King of tanks.
OK, lets get busy. This is my first tutorial so forgive me if it doesn't turn out. I took pictures as each step was completed, and I now realize I maybe should have taken pictures as to how to do each step. Oh well its a learning process for me as well.
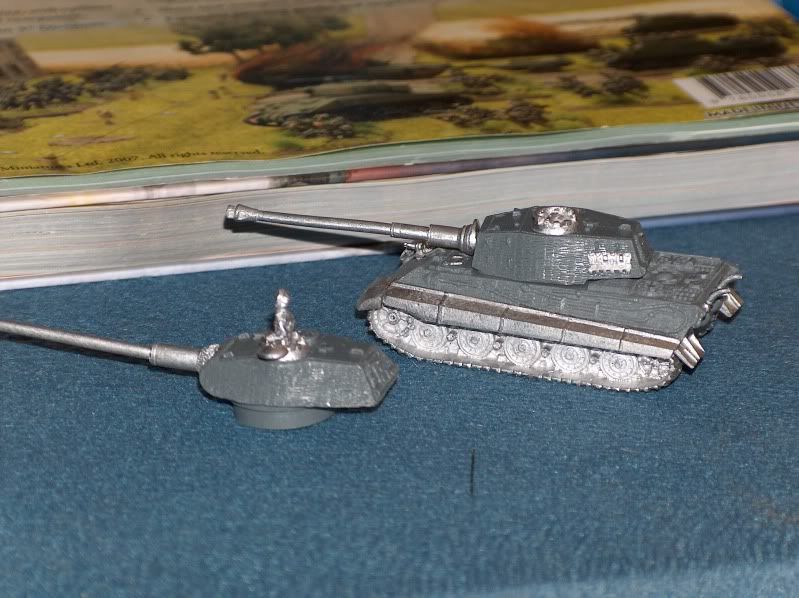 Step 1 - Assemble your miniature.
Trim up all the metal parts and remove the flashing. You will more then likely have to trim some of the resin as well. I don't normally wash any of the metal, although a lot of people do. It takes me long enough to get these miniatures done. But I for sure wash up the resin pieces. There is always some resin residue that needs to be cleaned off.
Don't use dish soap. I find it leaves a white film on your resin. Use hot water and a little bit of Simple green with a toothbrush. But don't brush your teeth with that brush after.
Once everything is dry start gluing pieces. The hardest part for me is the tracks. To to glue them on so that tank sits flat on the table with out a wobble and still having the tank look straight. Most tracks are pretty good, but sometimes you get those ones that just don't fit right. I had no problems with the Konigs. One the tracks are on and they are straight, I will add an extra line of glue underneath where the tracks meet the resin and then leave it upside down for the night. this will allow the glue to run into the spaces between the tracks and the resin. The tracks never fit flush. And will make sure you tracks don't come off.
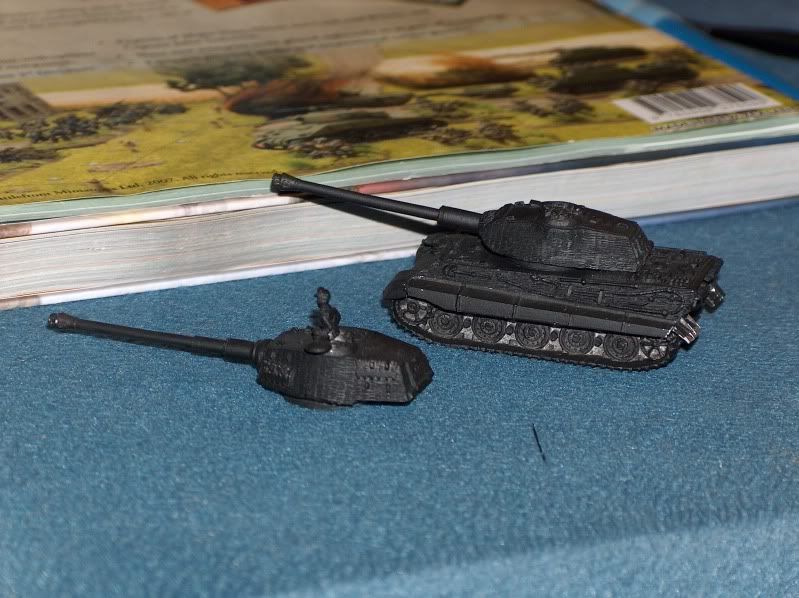 Step 2 - Prime
 I used to have a heck of a time with this step. I could not find a good brand where it wouldn't make my model all gritty. I don't know how many models I've stripped due to bad primer. I actually quite painting for about a year because of this. But now that I've discovered the airbrush, things are much easier. And I can spray inside.
I don't own a garage and the fews from aerosol cans are so bad you can't spray inside. I live in Saskatchewan where you only have about 2 good days out of 365 days to spray Its either -40, +40, or 400 km/hr winds. So, the airbrush was a god send and literally saved my FoW career. Now I can spray all year around.
But, I've now run into another question. Whether to prime or not. I'm using Tamiya paints in my airbrush. So, with the primer and the base coat being the same kind of paint, is there really any reason to prime anymore? I'm finding no. I can just do 2 coats of base coat and it works just as well, and leaves one less lair of paint of your model.
But for my 1st Konigs I primed it anyway. The other 2 I did not. At the end of this tutorial you tell me if there is a difference. I may find a difference when I play with them if the paint comes off or not. But with a varnish that shouldn't happen.
For Tamiya paints I use a mix of 3 parts paint and 2 parts Windex. The Windex acts as a lubricant, and my airbrush pretty much never clogs at this mixture. If you prime with white you will have to use thinner, because Windex will turn your white blue. But I find thinner doesn't work as well and makes your paint to watery.
 Step 3 - Add Rare Earth Magnets.
 I'd been testing rare earth magnets for another game I play, and then I heard about adding these to the turrets of your tanks. I always hated that the turrets always fell off. Especially when trying to carry them around. Adding earth magnets is just ingenious.
You will need a drill, green stuff, round 2x5mm REM's, and a 13/46th drill bit. This size of drill bit is perfect.
One of the first things I do with a stack of magnets is colour the top and bottom one with a marker. You will glue the marked side down on both the hull and turret. this will keep your polarities in the right direction. Nothing worse then screwing up your polarities and have the magnet "jump" of the tank when you put it down. Yes REM's are that strong.
I first use a hand held drill, the one used for pinning and gun barrels, to start a small hole in the very center of the turret. This will keep your drill from "wondering". Or else you'll end up with a hole off center. You want to try and match the holes up as close as you can.
Then drill your holes in the bottom of the turret and top of the hull. Its always better to go deeper then not deep enough. You are going to want to have the magnet sit flush. If they stick out your turret may not sit on the take properly.
Now on both the turret and hull, add some glue to the bottom of the hole, stick in some green stuff, a bit more glue and then gently put your REM, marker side down. Carefully push the magnet down until it sits flush. the green stuff will dry underneath and your magnet should sit there for good.
Leave the magnets dry overnight. If you put the turret on too soon the strength of the magnets will pull one of them out, and most likely will get glued together from excess glue.
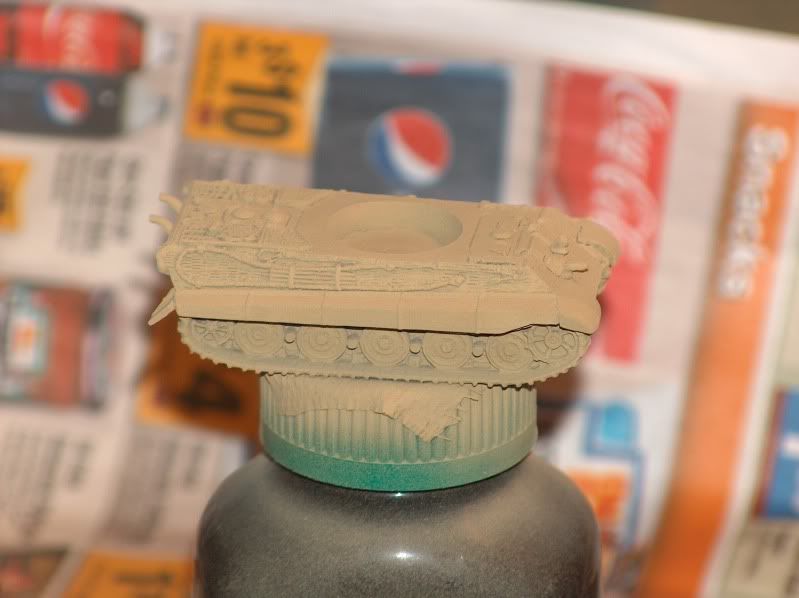 Step 4 - Base Coat.
 This is if you didn't base coat as your primer.
I used Tamiya XF-60 for my base coat. With the same mixture of paint to Windex - 3:2. The airbrush is so good for getting into those nooks and crannies. It takes way less time then a brush and the paint goes on smoother.
I guess I should add that when I'm spraying I use prescription bottles with double sided carpet tape to hold the the tanks and turrets. then I can hold these with out touching the tank while I spray. the tape is strong enough to hold even a king tiger.
I will still where a rubber glove on the hand I hold the tank with. then I can still hold the tank upside down to spray. I will stick one finger inside the hole where the turret goes and my thumb on the bottle. then I can spray in those underneath hard to reach places.
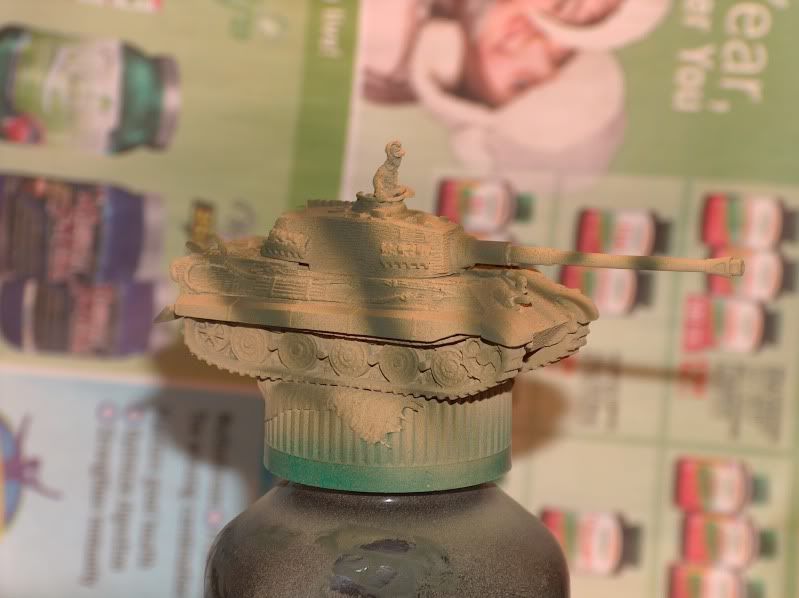 Step 5 - Add Camouflage Pattern
 There were lots of different camouflage patterns in WWII. These Konigs will belong to the 501st Scwhere Panzer Division. From what I can tell on the eastern front these tanks had the standard 3 tone pattern.
I really wanted to do one of them in the assault pattern, but I don't think they had those on the eastern front. At least not the Konigs anyway.
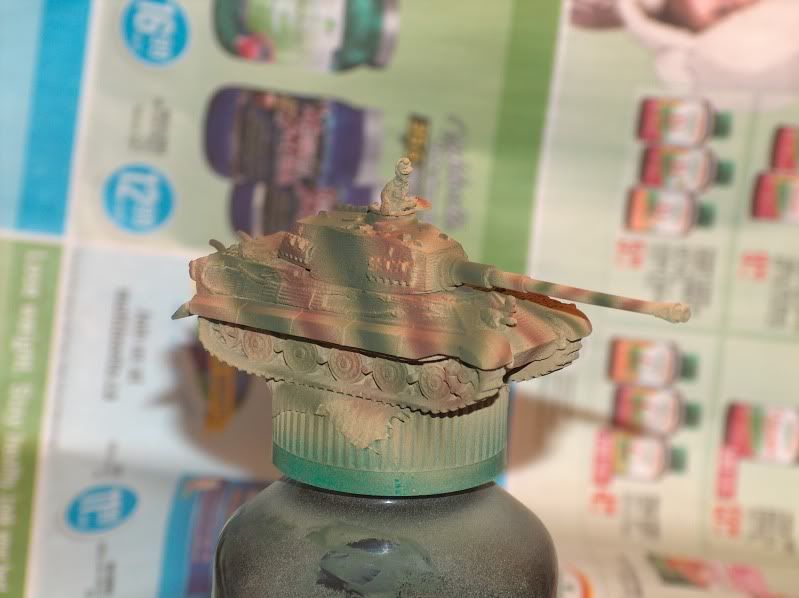 For the green I used Tamiya XF-58 Olive Green. Same mixture with Windex 3:2
Then for the brown I used Tamiya XF-64 Red Brown. Same mixture with Windex 3:2
I have one cheap airbrush and then another not as cheap airbrush. I use the super cheap one for base coating and the duel action one for camo. It has a 3.5mm nozzle. Still a bit big for this kind of job. My lines came out a bit thicker then I would have licked but I'm still happy with it.
I have recently ordered a 2cm nozzle and 3cm nozzle. so my next camo tanks should be a lot better.
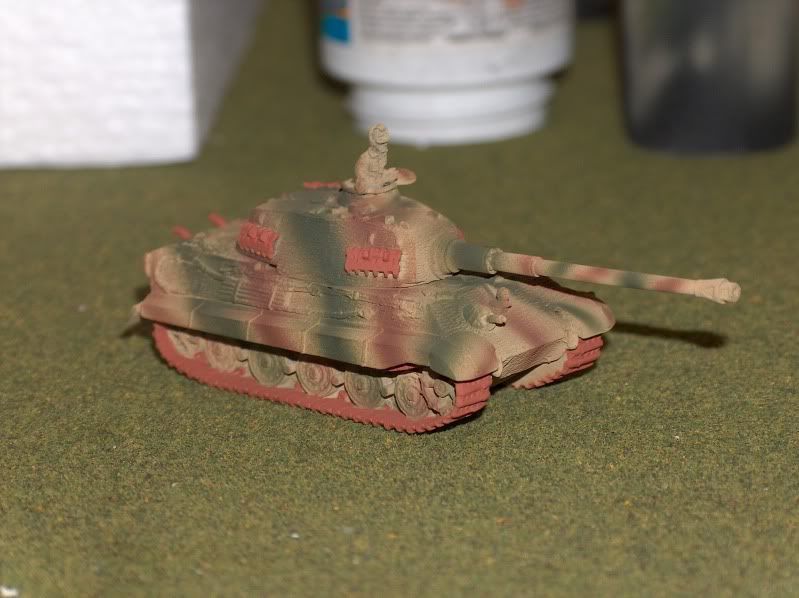
Step 6 - Paint Tracks
Paint the tracks a rust colour. I use 4 parts Reaper rust, and 2 parts Vallejo brown. Still maybe a bit light but it darkens up after a wash.
Don't worry to much if you get some of this colour on the wheels and such. It will mostly likely be covered up by weathering later on anyway.
You can also paint the exhaust ports this colour.
And, don't forget the tracks on the turret.
 Step 7 - Wash
 This step I still need to work at. I'm using a GW black ink. my mixture is in the range of 1 part ink and around 50-60 parts future floor polish. For the Konigs I used about 1:53.
I find that this wash formula works really well but it stains. So, you have to do sections at a time being careful not to overlap. Otherwise parts will stain darker. If you do have a section and wait to long to do the other half, you will get a dark line in the middle where you overlapped. I'll have to test if this line goes away with the varnish.
I find more works better then very little. you just have to be careful to clean up any "pools" that form on flat parts of the tank. I may have to see if I can do some kind of pin wash. but I think you would have to be extra careful if you got any not in the crease it would stain.
Do the whole tank including the tracks.
For the next step I used to add a layer of varnish here. but now that I varnish through an airbrush, I don't think I need to. My varnish mixture is mostly future floor polish, and so is the wash. So, with the Konigs I decided to skip that step and see what happens.
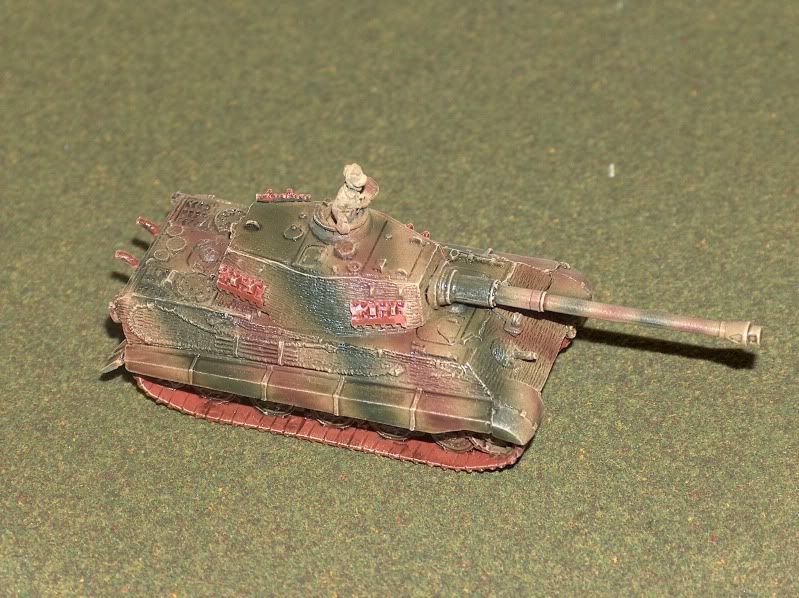
I decided to go with a stronger highlight with these. Every time I varnish my highlight disappears. So I went with a 2:1 mixture. That is 2 parts base colour (XF-60) and 1 part white. Normally I would use 3:1.
If you normally add water to your paint, add half as much as you normally would. I find that if the paint is too wet, it will still catch on parts you don't want the highlight to be on. In fact, now that I'm writing this I forgot that I used Vallejo paint for the dry-brush, even though I used Tamiya for the base coat. Vallejo is thicker and works way better for a dry brush.
Once you have your paint, take a larger flat brush and add some paint on the flats. On a paper towel whip as much paint off as you can. I usually wipe it off until no more paint shows up on the paper towel.
I usually dry-brush the wheels first. These get the most weathering in end so it helps to get any excess paint still left on the brush off.
Now to do the body and the turret of the tank (separately) take your flat brush and run it (along the flat part) at perpendicular angles do the edges of your tank. Once you are satisfied doing the tank and turret separately, put the turret on the tank and do the highlight again. this will make sure that your turret highlight matches your hull. this probably doesn't matter to much, but its peace of mind for me.
{Part II will be posted shortly. }
No comments:
Post a Comment