Monday, October 11, 2010

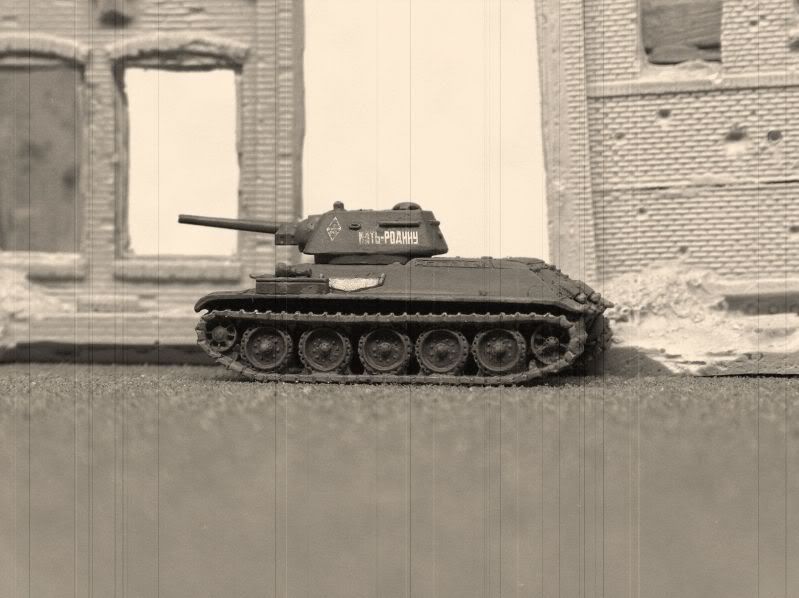
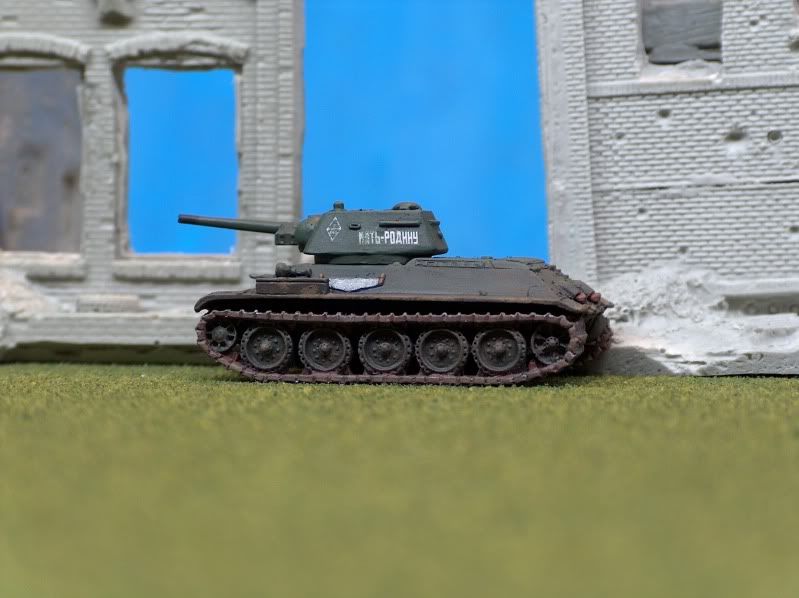
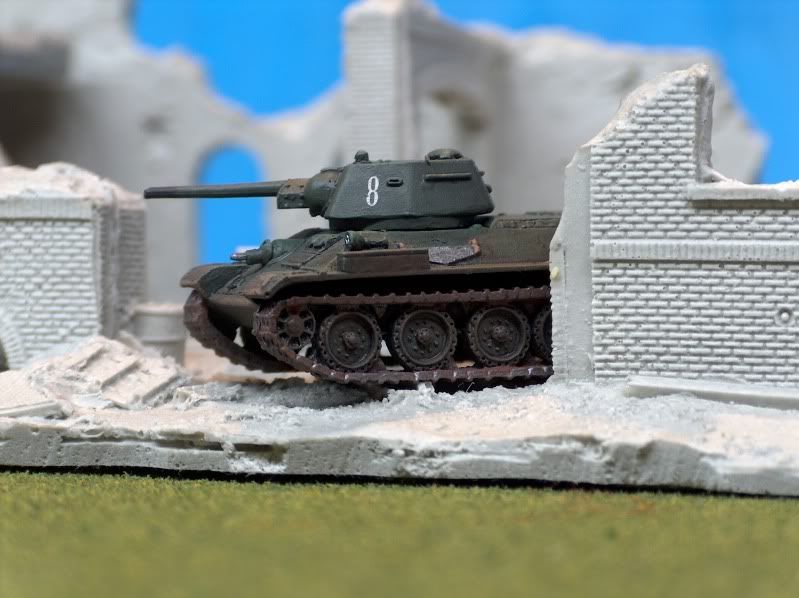
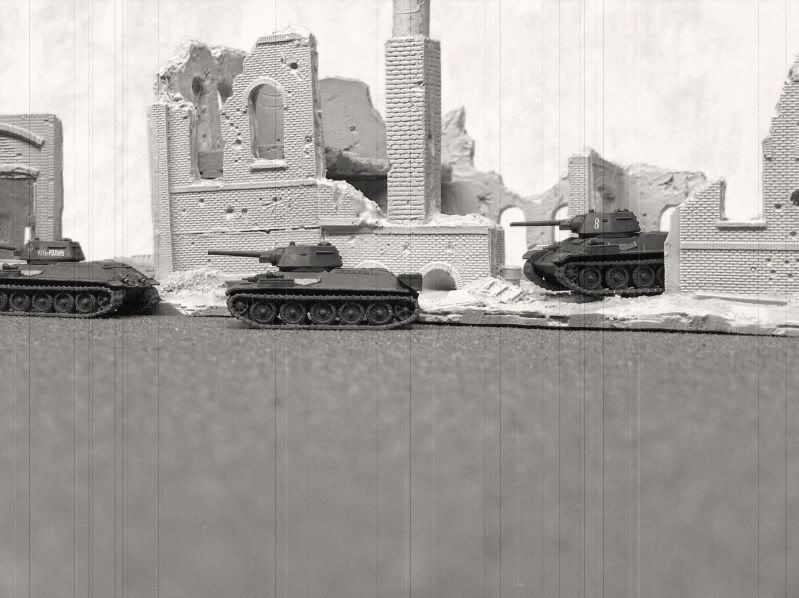
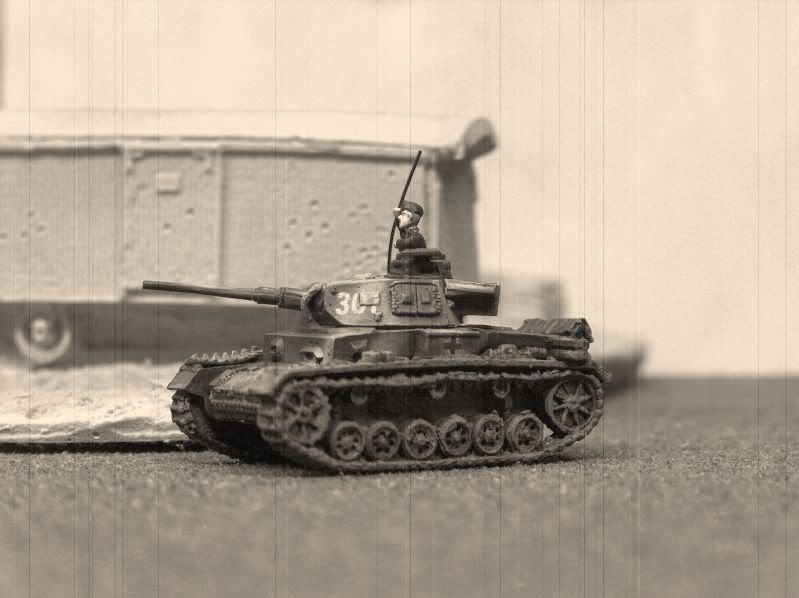
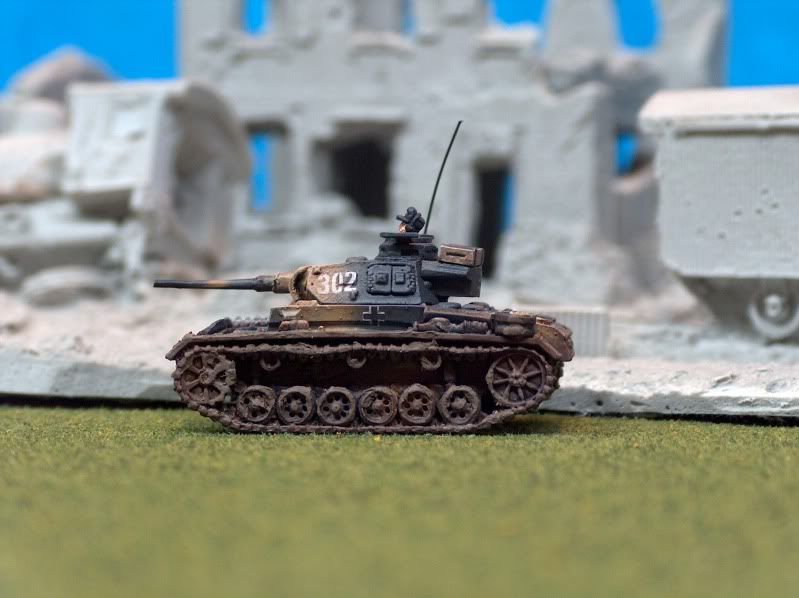
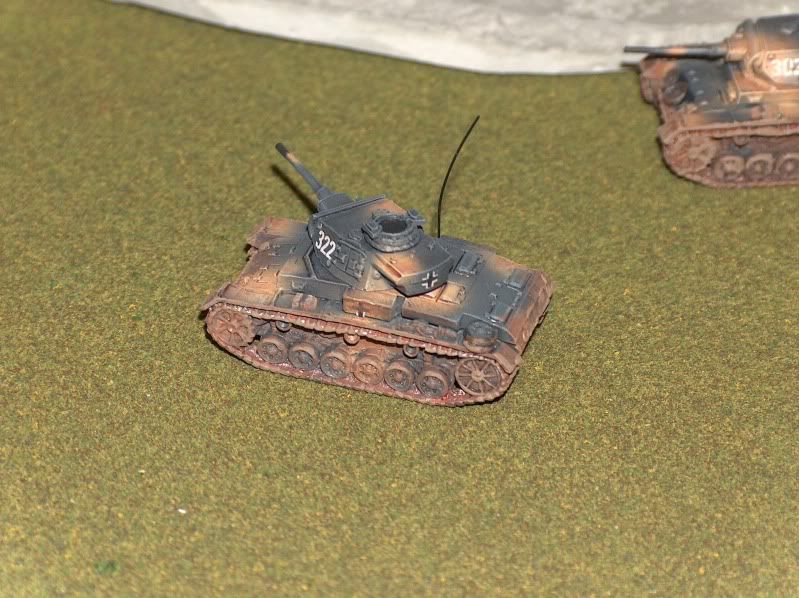
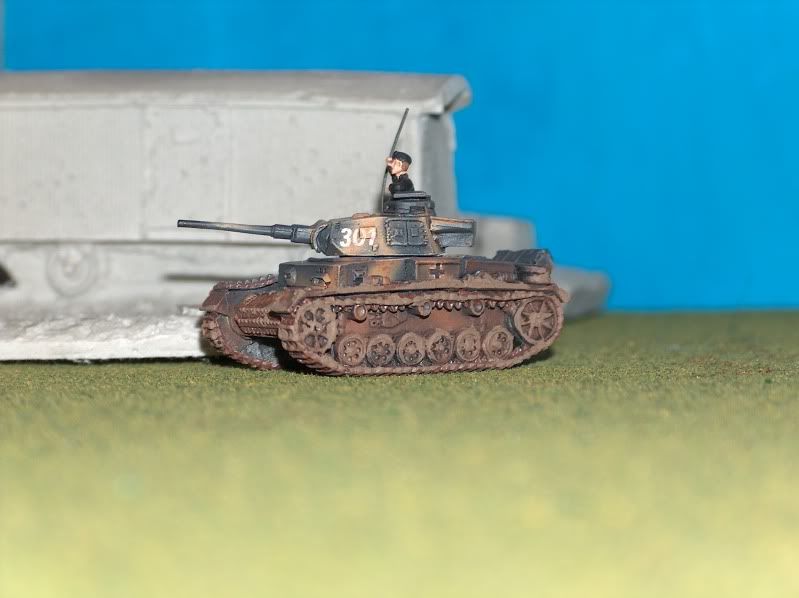
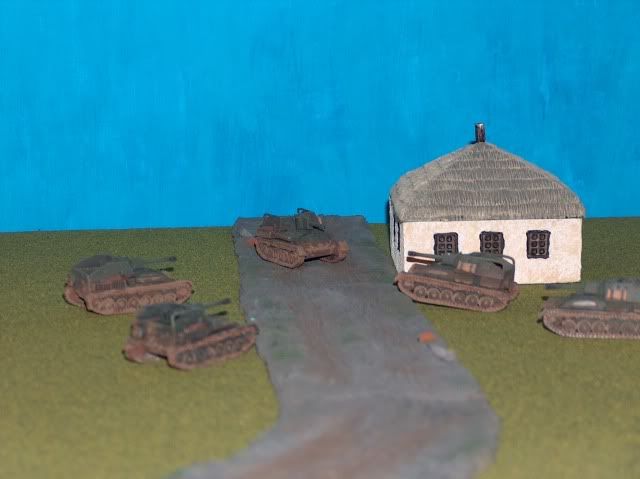
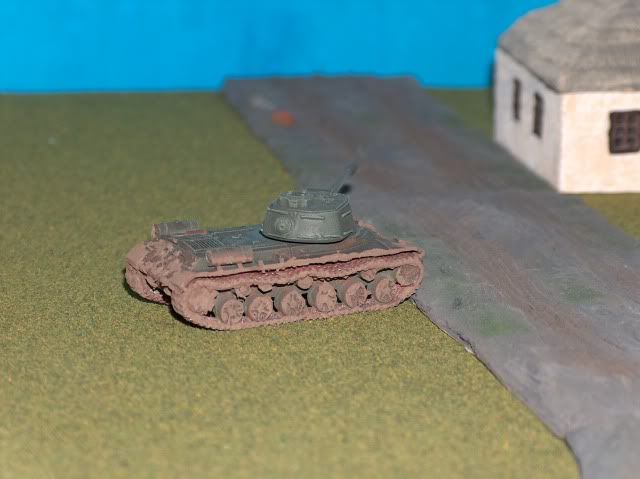
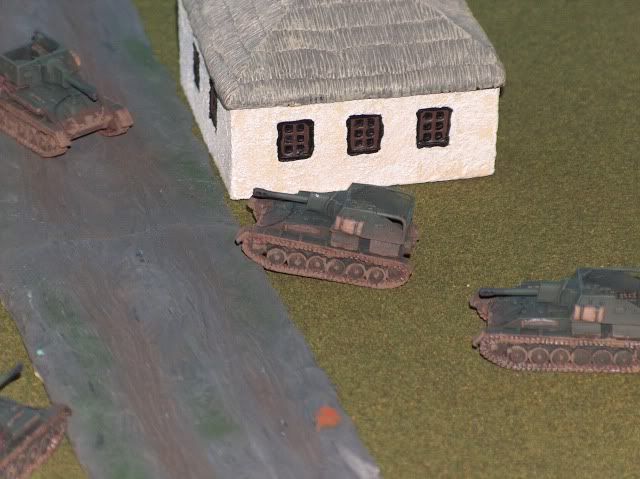
T-34's and Panzer III J's

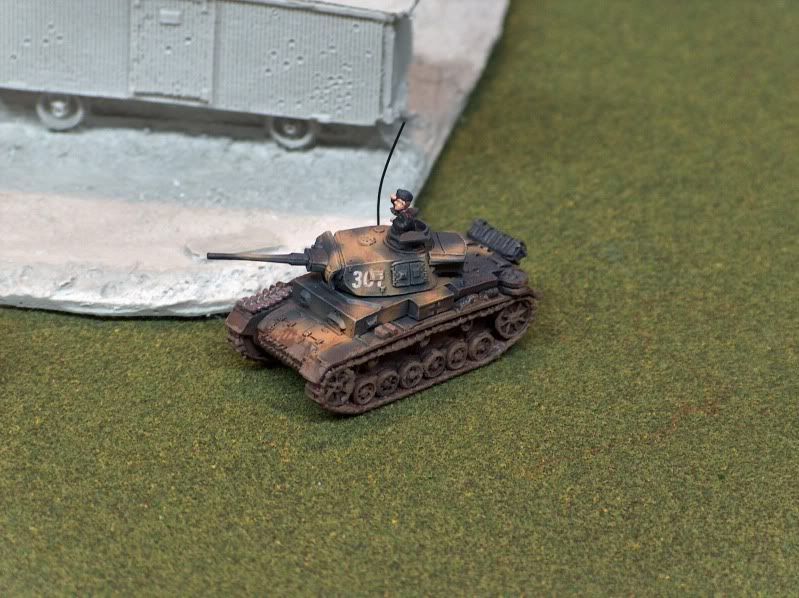
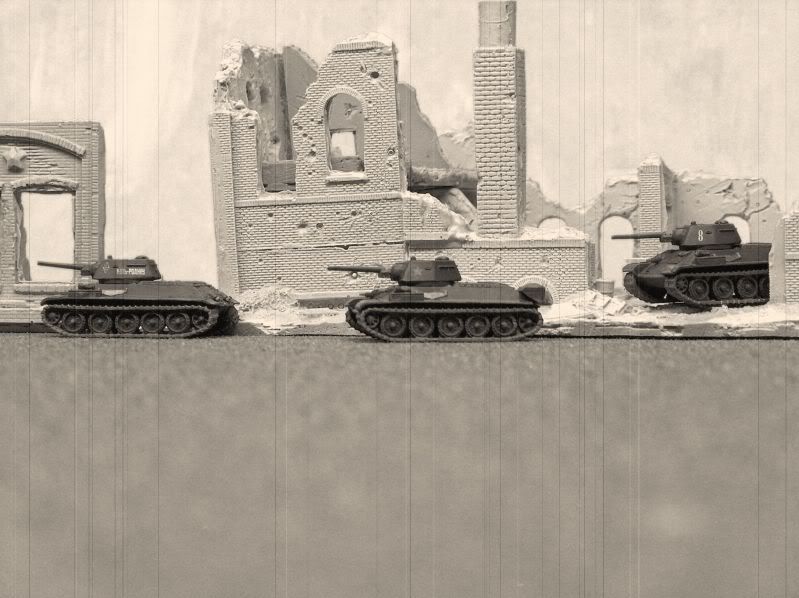
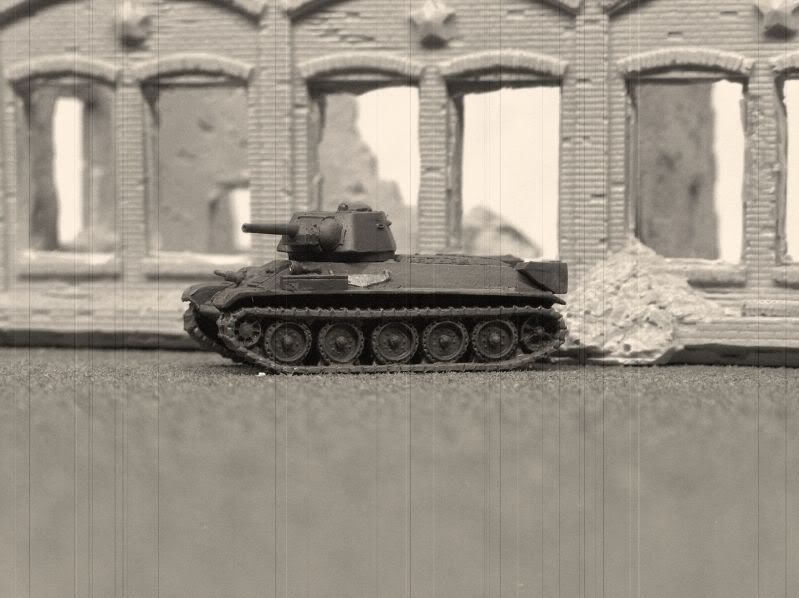
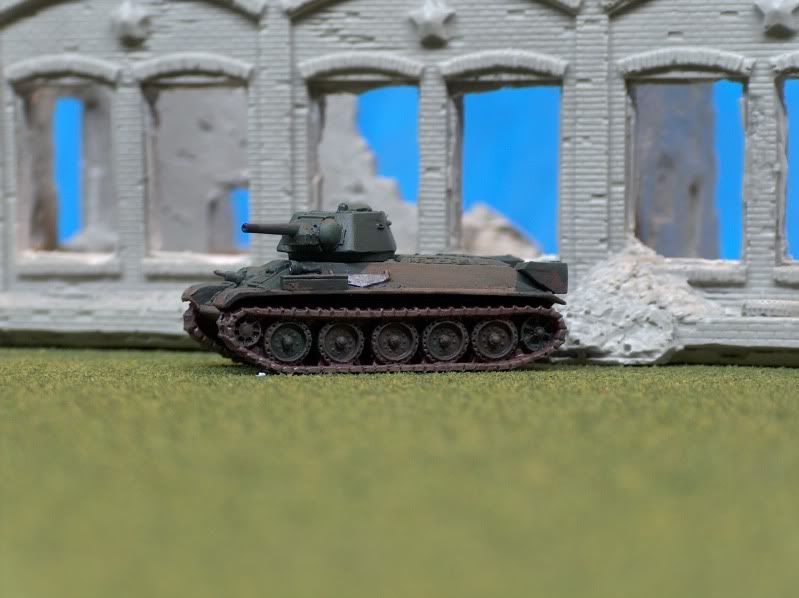
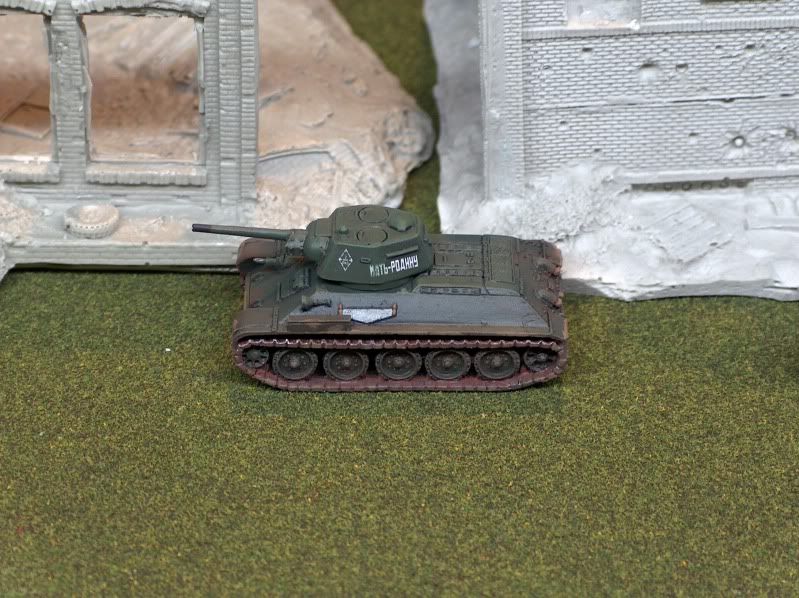
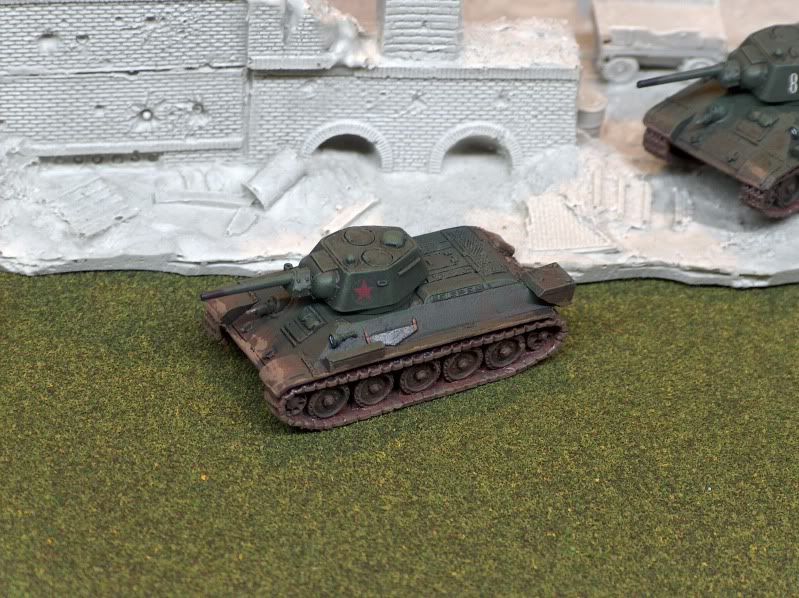
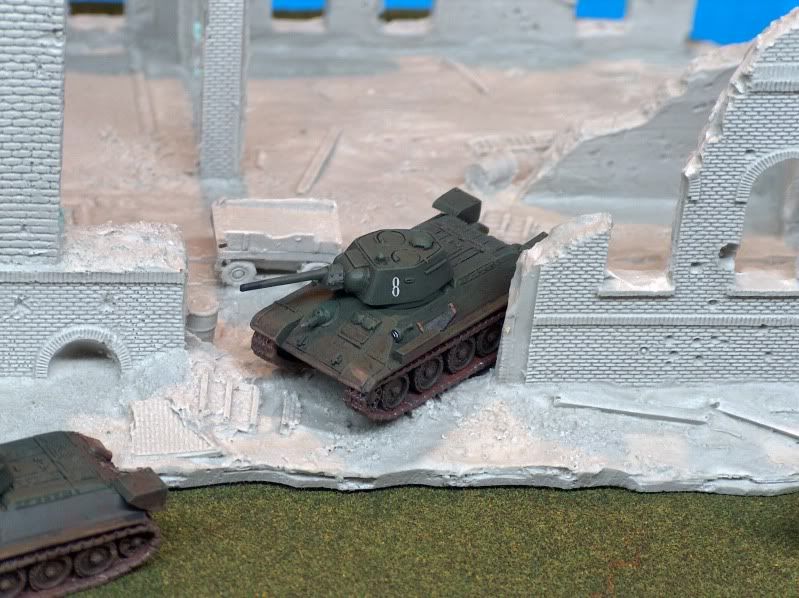
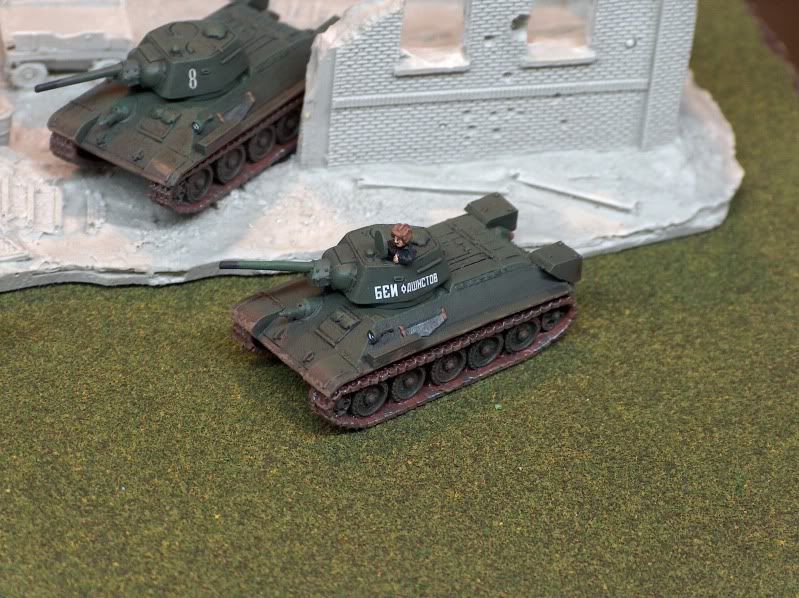
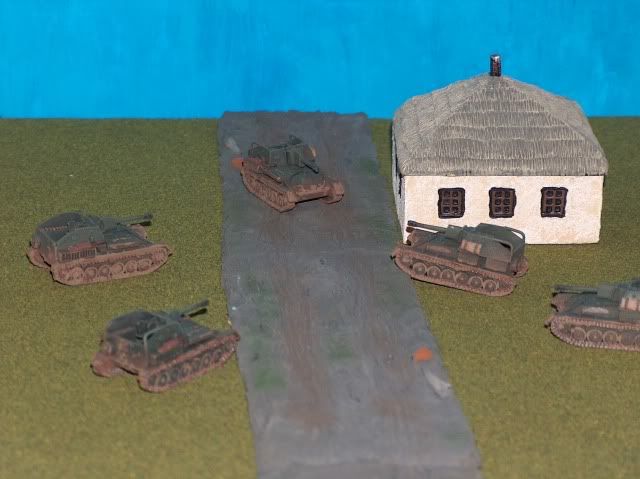
Its been a while since I've put something up on here.  I haven't painted much in the last month.  Been pretty busy.  But I've finally managed to finish some more tanks.  Tried a couple of new things here, including using an ink that every raves about.  Winsor & Newton Peat Brown ink.  I must admit it worked rather well.  It's still going to take me some practice.  I'm not going to try and move on to do as much infantry as I can.  I've been avoiding it ever since I started using an airbrush.

One thing I am noticing is that the round soviet star decals are thinker then other decals.  These are the only decals where the edges are picked up by dry brushing.  I don't do these any different, but you can still always see the circle after, where you can't on other decals I do.


Of course my son and his mohawk  had to get into one.


Saturday, September 11, 2010

The Leningrad Tiger!

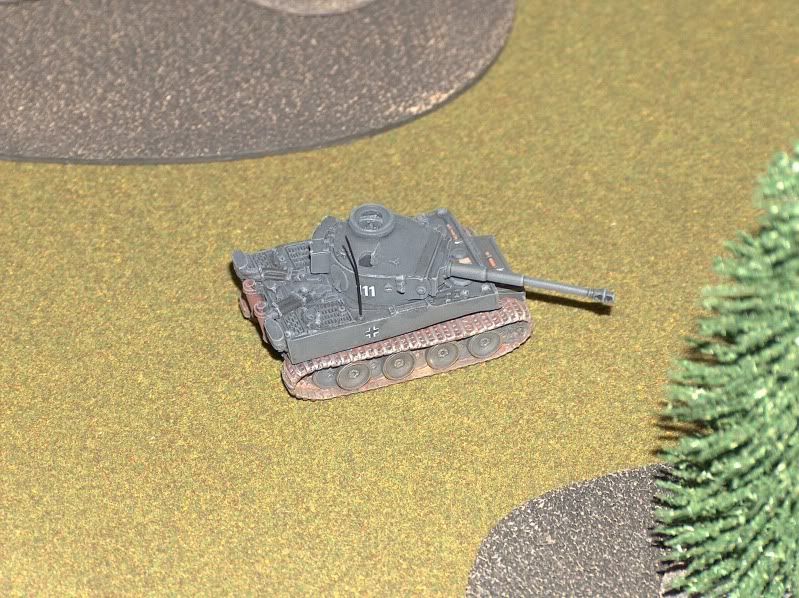
I have completed my 2nd Tiger, along with some other Germany Armor.

I decided to make this Tiger Panzer Grey.  I've heard many people say that there were no Panzer Grey Tigers.  That they were all Dark Yellow.  I like things to be historical but I'm not total bent on it.  Its not like I was going to paint it...pink!  I was going to paint it grey either way.  Just because I've heard both sides of the coin I did a little digging myself.

What I found was that the first 4 Tigers went to the  Schwere PzAbt 502, part of Army Group North attacking Leningrad in August 1942.  These Tigers were Grey.  I even found some crazy pictures.

So here is my Leningrad Tiger, StuG F/8's, and Panzer II's.  Let me know what you think.

My little varnish cocktail is a bit too matt.  made some of the darker lines disappear.  I'll have to refine this for the next batch.  I also refined my wash, and it works much better.  Even painted the tank commanders this way as a prelude to painting infantry with this technique.

They symbol on the Panzer II's is from the 14th panzer division.  The turrent looked kinda bare, and its hard to put numbers on a turret that small.  I'm sure there was a light panzer company in that division, just don't know where they would have placed their unit symbol.

The StuG F/8's I screwed up a bit on.  In most of the F/8 photo's I found they had the German cross with their unit symbol on the side.  I forgot this until I had already done the first one.  So I just made them all the same.  These turned out super good.  I can't wait to use them against Sylvain's Soviet Calvary!

Next up, 1 Panzer IV f2, 3 Panzer J (late), and 5 T-34 obr 1942's.

Oh some might question the tires on my tanks.  I know they should be black.  But I tried painting them and they look like shit after.  So I just leave them now. 

Thursday, September 9, 2010

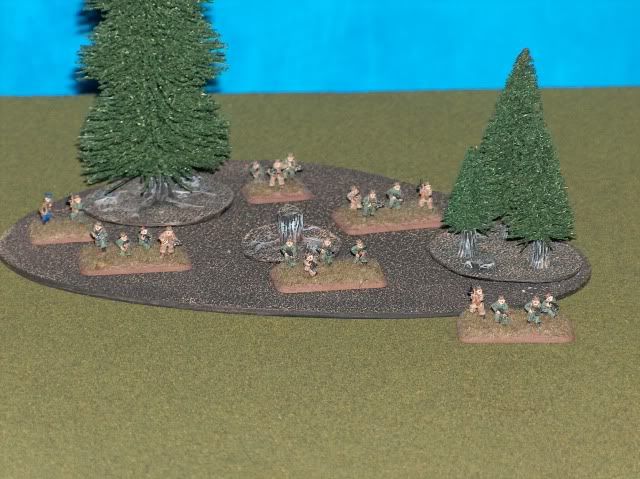
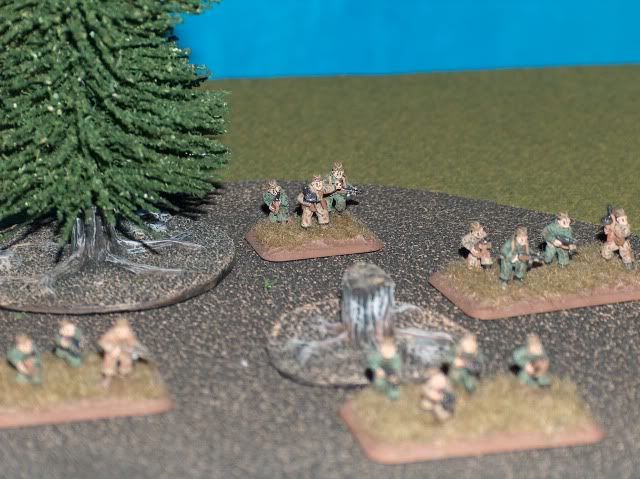
Soviet Scouts and Sniper

I was hesitant to post these because my light is broken and I don't think these pictures do these guys any justice. except for this first picture of my sniper. Thought it turned out super cool.

Hope you enjoy for a short time...I'm almost done the Leningrad Tiger!


Tuesday, September 7, 2010

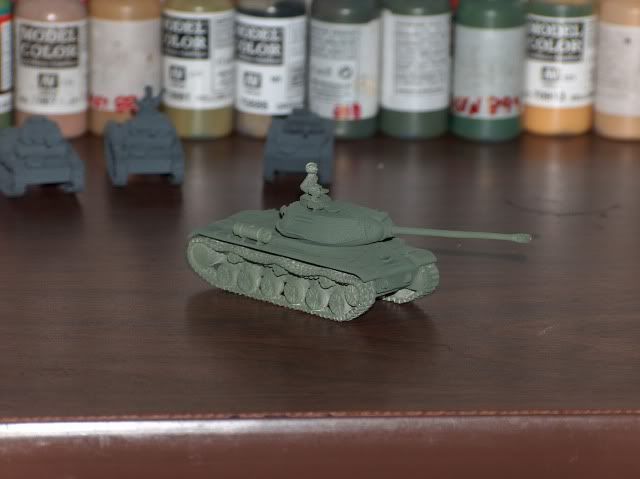
IS-2 and SU-76m

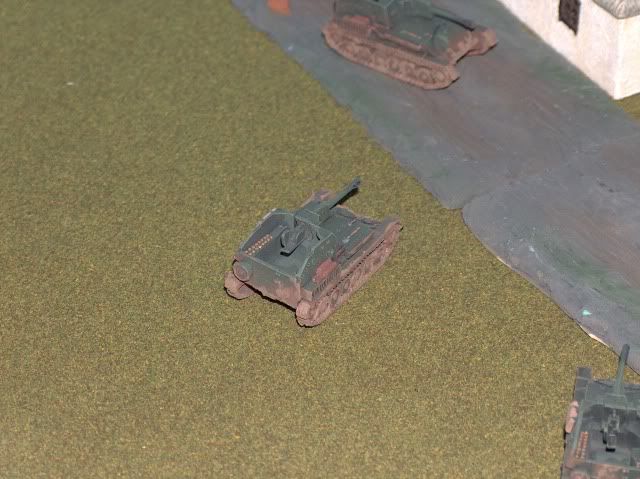
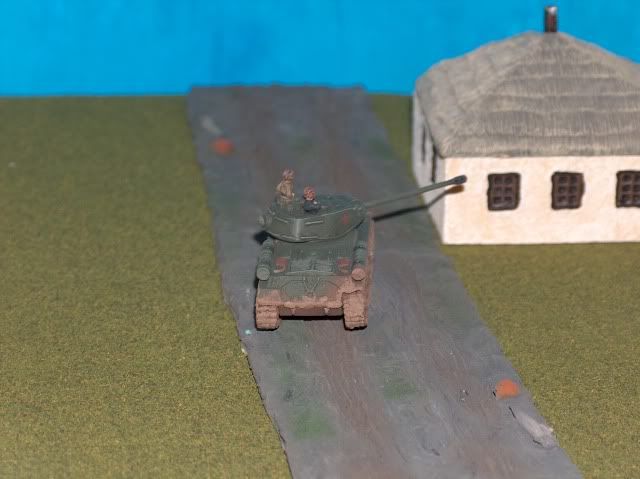
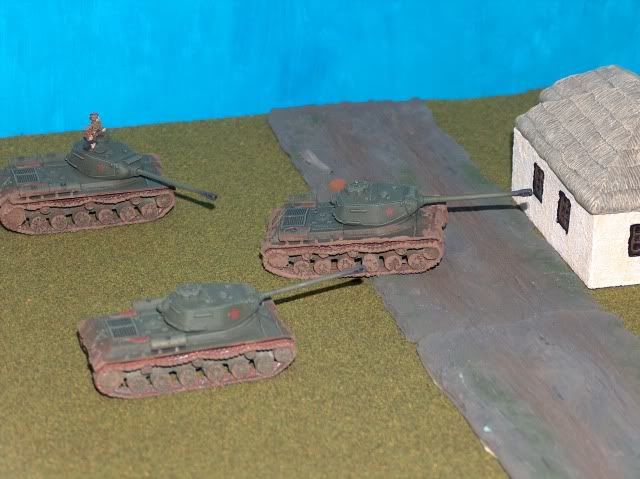
Here are some IS-2's and SU-76's. There are the first finalized vehicles that I've done using an airbrush and wash.

I'm still a little iffy on the wash. the lines are showing up as much as I thought. but still not to bad.

Next I will try doing some camo with the airbrush.

I also successfully figured out how to varnish with an airbrush. I will no longer need any aerosol cans to prime or varnish.

Enjoy


Sunday, August 22, 2010

Airbrushing Take Deux

Well, I'd have to say my 2nd attempt at airbrushing has been very very successful. I don't even know if I have enough to post here, besides saying WOW!I painted all of this, Prime and base coat in one night. I can't even say how long it would have taken me before with a brush.

The good things besides being faster, is I use way less paint, and I don't have to use aerosol cans to prime or varnish anymore. So, I can do it inside.

I even tried to spray a base coat on some IS-2's without using a primer. It seem to work pretty good, but I guess we'll have to wait for the finished product to see if it really works. Then we'll see how Varnishing works through the airbrush.

OH, and the secret to the success of my airbrushing...just like the wash, something you would have never expected...Windex. Using windex to thin the paint. I use it at about a 2:1 ratio. 2 parts paint, 1 part windex. It still might be a bit thick. but no where near as thick as an aerosol can. I tried at 1:1 but it was way too watery. I've read so many people having problems with clogged nozzles and such, and I've had zero problems using the windex.

Next i'm going to try airbrushing infantry. If it can speed up my infantry painting, I could quickly run out of things to paint. which is a good problem to have.

see you next time.

Saturday, August 7, 2010

Making Swamps {or marshes for some}

I've never made terrain before. I've always shied away from it because it doesn't look easy to do, never mind easy to do well.

But Battlefront posted a great little article on how on the Stalin's Onslaught book. They also published it on their website here.


http://www.flamesofwar.com/Default.aspx?tabid=110&art_id=1148&kb_cat_id=24

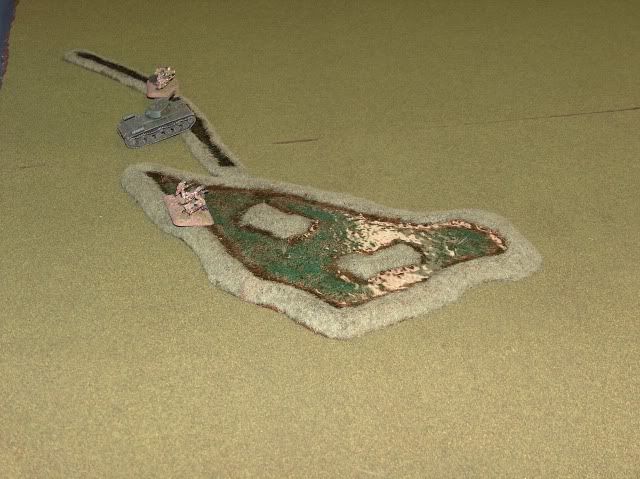
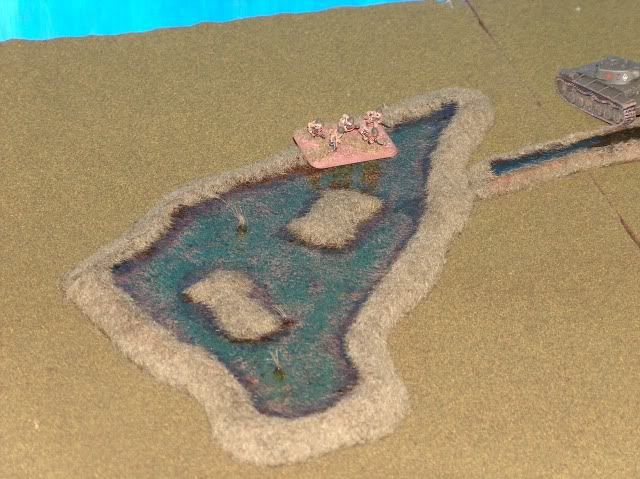
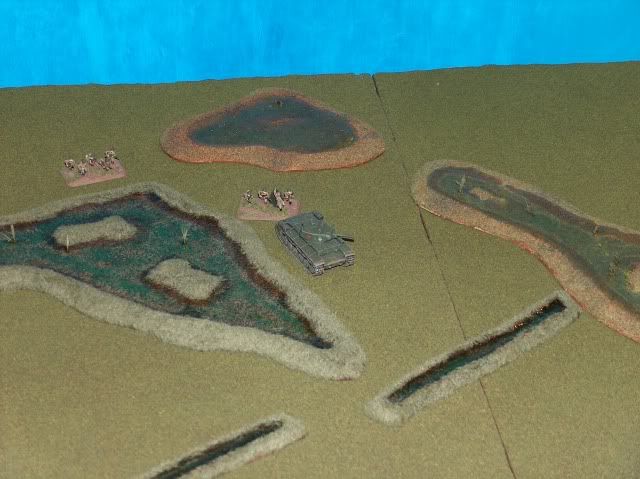
I have almost every piece of terrain I wanted for the Eastern Front except good marshes. So, I decided to give it a try. And I'd have to say they turned out pretty good. Far better then I've seen anything you can buy.

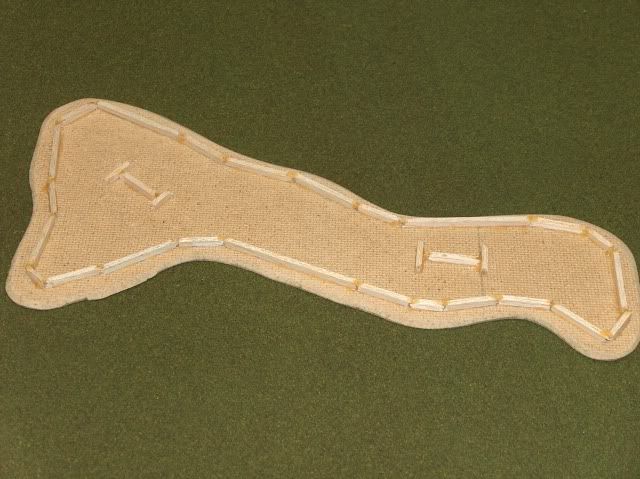
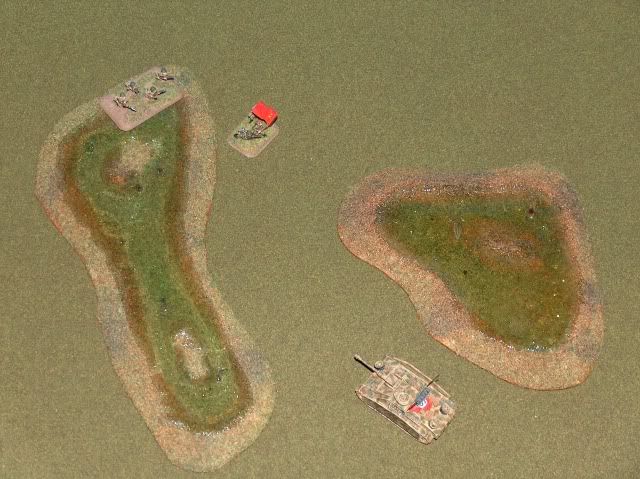
So, following the guide made by battlefront I cut out my pieces attached the balsa wood, puttied the edges and got them ready. Added some sand, some grass, and painted it up. It was now ready for the most exciting part....the water!

I've now made 2 batches of marshes with 2 different kinds of water, and i'll go through both.

The first, I bought a long long time ago from my Chainmail days when I was going to make some terrain for that. I never did get around to using it. This was part of my incentive to make these. I still had this stuff to use.

This first stuff comes as a solid. a whole bunch of clearish pebbles that you melt and then poor into the "cavity". Its then suppose to dry super fast and presto you have realistic looking water.

This stuff was very very difficult to work with. It was a pain in the ass to melt, it was an even more pain in the ass to poor it. I don't know if I heated it to much or what, but there were just crazy bubbles and it wasn't clear at all. It was almost as if it boiled. I was very unhappy with the result. But then I came across something that said use a heatgun to remelt it and it would smooth it out. WELL, that was fantastic. I found a heat gun at Canadian Tire for $20, and it worked like a charm. The liquid remelted and it smoothed out. I was very happy with the final results.

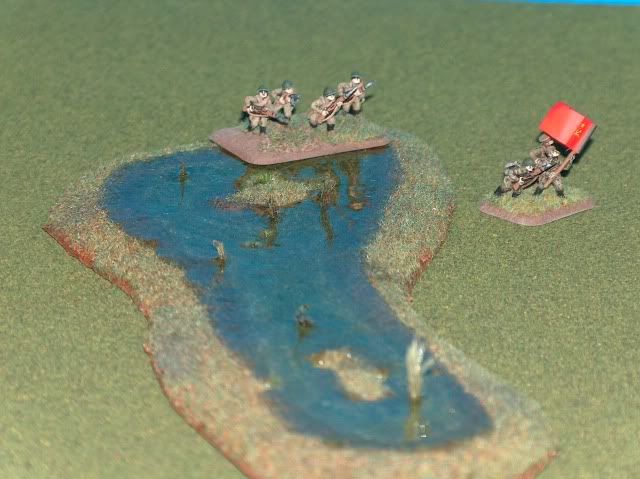
A few days after I finished these I was...pa-rousing my local hobby shop, and found some of this liquid water stuff that was...low and behold...already liquid. How could this be? How was that possible. After a little bit of research, I found that all you do is poor it in and let it dry for 24 hours. This was to good to be true, no heating or pouring or reusing a heat gun...I had to get it.

So I tried, it was SOOOOOOO easy. But....Yes there is a BIG BUT!

Believe it or not it dries WAY too slow, and its WAY too clear. I"m crazy you ask? well you'll see.

I left the liquid to dry over night. But when I woke in the morning I was devastated. It took so long to dry that it had almost all seeped out between the joins of the balsa would. Even through the foam putty.

Now, normally you 'scare' the bottom of things like this so putty or what ever you are working with, sticks to the surface better. Well, because it dried so slow, it had time to seep into every nook and cranny. The surface of the water so perfectly mirrored the bottom that you could see every scrap and cut I had made in the matter. not through the water mind you, but the surface of the water shaped exactly like the bottom.

The good news was that it sealed up all the joins in the balsa wood. So through trial and error, I figured I had to apply the stuff 3 or 4 times in smaller quantities. leaving it to dry for 24 hours each time. It also said DO NOT apply heat to the stuff. so if you had some imperfections...you were shit outa luck.

But in the end the turned out pretty good. OH ya I mentioned they turned out too clear. Ya, from an angle they don't look too bad, but from over top, you can barley even tell the stuff is there. Its crystal clear and you can see the bottom. The stuff you had to melt was at least a little bit foggy, looks like real water. I'll have to try adding some green or brown ink to it next time.

Any way they turned out pretty well. I think I almost like to work with the melting stuff better, but I have a few more ideas I'm going to try to get the liquid stuff to work.
Sorry so long for this article, been busy. I hope to have another one soon. I've started to try airbrushing again...yikes.