Thursday, April 7, 2011

Aircraft & Cover - Can Phil be Wrong?

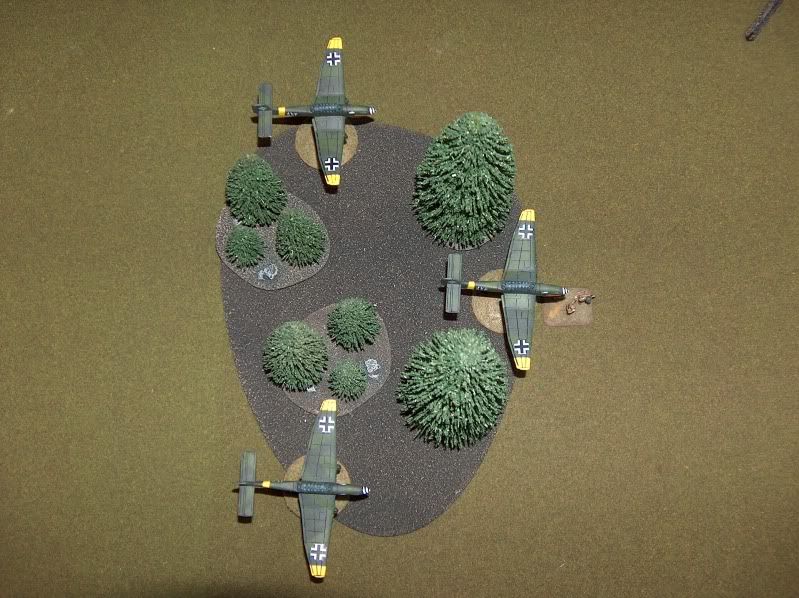
Phil's ruling...this is no cover.  Really?
Can I dare say the 'boss' is wrong?  Well, maybe not wrong, but I'd have to say he's mistaken or has forgotten the original meaning. What I'm referring to is Aircraft and cover. There was a huge discussion on the BF forum about it here;
http://www.flamesofwar.com/Default.aspx?tabid=126&aff=3&aft=513137&afv=topic

I recently just listened to WWPD podcast Episode 14, and they say they received an e-mail from Phil about the correct ruling.  Even though this comes from the creator I still have to strongly disagree.

The Rule
Teams in, or on the far side of and within 4"/10cm of, woods or buildings are Concealed to aircraft.


There are two interpretations of this rule.  Even though I can't, for the life of me, comprehend why.

Camp A (Phil's ruling, and the wrong camp)
The woods or building has to be between the aircraft and target at the time of shooting, in order to get cover.  So, if the aircraft can fit inside that 4", the team gets no cover.
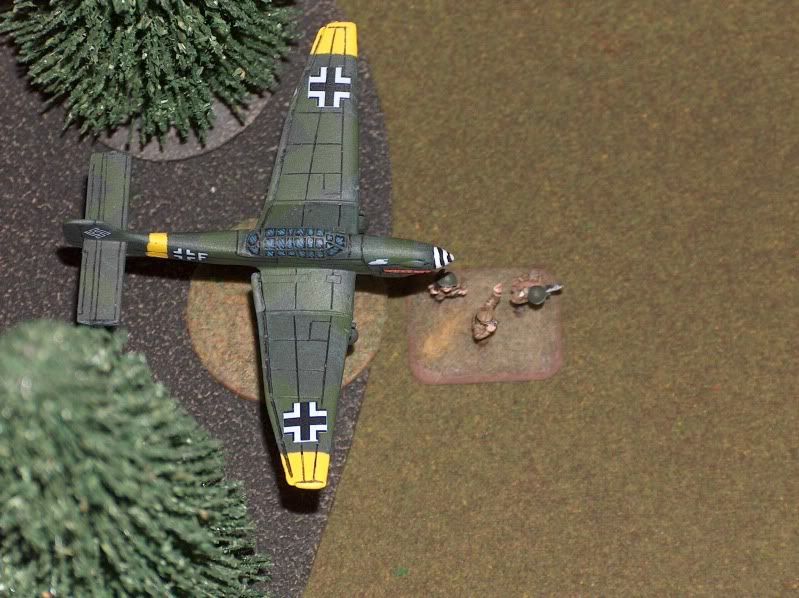
No cover from a dive bomber?  Really guys?
The #1 reason this is the wrong ruling
is because the rule doesn't say, "woods or buildings between the aircraft and target".  There would be zero reason to say "far side" if this is how the rule was suppose to work.

I don't even see much of a reason for 'direction of travel' if this is the way the rule was meant to be.  You might as well just let people put aircraft where you want with in 6" of a target.

The other reason, not that this game is realistic, but for a dive bomber trajectory, this makes absolutely no sense.  A bomber would have to dive at a 90 degree angle to make this attack work.  And a bomber with rockets or guns would NEVER dive at this angle.  I think only the Stuka even came close to this dive angle.

What happens if 2 of the 3 planes end up in the forest?  does only the lead plane count?  Or does the lead bomber let his buddies crash into the woods just so the target team doesn't get any cover?  If the target has cover from 2 of the 3 planes why wouldn't the team get cover?  You already have rules where the number of planes matter.  So why would you get no cover from aircraft if 2 of the 3 are in the woods and not in the 4" space between the plane and the unit?

The other 'excuse' camp A makes is intervening friendly troops can cause your aircraft to push into the woods and then you would get cover.  To me this is a reading to much into the rule cop out.  Especially if the target is 3.9" away from the woods.  The slight chance that you can't get your aircraft in there, where there isn't intervening friendly's, you'd probably just choose another target.  More often then not you aren't going to take a chance on your units being that close...especially if you want to move them.  I'm not saying this can't happen, but using this as a reason why camp A is correct is total garbage.

Camp B (The right camp)
The cover is based on the direction of travel of the aircraft.  If a team is on the far side of woods or buildings, and within 4" they get cover no matter where the aircraft is placed.

The #1 reason this is the correct ruling
All the rule says is;
Teams in, or on the far side of and within 4"/10cm of, woods or buildings are Concealed to aircraft.  There are no if's, buts, exceptions, or conditions to the rule.  If you are using aircraft and your target is on the far side of and within 4"/10cm of, woods or buildings....they are concealed.  End of rule.  It seems very clear to me.  The other camp never say it seems very clear.  They always say "I see how that can be misinterpreted.  But, I really can't see how.  I think they are reading way to much into it.

Again, not that this game is trying to be realistic, but think of the trajectory of a bomb.  Unless the bomb came down at a 90 degree angle, it would hit the building or the woods before it hit the target.  And because its a bomb, the target would still take damage, but because it wouldn't be a direct hit, the target gets cover.

Stuka's had a trajectory of 60-90 degrees.  The Stuka might be the only plane that could pull it off.  Shturmovik only attacked at 30 degree's as did most other dive bombers with guns and rockets.  The 'camp B' ruling resolves this 'realism' issue.

Look at 'point 3' in the picture to the right.  This is even at a 90 degree angle dive.  The direction of the bomb still doesn't travel straight down.  And as I said, no way aircraft with rockets or strafing machine guns dive at this angle.

Its simple physics people.  Don't make me pull out the equation....because I found it.   

Conclusion
With the camp B ruling, there are no arguments about realism or goofy game play situations.  If you attack with aircraft, your target is on the far side of and within 4"/10cm of, woods or buildings....they are concealed...end of story. 

Maybe in version 3, Phil could add some special rules to include both camps.  Maybe Stuka's or even aircraft using bombs could ignore this 4" cover rule.  But aircraft using guns and rockets, the target would still get cover....based on direction of travel.

Unfortunately I'm not as articulate on paper as I sound in my own head, so hopefully this all makes sense.
All this over a +1 to hit...sheesh! 

Tuesday, April 5, 2011

Schwere PanzerJagerKompanie Part VI - Decal Tutorial

In case you missed some:
Schwere PanzerJagerKompanie Part I - Intro
Schwere PanzerJagerKompanie Part II - Preperation
Schwere PanzerJagerKompanie Part III - Airbrushing
Schwere PanzerJagerKompanie Part IV - Detailing
Schwere PanzerJagerKompanie Part V - Wash & Highlight

Well, getting near the end of this little adventure.  One of the few things I have become good at is decals.  I've seen paint jobs far superior to mine totally ruined by poor decals.  Even looking at the JagdPanthers in Earth & Steel pictures, they are riddled with 'silvered' decals.

I always said I should do a full blown tutorial of how to do decals, and I figure this is as good a time as any.

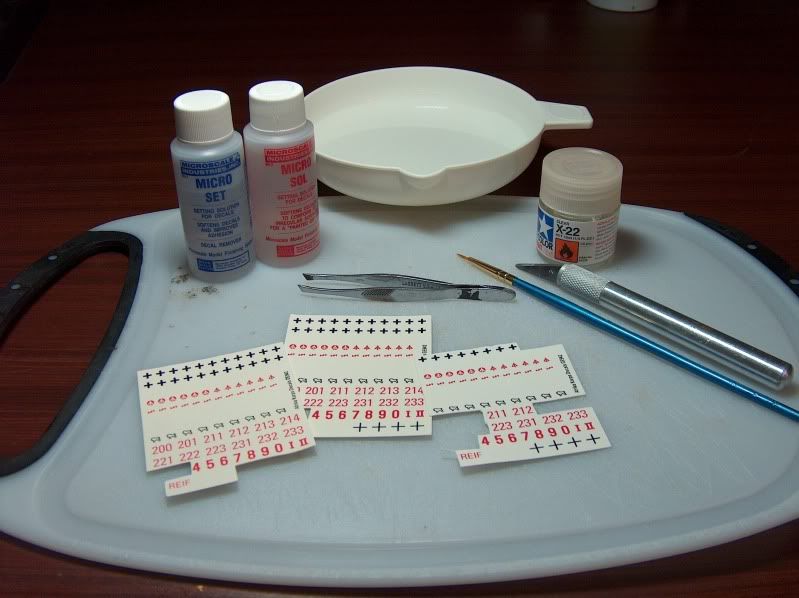
First lets start with what you will need;
  • Micro Set
  • Micro Sol
  • Gloss Varnish
  • Pin
  • Hobby Knife
  • Fine Paint Brush
  • Tweezers
  • Warm Water
  • Decals
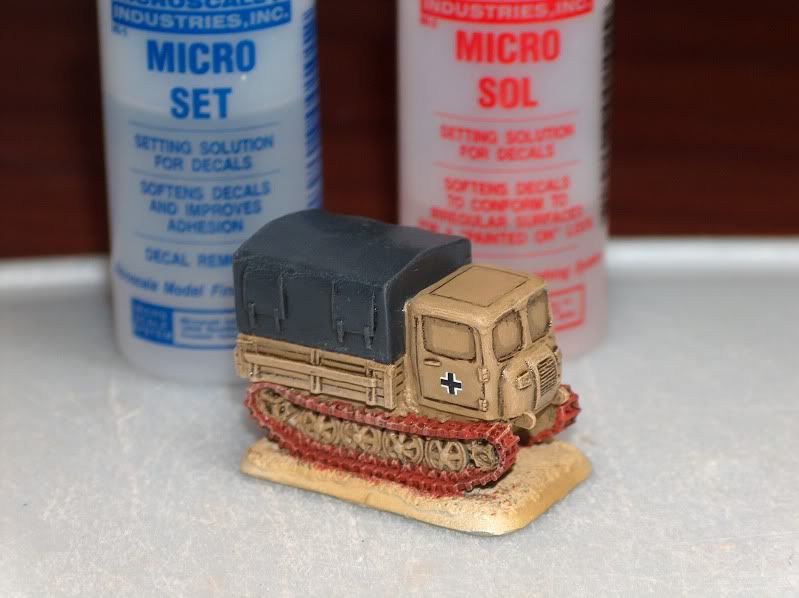
Yes you will need both Micro Set and Micro Sol.  I have never seen any one else use both.  I have tried just Micro Set, and I have tried just Micro Sol.  Each alone doesn't really work that well.  There is a reason they make both.  Especially if you are doing vehicles with Zimmerit.

Step 1
You will need to cut out your decals.  If you shine your decal sheet in the light you can see the edges of each decal.  Be careful not to cut your decal.

Although some times you can cut the edges so that the decal will fit better.  Its not so bad now but with the older decals, there was a lot of 'extra edge' to the decal.  You could really shave them down.  German crosses used to be a single square piece.  Now they are better and are more uniform to the cross.

When you are cutting your decal, make sure you leave them with some paper out side the edge of the decal.  You don't want to actually be grabbing the decal with your tweezers when it slides off.

Now plan where each decal will go and how it will fit.


Step 2
Brush the area you planned for your decals with a gloss varnish.  I use Tamiya X-22 Clear.  Make sure you have done a full gloss varnish, or at the very least a wash, over the whole vehicle before doing decals.  If you don't you'll find that the brush on varnish and Micro Set will rub off your paint.

Do a bunch of vehicles at the same time to give the varnish time to dry.  For this tutorial I did about 10 vehicles.  The first one was dry by the time I glossed all the decal spots.


Step 3
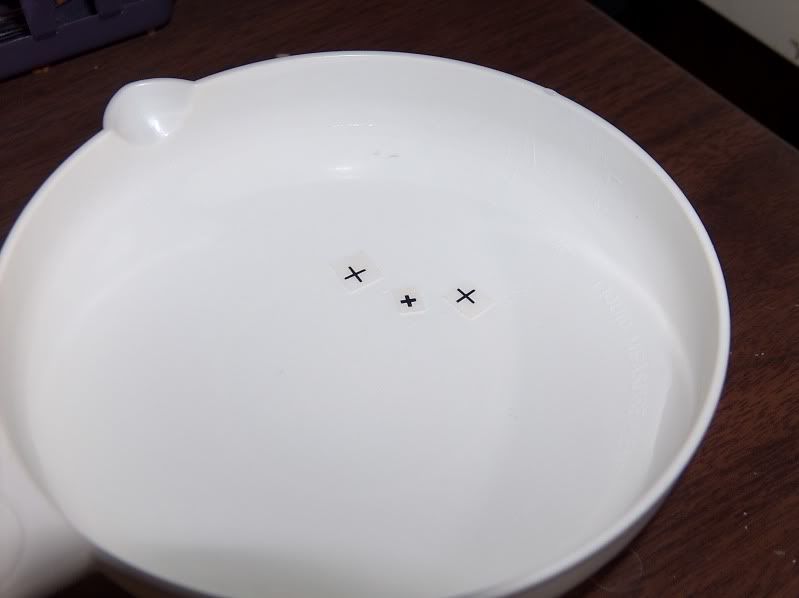
Now you want to put all the decals for one vehicle into your warm water.  Don't put to many decals in your water.  If they are in the water too long the decal will slide off the paper and you'll have a hell of a time trying to get it onto your vehicle.

And yes you for sure want to use warm water.  I find I change my water every couple of vehicles.  As soon as the water is no longer warm to the touch.  If the water is cold, you will wait forever for the decal to slide off the paper.


Step 4
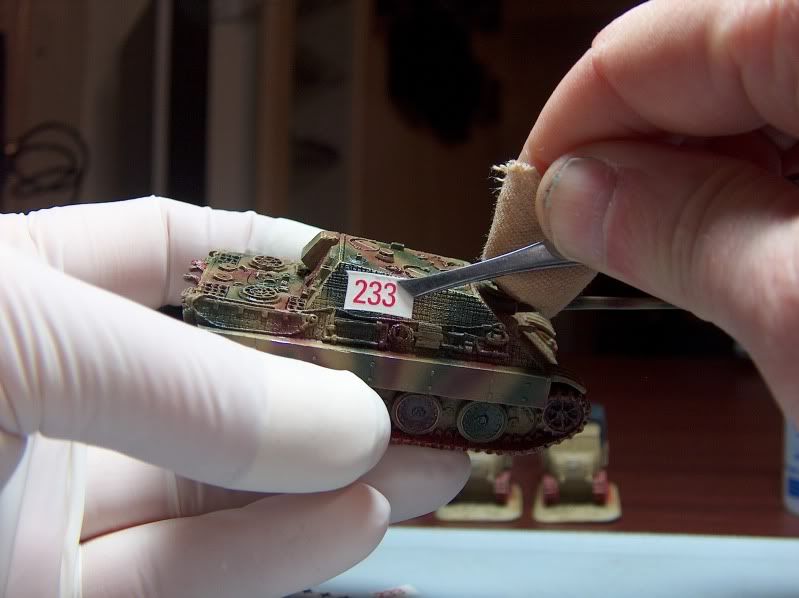
Use your fine brush to see if the decal will slide on the paper in the water.  If it does its ready.  To start this step I have my fine brush in one hand and my tweezers in the other.

Grab the decal with the paper being careful not to grab the decal.  Keep your decal parallel to surface of the water as you lift it out.  If its been in the water to long and you lift it out perpendicular to the water surface the decal will slide right off.

Once you have a hold of the decal and its out of the water, touch the bottom of it to some paper towel.  This will suck some of the excess water from the decal.


Step 5
This is where you will need Micro Set.  Make sure you don't mix up using Micro Set and Micro Sol, it will make a difference.

Dip your brush into the Micro Set.  I usually pour some into the cap.

I try to put something under one side of the vehicle so i can easily slide the decal into position


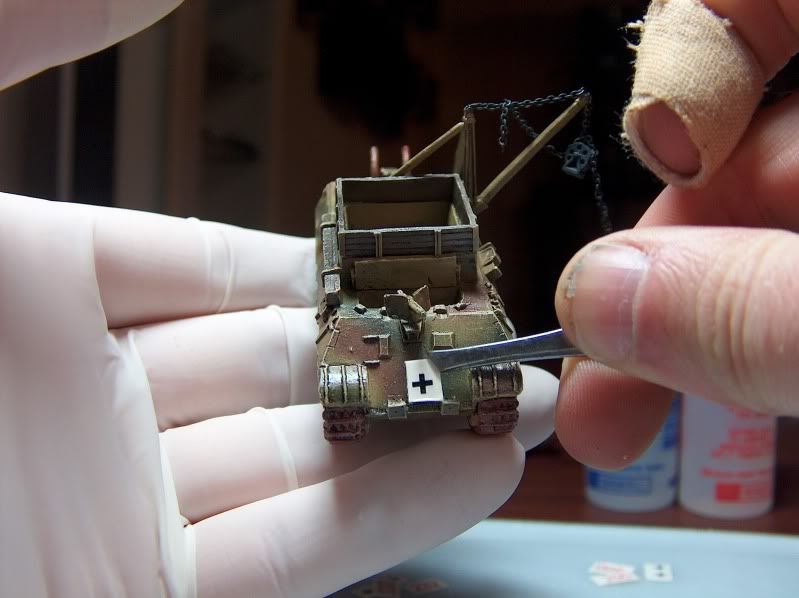
Using the brush, slide the decal onto the vehicle.  It doesn't matter if it goes on straight.  Just as long as it goes on to the spot where you brushed the gloss varnish on.

Dip your brush back into the Micro Set.  With the brush position the decal where you want it.  At the same time make sure you brush the entire decal with Micro Set.

What Micro Set does is make the decals glue more adhesive.

Step 6
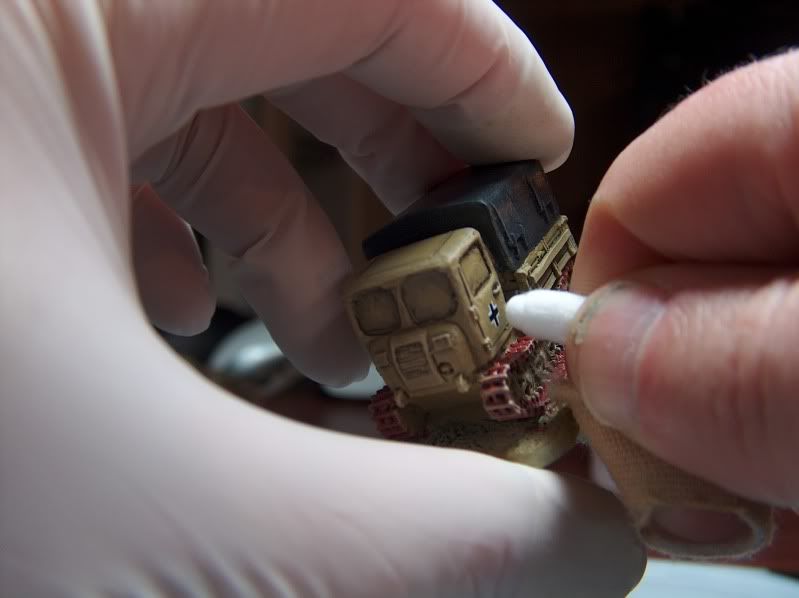
Using a Q-Tip gentle press the decal against the surface of the vehicle.  Be careful, the decal could still slide around.  The Q-tip will soak up any excess water and Micro Set, so that the decal will stick to the vehicle.


Step 7
Now, repeat steps 4-6 for the other decals on the same vehicle.
And then repeat steps 4-7 for the rest of the vehicles you are doing.

Step 8
Going back to your first vehicle, check the decals for silvering.  Its ok if they do.  Most likely at this point your decal will only silver if placing it on zimmerit or on an odd surface.  This is the case when putting a 3 digit number on say a panzer III turret.  There isn't a big enough flat surface for the whole decal.


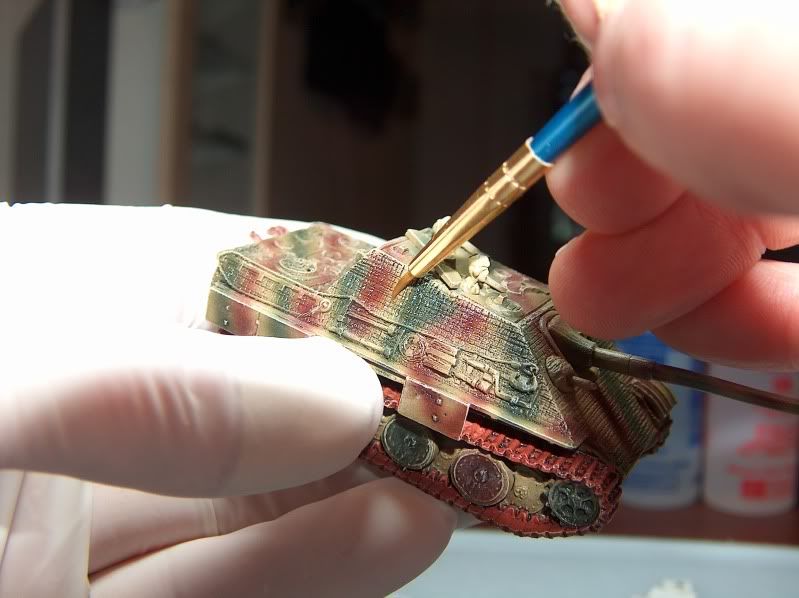
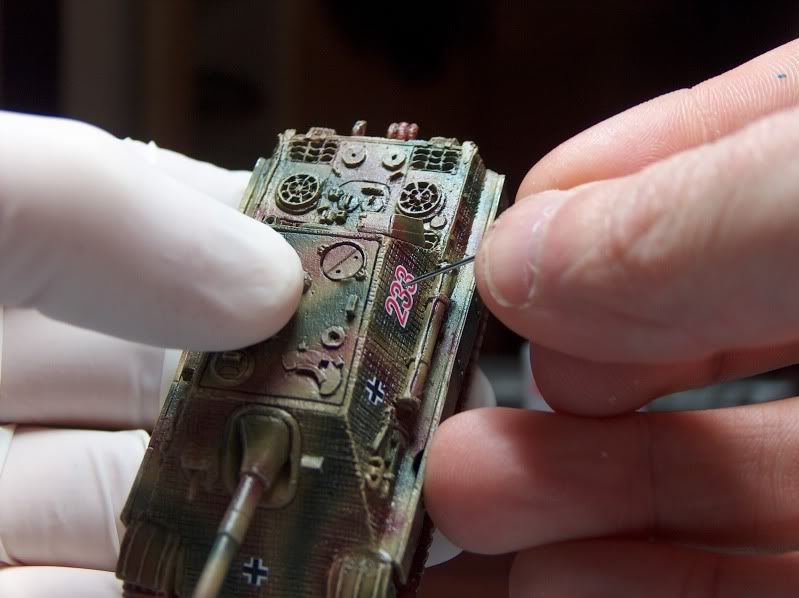
If you do find some silvering, take you pin and gently poke a hole in your decal.  I like to poke around and in between the numbers.  I don't usually poke the actually "paint" of the decal unless its black.  Be very very careful when doing this.  You can wreck your paint if you poke to hard.

Zimmerit is great for this because you can poke into the zimmerit.


Step 9
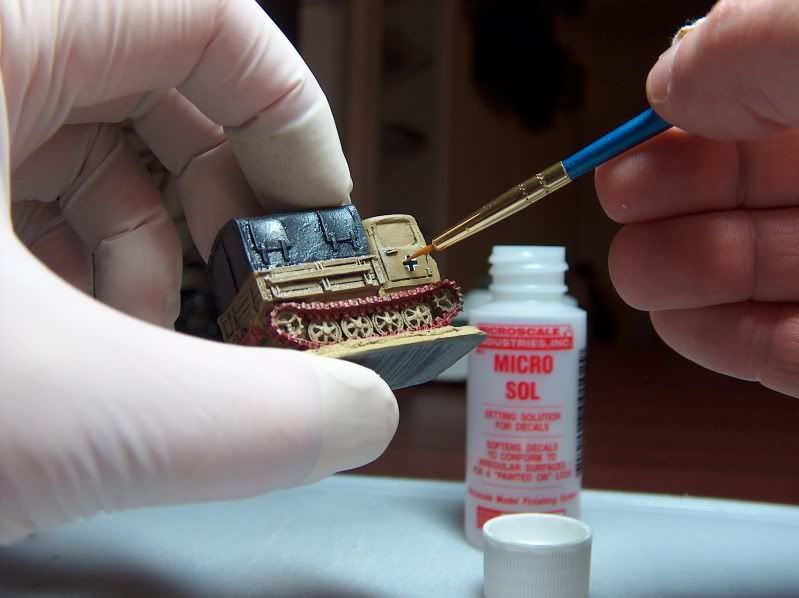
Now, take your Micro Sol and brush it into your decal.  Even if your decal had no silvering and you didn't need to poke your holes, I will still brush it on the decal.

If it did have silvering you should see the decal soak it up.

What Micro Sol does is make your decal soft so it will conform to irregular surfaces.  It doesn't matter if its zimmerit or uneven resin. 


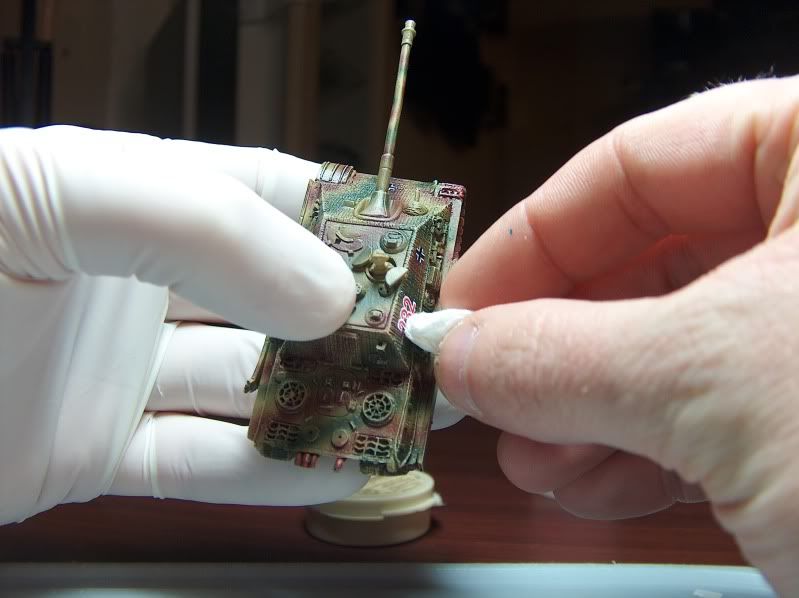
Take a small piece of paper towel and gently press the decal into the surface of the vehicle.  You can't use the q-tip for this because Micro Sol makes the decal sticky.  You'll find little fibers from the q-tip will stick  to your decal.

As you press, you can see the decal conform to the surface.  I'm still amazed how well this works.


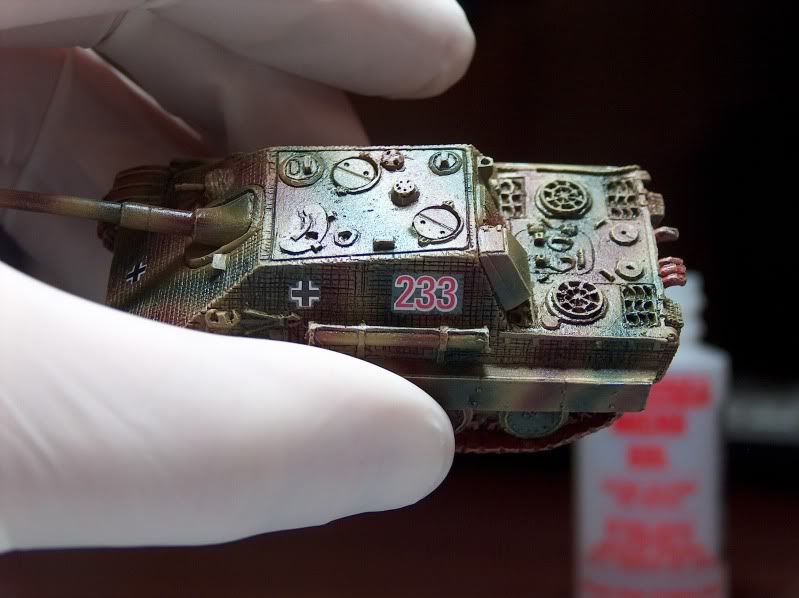
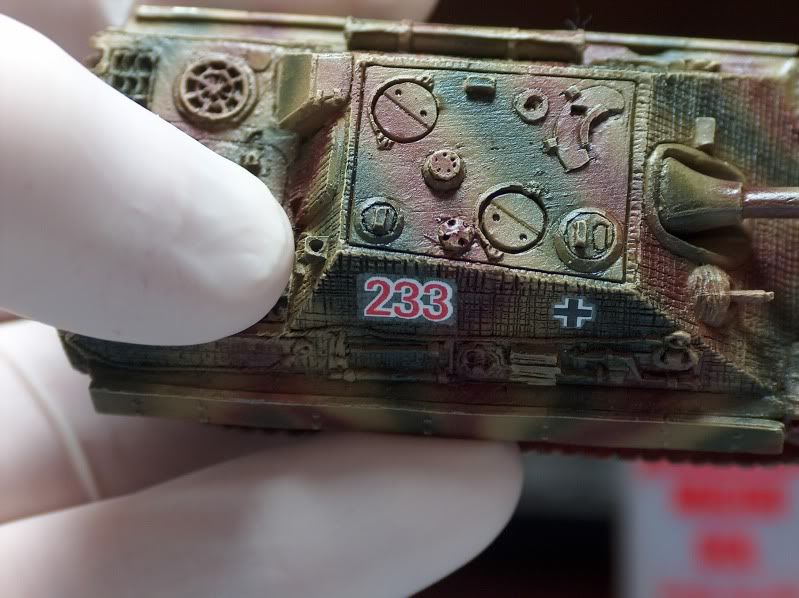
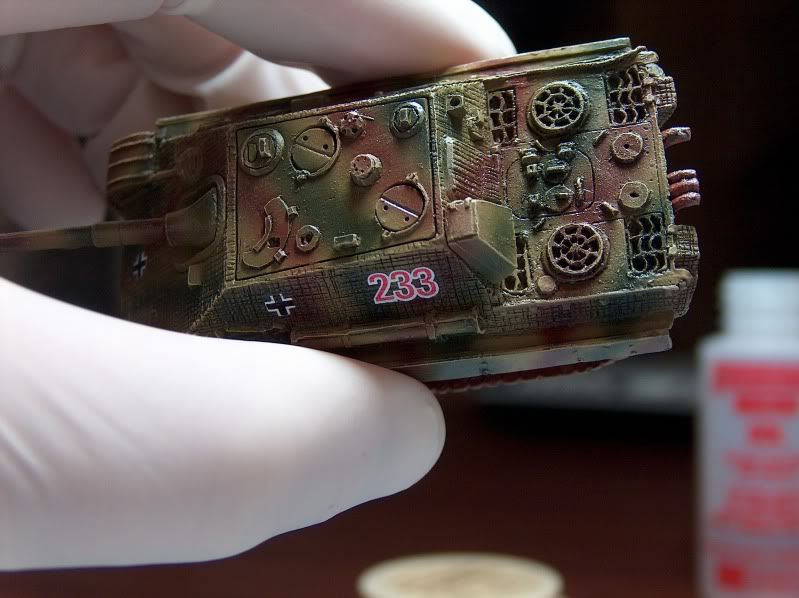
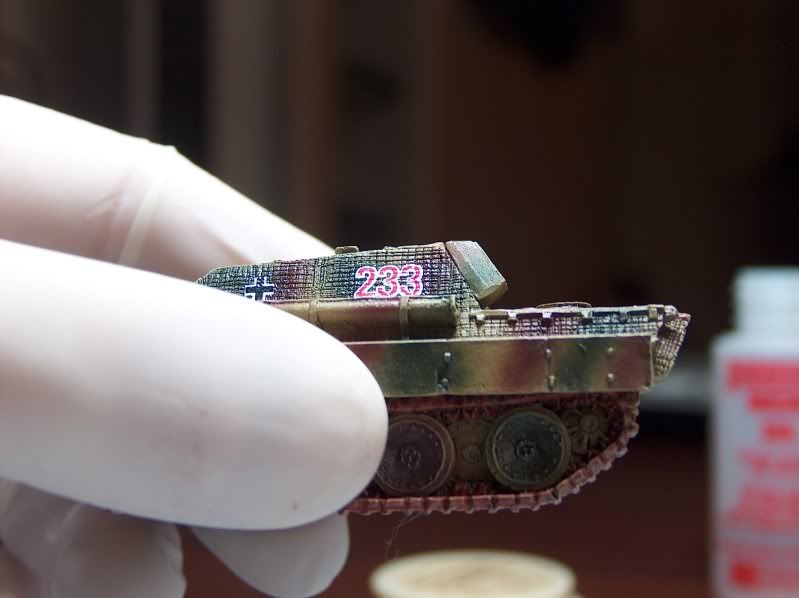
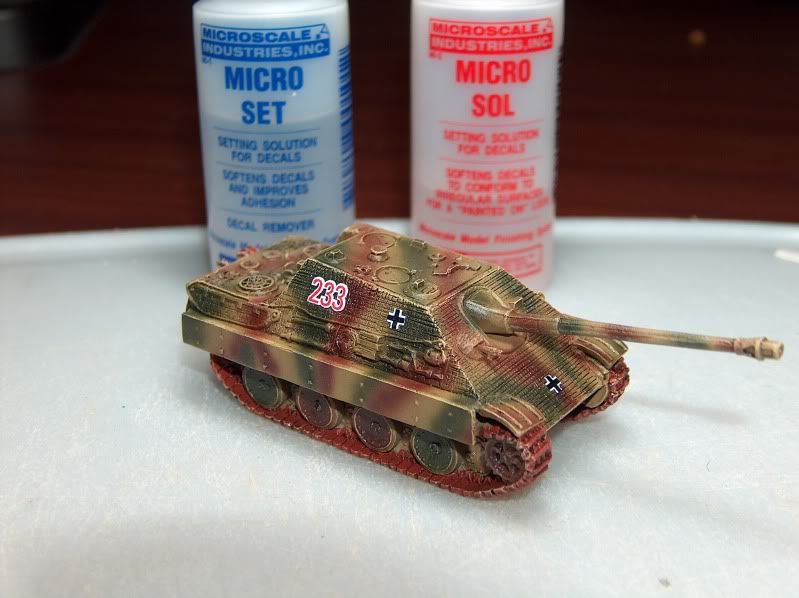
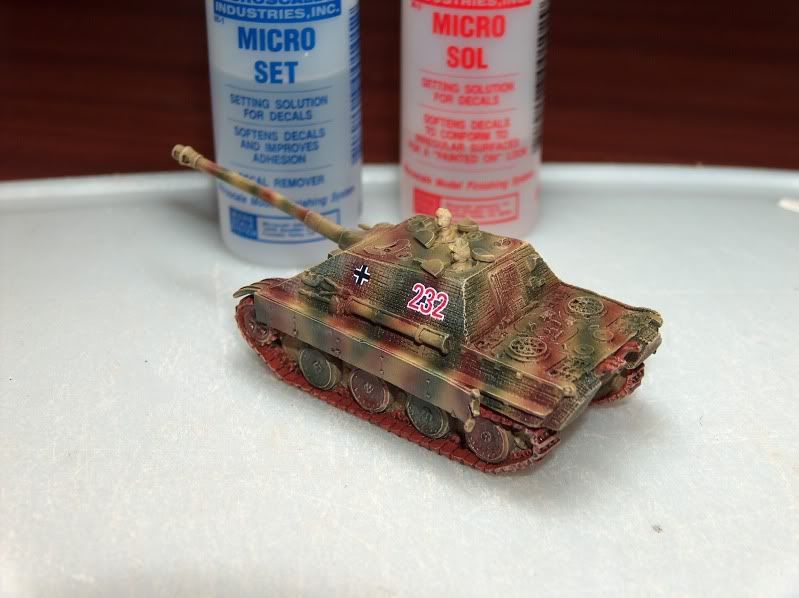
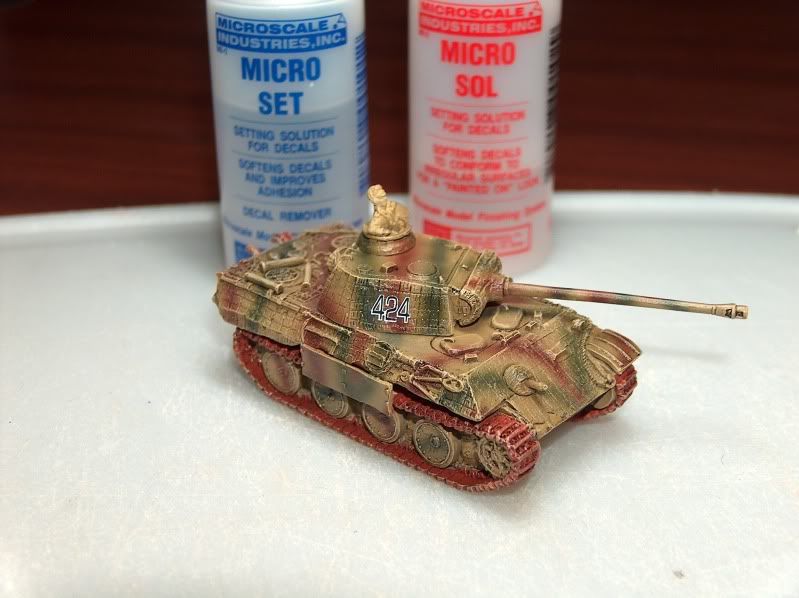
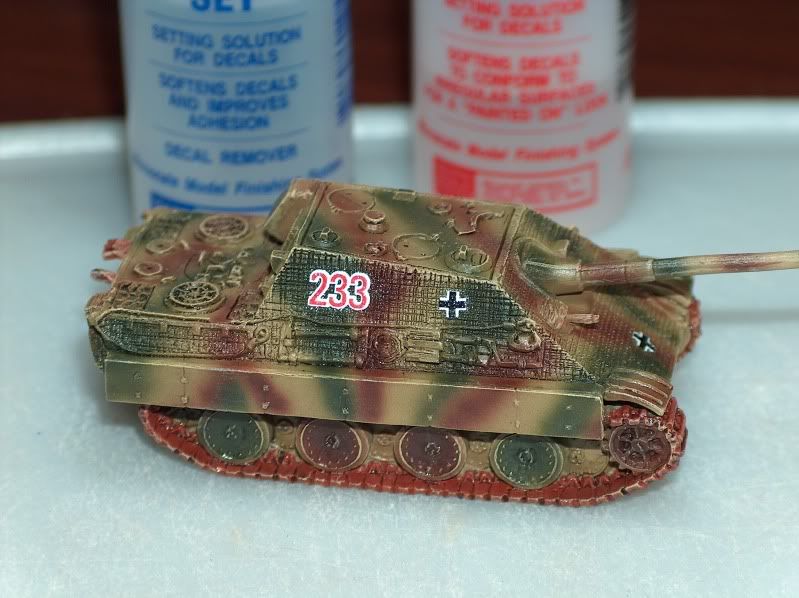
You can see in the pics below there is no more silvering. 


Step 10
Go back and repeat steps 8-9 for the rest of your vehicles.

Completion
There you now have perfect decals even on zimmerit.

Don't worry if your decals are still shinny and you can see the edges.  This will disappear when you do a matt varnish.  I even spray a little extra where the decals are.

Some people like to do a gloss varnish after they are done the decal.  I don't do this.  I don't see a point.  My matt varnish will seal them.

You may notice I also do my wash and highlight before I do decals.  I think a lot of people do this after decals.  I find some decals are thicker then others.  Mostly the older Soviet stars.  And the decal edges will get picked up by the highlight and wash.

You can still do weathering to dirty up the decals.  So, no need to do a wash and highlight after the decal.  Safer to just do it before.

There you go.  Hopefully this will help some people do better decals.  The key is using both Micro Sol, and Micro Set.

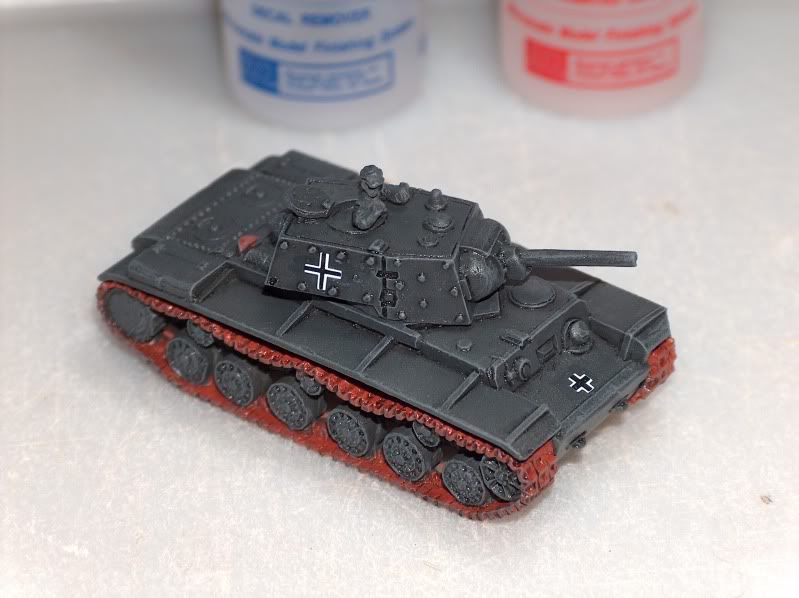
Here are the rest of the vehicles for this project.  Not a single bit of silvering, and all conform to the zimmerit.

Sunday, April 3, 2011

Schwere PanzerJagerKompanie Part V - Wash & Highlight

In case you missed some:
Schwere PanzerJagerKompanie Part I - Intro
Schwere PanzerJagerKompanie Part II - Preperation
Schwere PanzerJagerKompanie Part III - Airbrushing
Schwere PanzerJagerKompanie Part IV - Detailing

Doing a wash seems to be the most popular but most obscure technique in all of painting miniatures.  Its so hard to find an exact formula of what a wash actually is.  It always "some" of this, or a "few drops" of this.  Never an exact formula.  And if I did ever find an exact formula I couldn't get it to work. 

The closest I found to the "Magic Wash" formula was 1 part future, 4 parts water, and "a few drops of your favorite pigment".  A few could be anything from 2 to 7.  In testing wash formulas I've found 1 drop makes a huge difference in how dark your wash is.  Just saying "a few"  doesn't cut it.

I always use an excel spreadsheet to keep track of EXACT formulas for anything I do in painting.  On this little project I'm actually finding there needs to be different formula for different jobs.  I also tried something new.  I did a pre-mix of future and water.  Usually I just did straight Future.  I tried the 1:4 future to water, but found it was to watery.  So, I tried 1:1.  This is now my "Magic Wash".

To get my "parts" I use droppers.  I use this when airbrushing as well, to mix my 3:2 paint to windex formula. 

For a black wash I use games workshop black ink.  I tried to Vallego black shade, but found it wasn't dark enough for what I like.  For tanks I used a 1:20 mix of ink to magic wash.  For infantry I used a mix of 1:40.  I also tried giving 2 coats of wash.  I never wanted to try this before because I figured it would make things too dark.  It seemed to work really well.

For flesh I use about a 1:2 or 1:3 W&N peat brown to magic wash.

If anyone else would like to share some EXACT wash formulas I'd be super interested.


After all the wash, I do a dry-brush highlight of everything.  Usually a 3:2 base coat to white.  I keep finding I have to do it lighter highlight then I would think, because my matte varnish really lightens things up, and the highlight disappears there isn't enough contrast between the base coat.  


Up next will be my decal tutorial.

Sunday, March 27, 2011

Schwere PanzerJagerKompanie Part IV - Detailing

In case you missed some:
Schwere PanzerJagerKompanie Part I - Intro
Schwere PanzerJagerKompanie Part II - Preperation
Schwere PanzerJagerKompanie Part III - Airbrushing

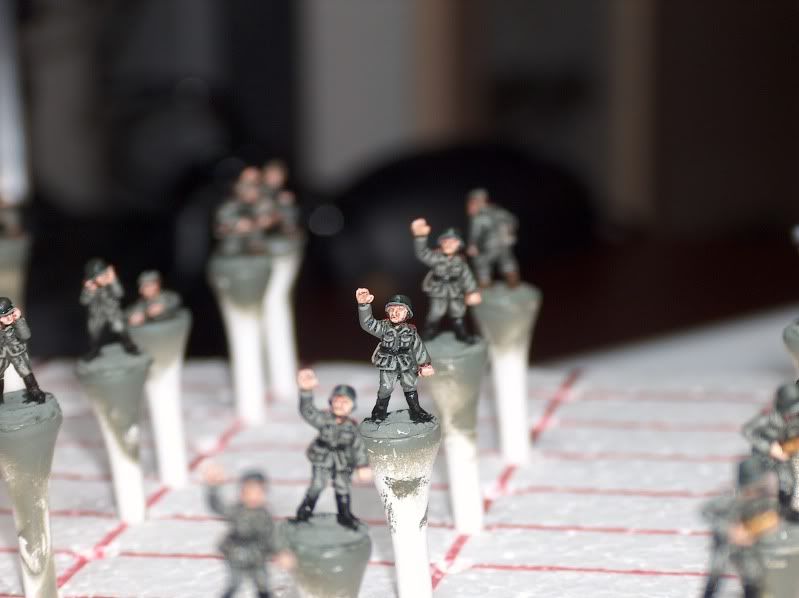
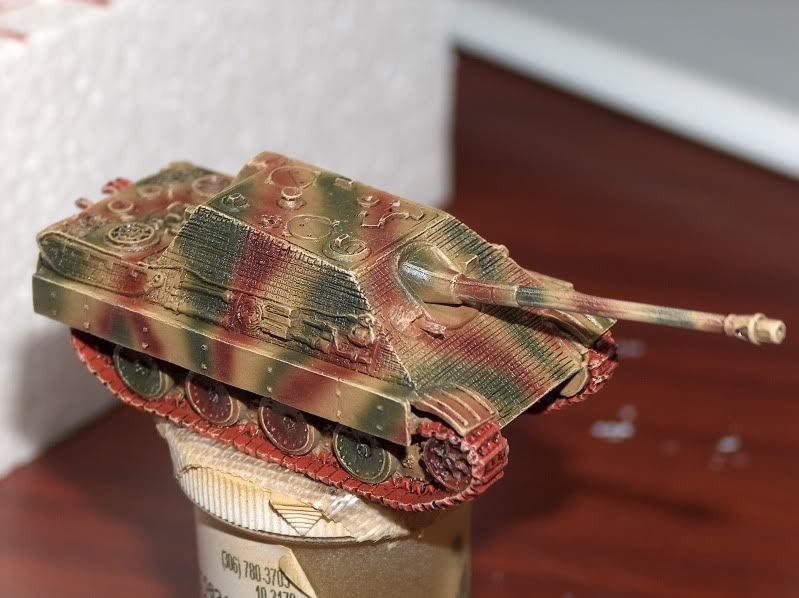
Well, I'm not sure how much I would call this detailing.  Not for the tanks anyway.  I basically paint everything that needs to be painted before a wash.

One thing that could possibly be the best thing to advance my painting besides the airbrush, is a wet palette.  I can't believe how many years I went without one of these.  It saves so much paint.  I always found, especially with brown and flesh colours that they dried up so fast.  Dried acrylic paint is amazingly hard to clean from a plastic palette.  The wet palette is just amazing.  Its super cheap for how much time and paint it saves.  I would suggest it to anyone.  Its basically a piece of paper over a wet sponge.  I can leave a spot of paint over night or even a few days, and still be able to use it.  I cannot stress enough for new painters (and experienced ones) to get a wet palette.

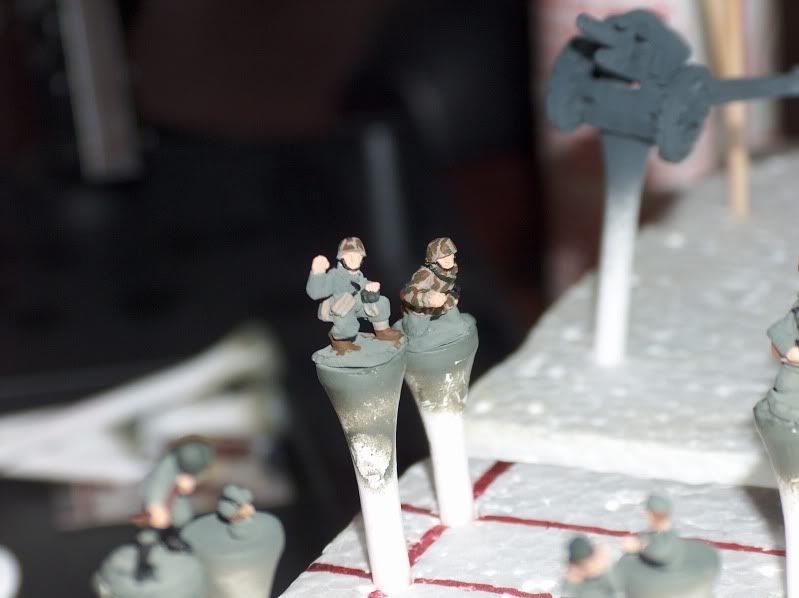
The artillery crew, I paint everything.  Belts, pouches, guns, everything.  Recently I've had a problem with what colours to paint this stuff.  Especially for the Germans.  I have 3 or 4 different guides for painting Germans and rarely do they say the same thing.  The helmets are a great example.  We've all seen WWII movies, and German helmets ALWAYS look dark grey.  BF's mid war guide says German grey, and BF's late war says German Camo Green or middlestone.  I've never seen a green German helmet except for DAK forces.  In doing some research it would seem that German helmets varied in colour as much as the soldiers themselves.  I found that no 2 helmets ever looked the same colour side by side.  So there is probably no right or wrong answer.

Another issue, is pouches.  Most guides say Green Grey.  Well this is insanely close to Field Grey, and hard to even tell apart using the 3 Foot rule.  But its all trial and error to find out what looks good and is still historical.

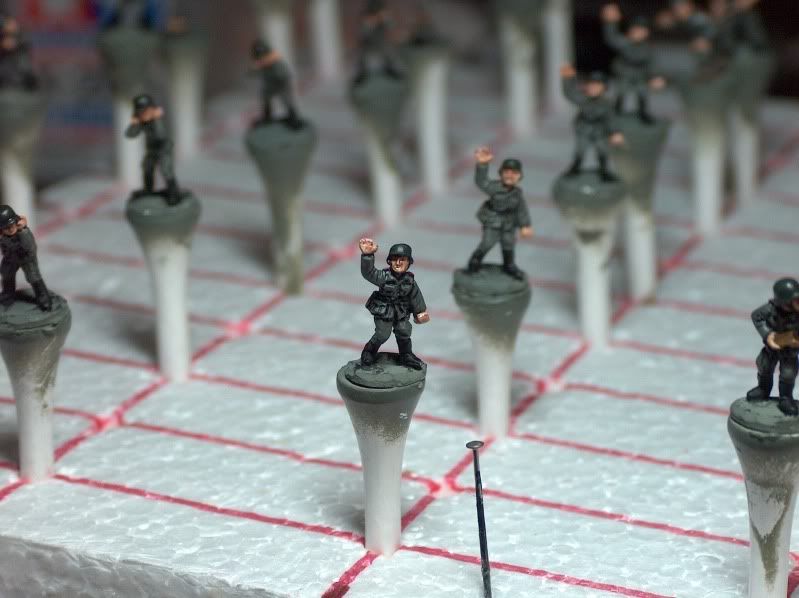
The last thing I do, once infantry detailing is done, is to go back over each guy.  Mistakes will be made.  Its usually flesh colour on the uniform base coat.  So, I just quickly check things over and cover up any mistakes.

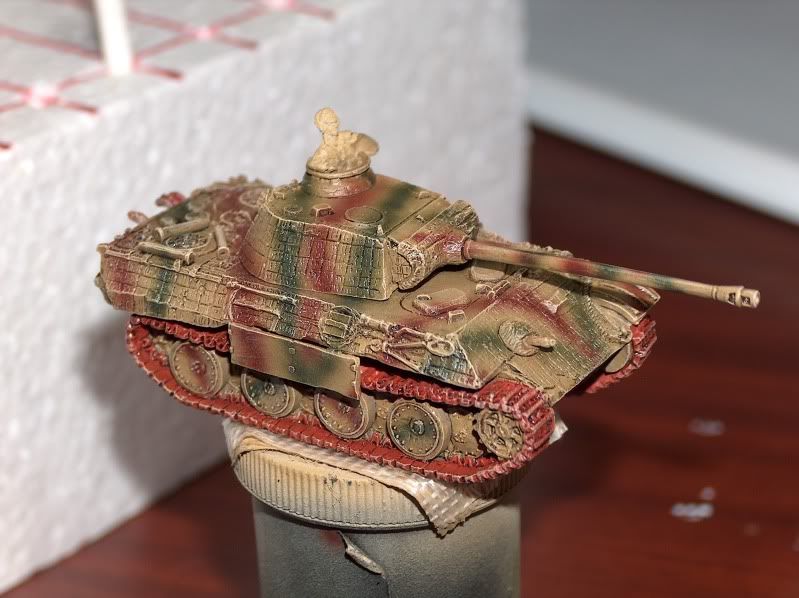
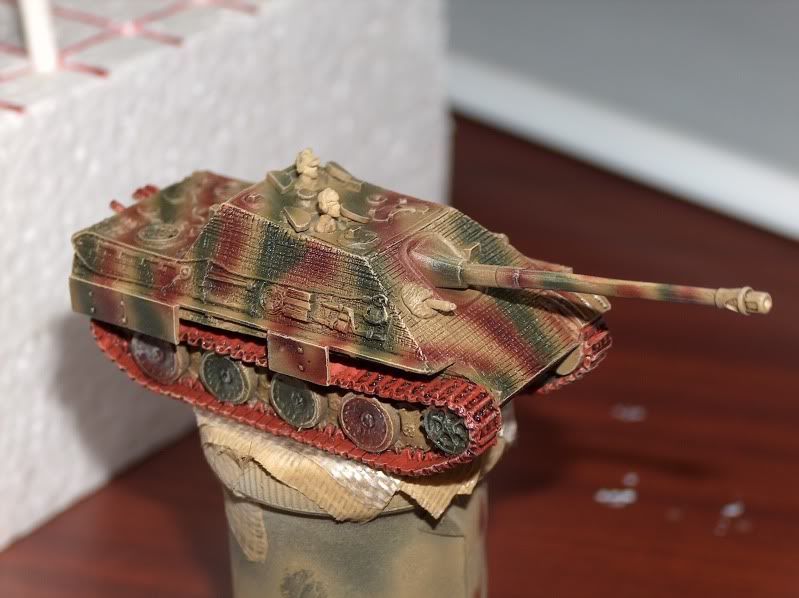
Tanks I don't do any details.  I do a pretty heavy drybrush after the wash, and it ruins any details you might paint, like tool handles.  So there is no point.

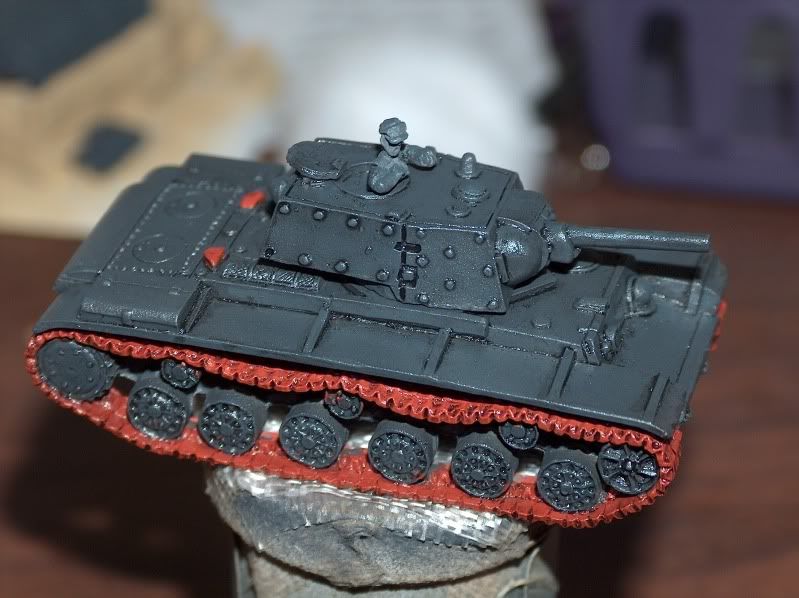
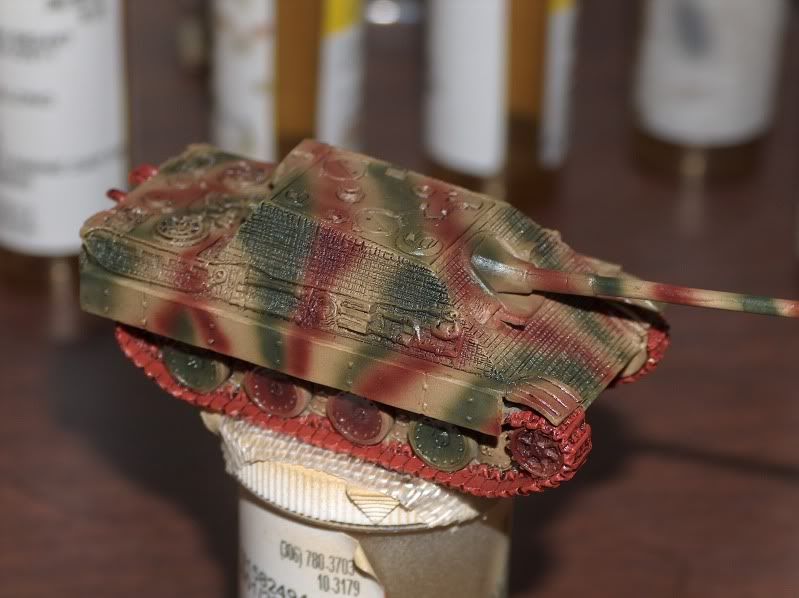
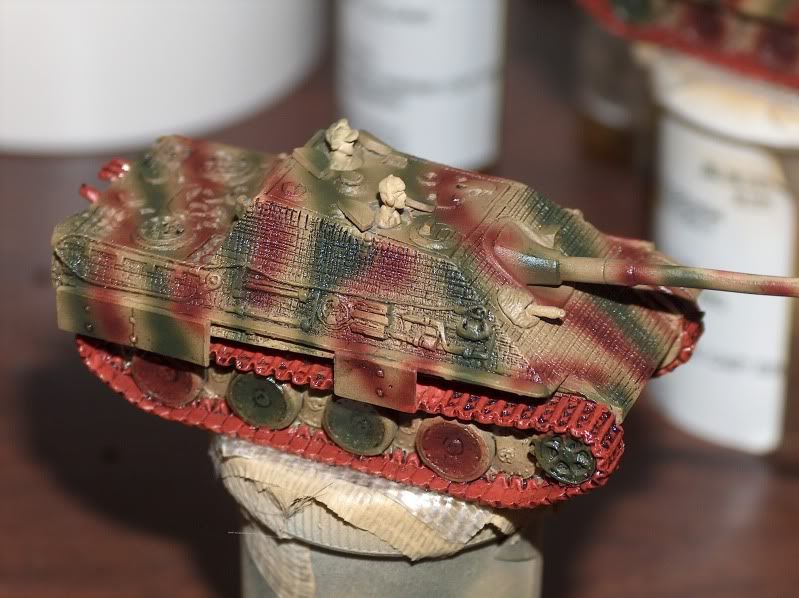
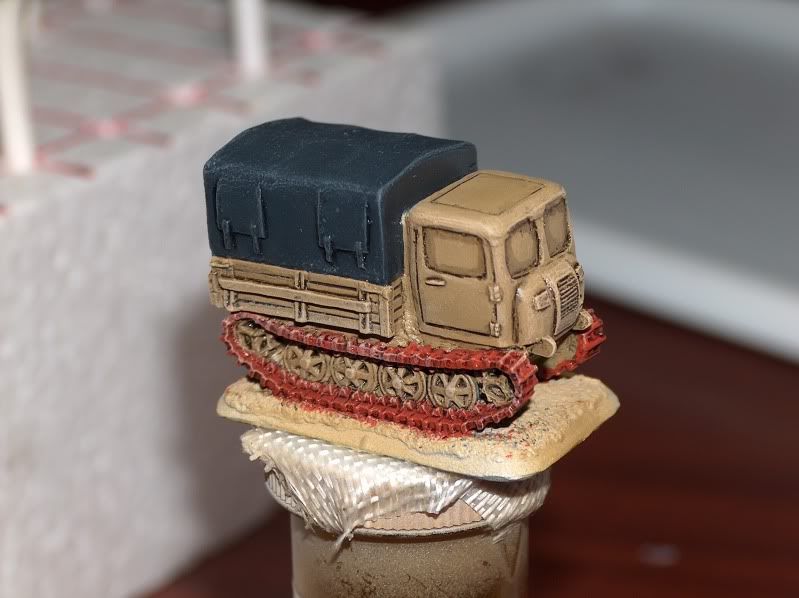
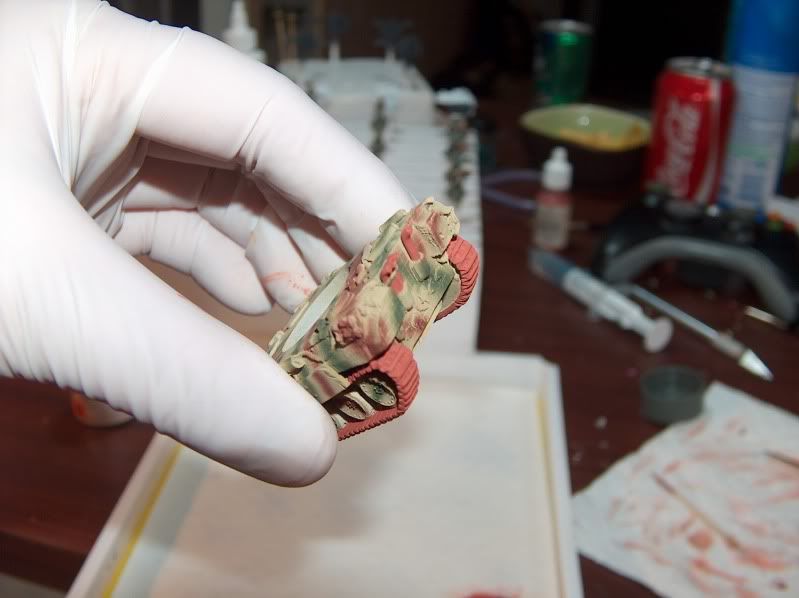
What I do paint is the tracks and exhaust a rust colour.  And like with the RSO's I also paint the tarp.  Everything else is left until after the wash and highlight.

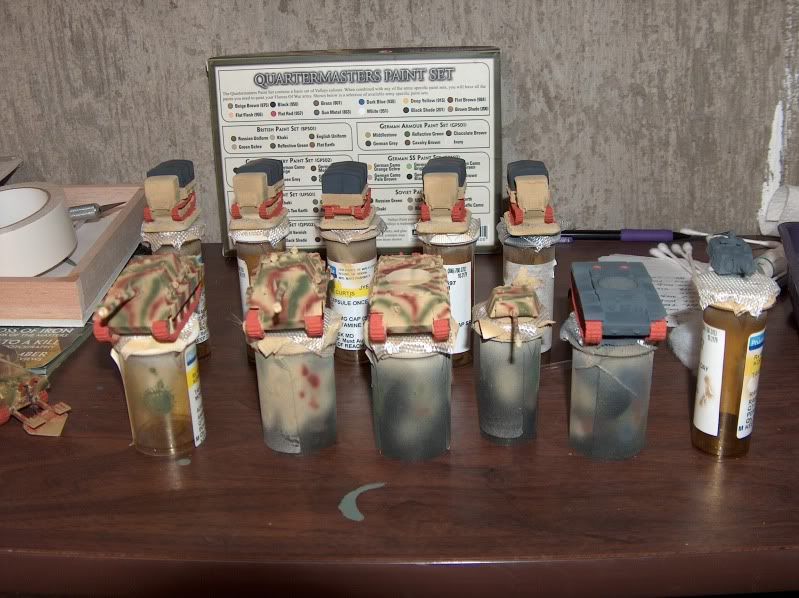
Then everything gets mounted (ha ha...I said mounted) back on the prescription bottles and ready for a layer of Gloss Varnish.

I'm thinking of doing a gloss varnish on the artillery crew.  I've never done this before a wash with infantry before.  But I'm hearing more and more the gloss varnish helps a wash flow...I'm still thinking about it.


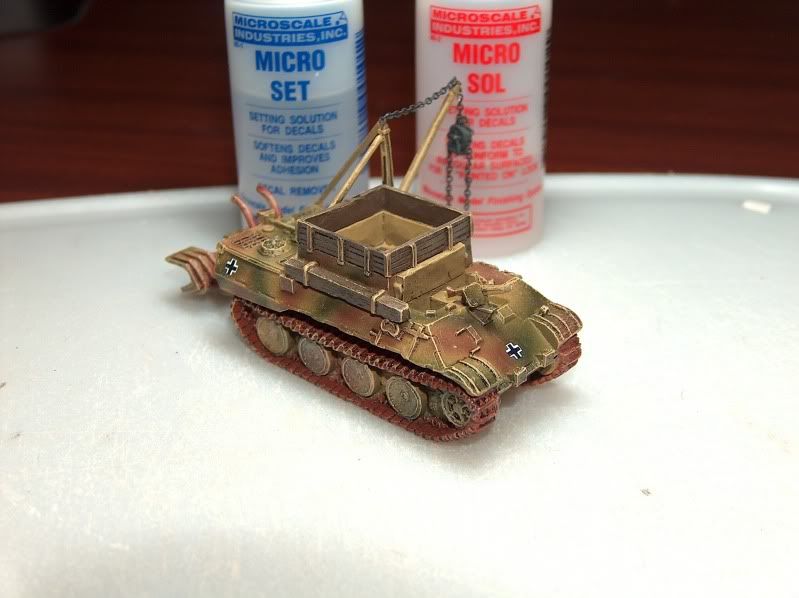
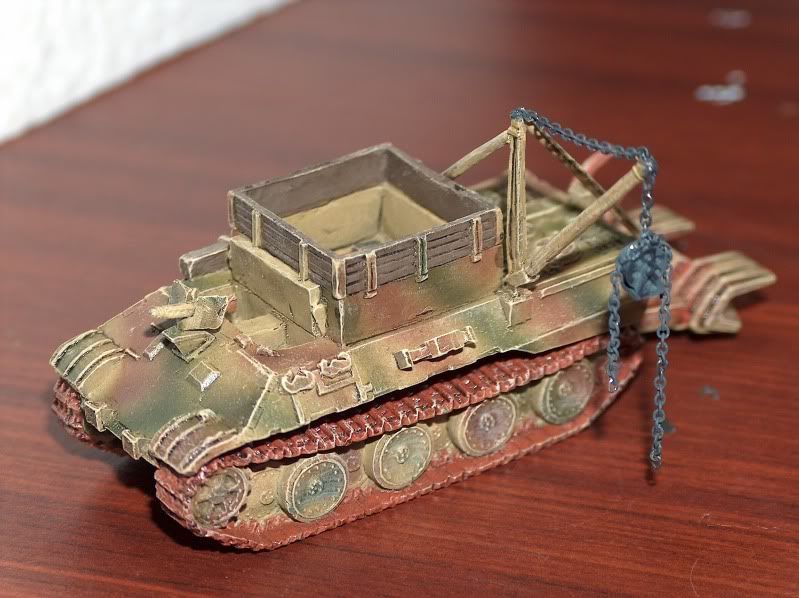
And a little teaser to the BergePanther. Added a chain and pulley.