Showing posts with label Artillery. Show all posts

Tuesday, January 3, 2012

Improving Photography!

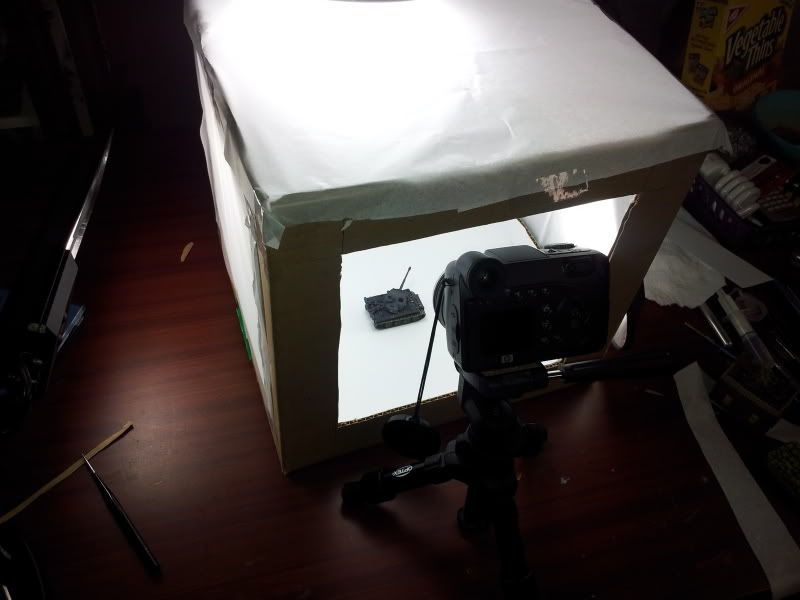
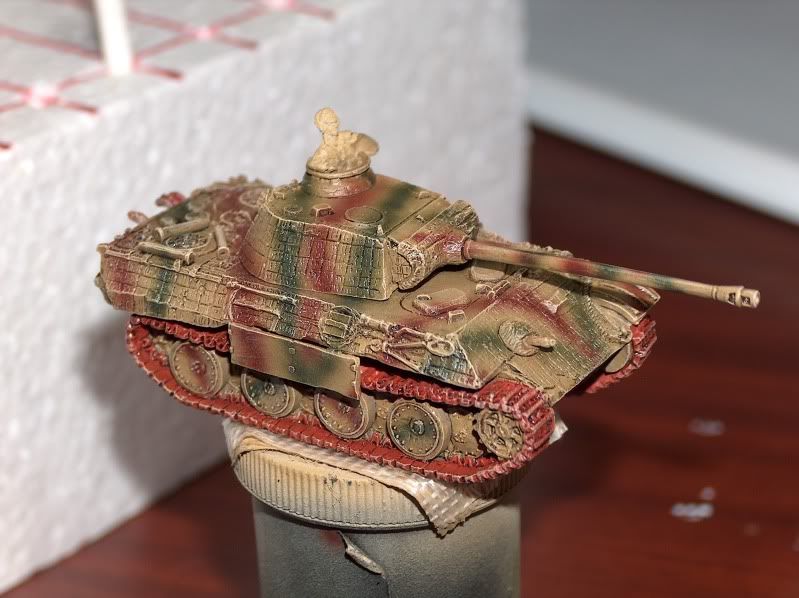
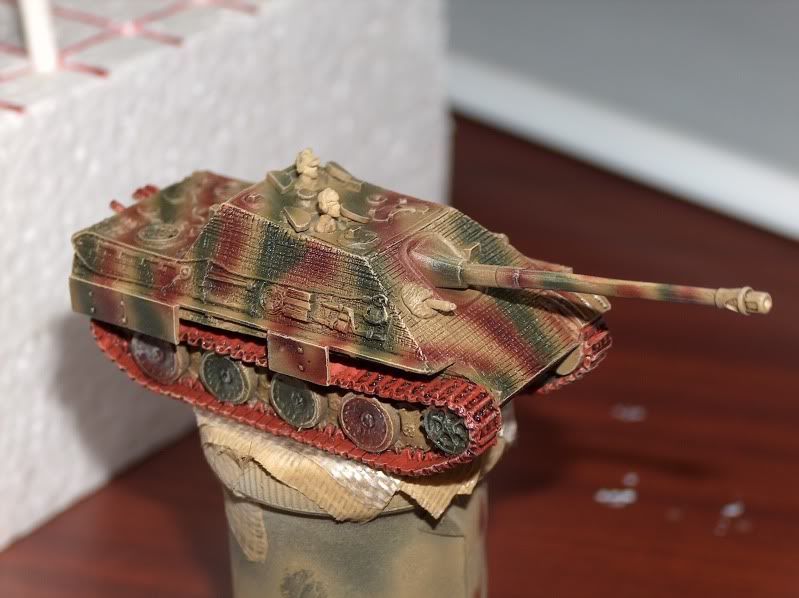
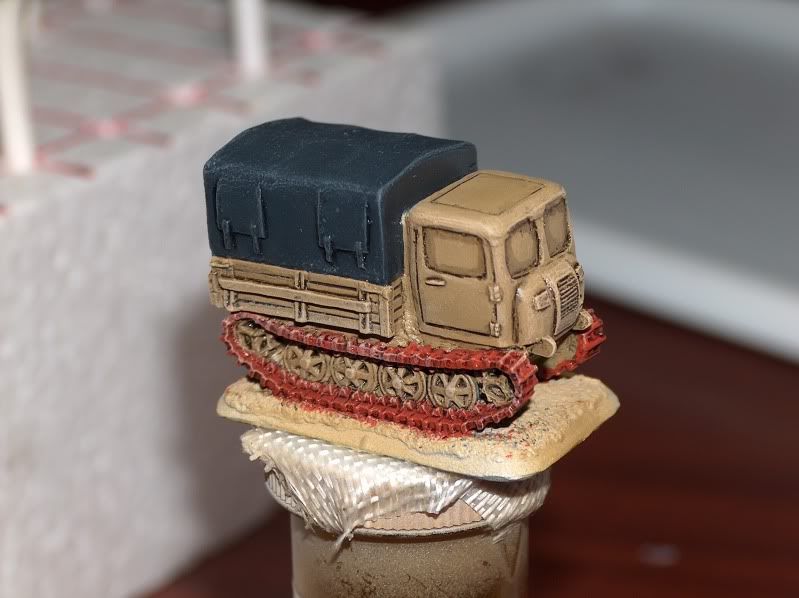
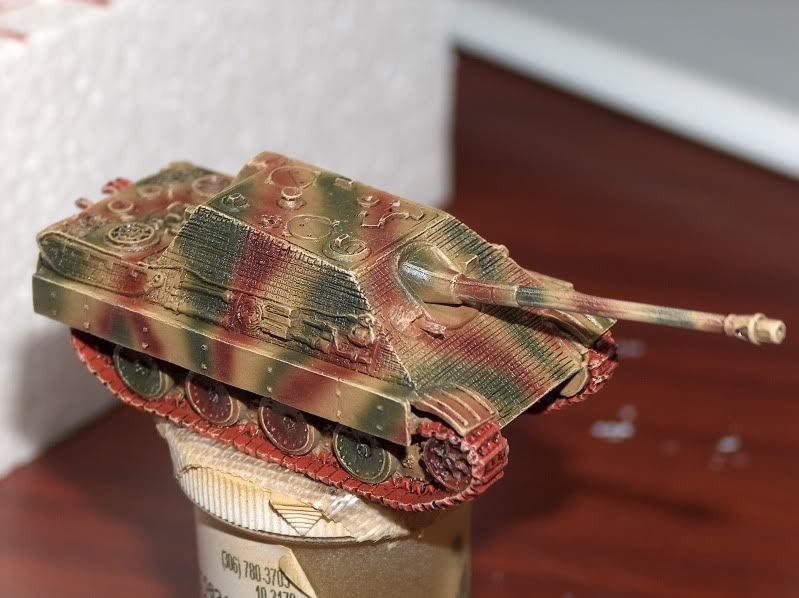
With a little help from one of my buddies and a very cool post I found. I've built myself a little Light Box.

Here is the site.
http://www.digital-photography-school.com/how-to-make-a-inexpensive-light-tent

I think this is going to work.  I will have some more discussions with my buddy to continue to try and improve things by playing with settings.

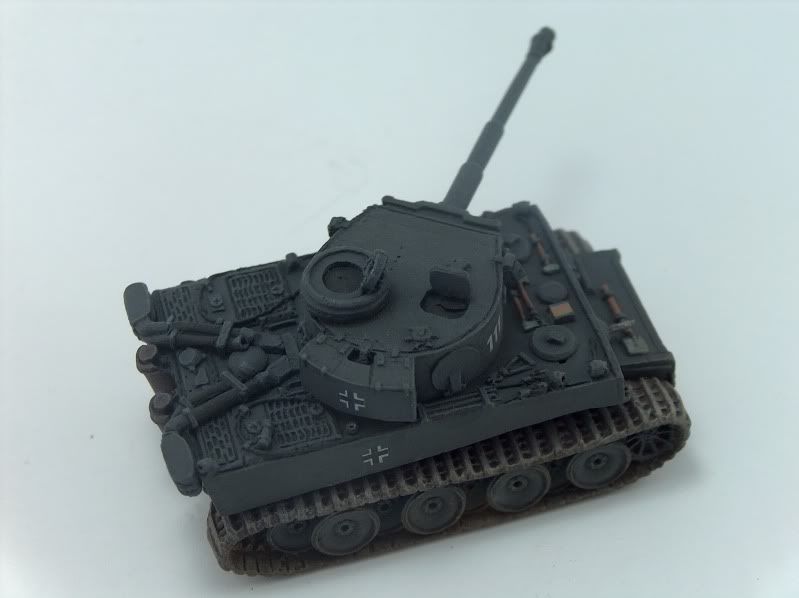
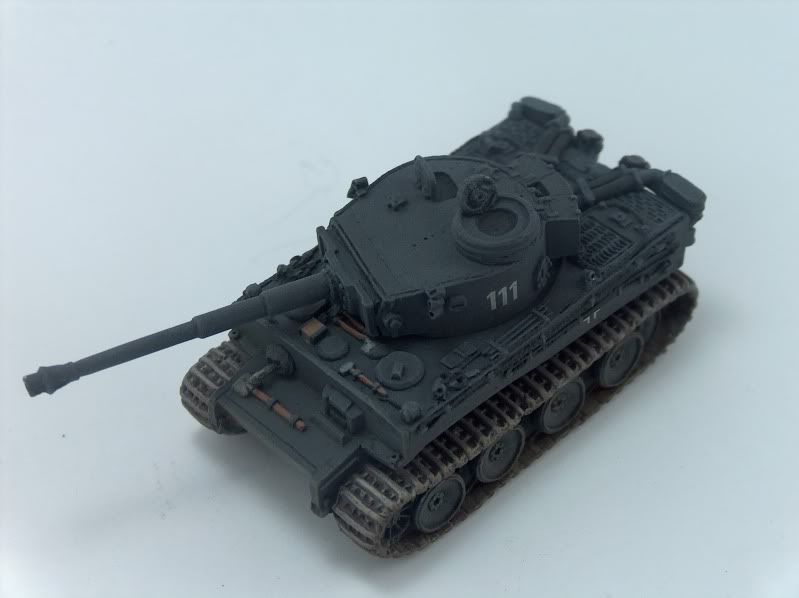
I'm finding just picking up and putting down tanks on the white is leaving marks.  Probably what photoshop is for I guess.  But I definitely like the direction this is going.

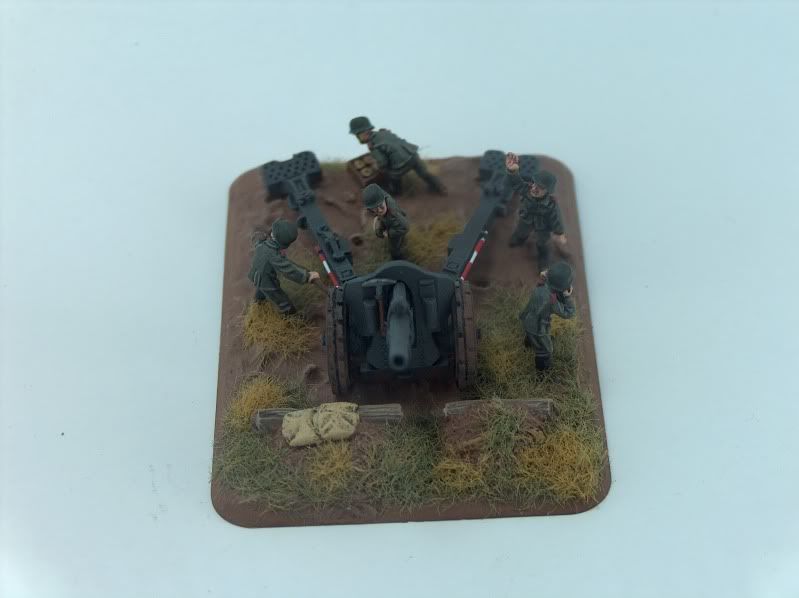
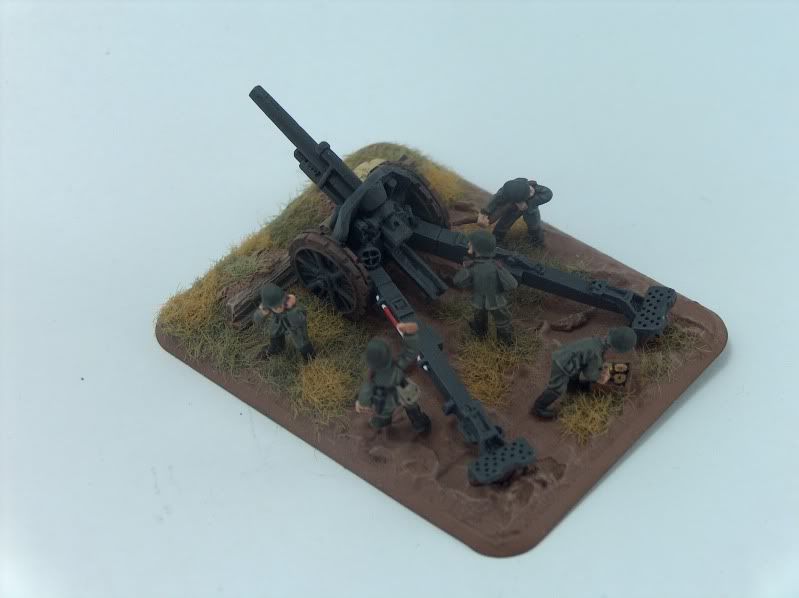
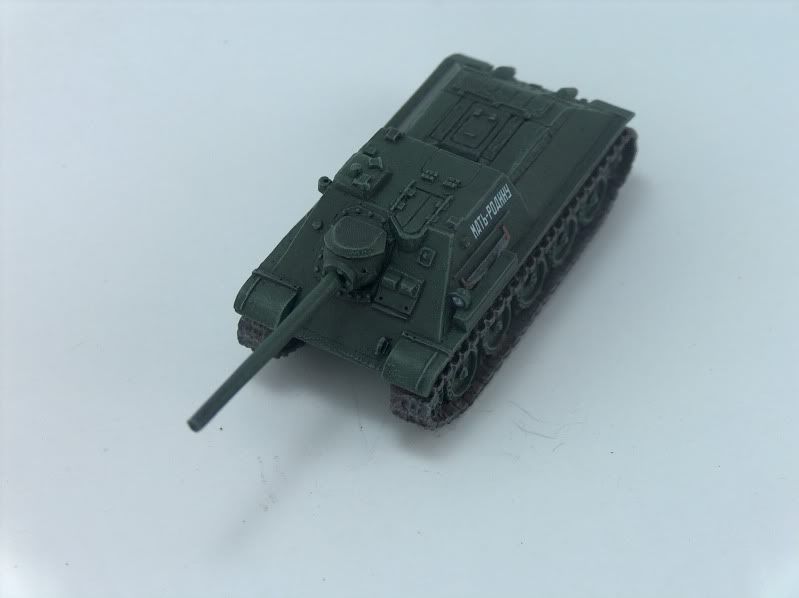
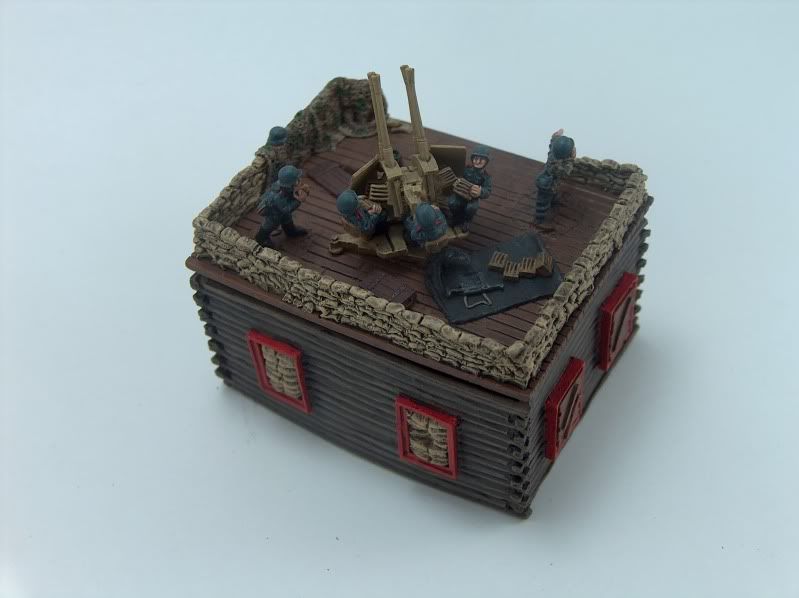
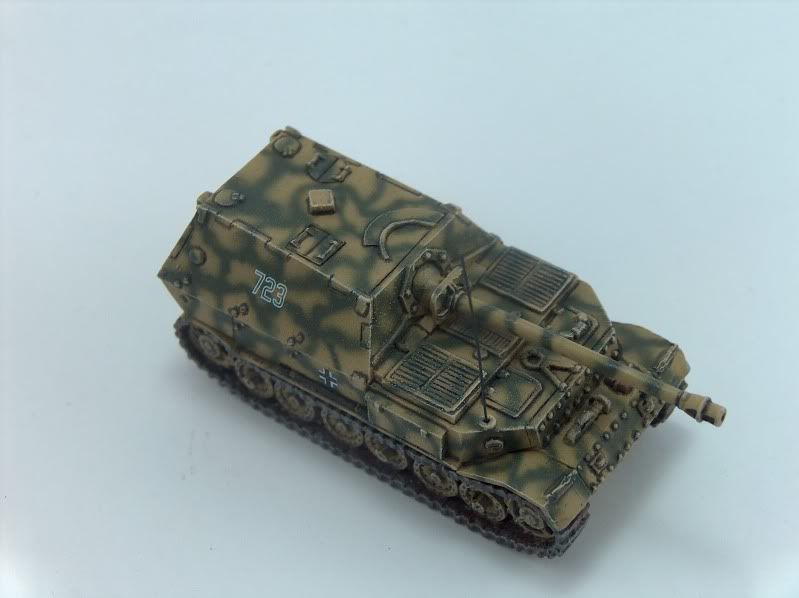
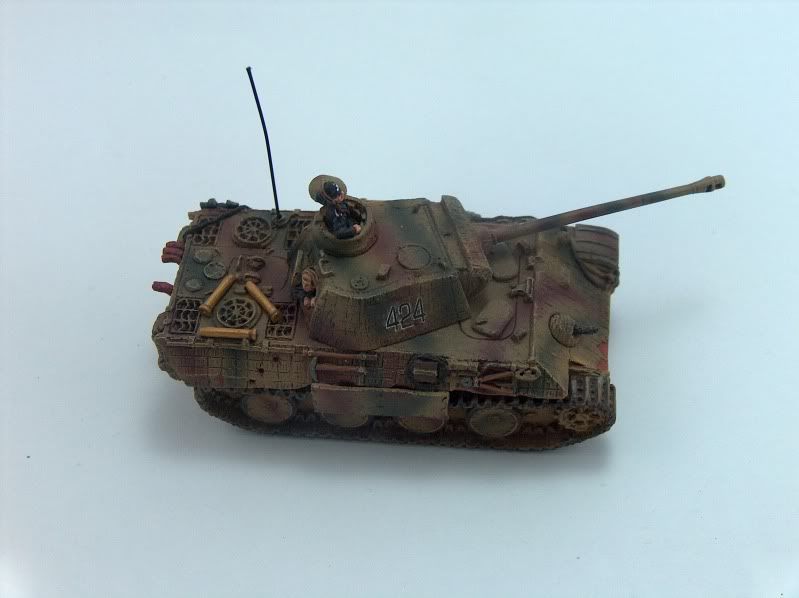
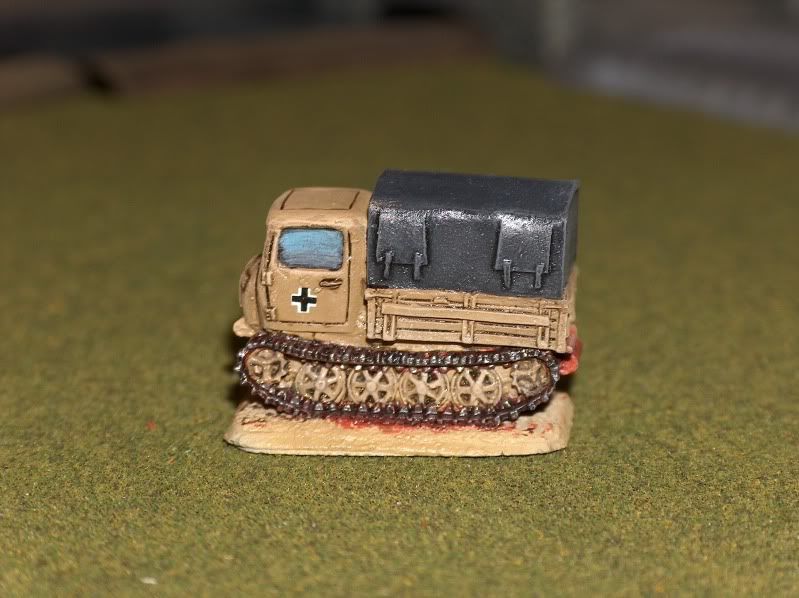
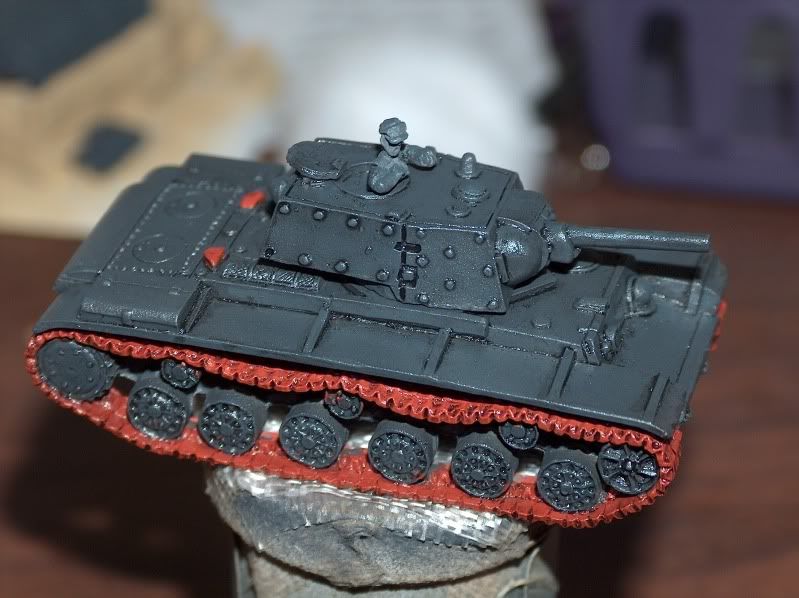
Here are some examples of my first attempts using the light box.  I went back to my old HP 5mp camera.  No photoshoping.

Thursday, April 14, 2011

Schwere PanzerJagerKompanie Part VII - Detailing...again?

In case you missed some:
Schwere PanzerJagerKompanie Part I - Intro
Schwere PanzerJagerKompanie Part II - Preperation
Schwere PanzerJagerKompanie Part III - Airbrushing
Schwere PanzerJagerKompanie Part IV - Detailing
Schwere PanzerJagerKompanie Part V - Wash & Highlight
Schwere PanzerJagerKompanie Part VI - Decal Tutorial

Yes, detailing again.  But this time I do all the detailing on the guns and vehicles.  Tow cables, tools, tracks and what ever other small details needs to be painted.

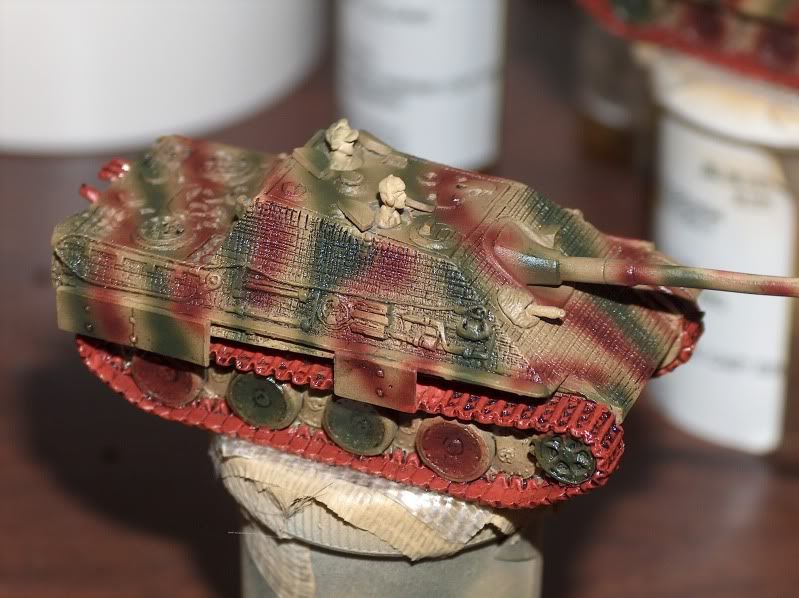
One of the more tedious jobs of this hobby is painting the road wheels on tanks.  I never used to do this because weathering just covered them up. But, several people on the forum suggested that a paint the road wheels.  So now I do.  Even though its a pain, they do look better painted.

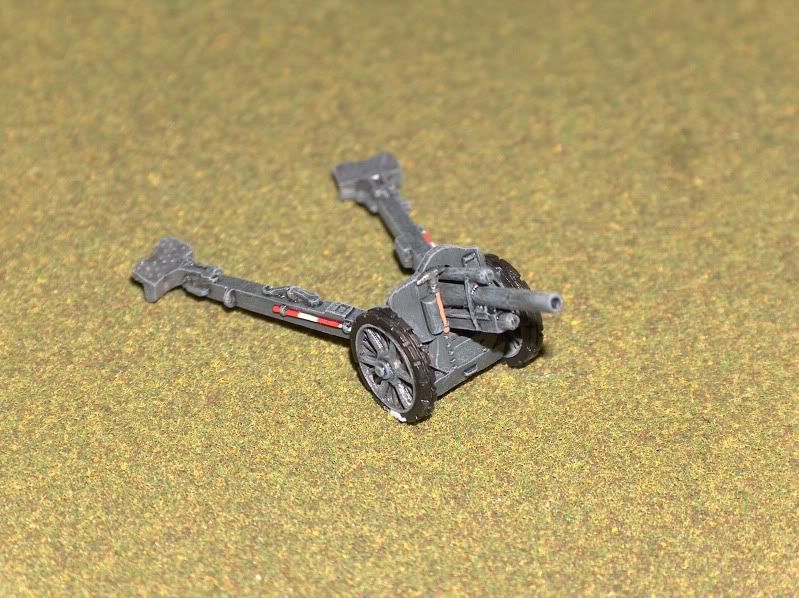
One of the best parts of this hobby is research.  On the side of the 10.5cm guns are these red and white 'sticks'.  I always thought it was so stupid that these nicely camouflaged guns had these bright red and white sticks on it.  I had no idea what these were.  Even though I knew how to paint them, I like to know what I'm painting.  I thought I knew a lot about WWII before I started this hobby.  My knowledge has astronomically increased just from all the research of done.

So, I did some research as to what these were.  It was really hard to find anything on Google, because I had no idea what they were called.  You can't exactly Google "red and white stick thingies."  I even looked in an artillery book.  There was no mention of them in there.  I asked on the forum and finally got an answer.  Apparently the FoW community understands "red and white stick thingies".  These 'sticks' are sighting rods.  Teams would use them to measure the horizon so all guns could range in on the same target.  Like surveying equipment I suppose.


Another bit of research I needed to do was the inside of hatches.  I never used to bother with this kind of stuff, but the better and faster I get the more detailed I want to get.  What I found was that the inside of German tanks were a yellowish ivory color.  But the bottom inside was green grey.  So I painted the inside hatches with a mix of Dark yellow base colour and white.  I did the captured KV like this as well.  Even though I know they repainted their captured tanks German Grey, I have no idea if they would have done the inside too. So, I just assumed they did.  This could be wrong.

Tracks, if you've been following I base coat in a rust brown.  At this point I will do a heavy dry brush of black.  Then a lighter drybrush of gunmetal.

This is how shitty my town is for FoW.  I couldn't find black hobby paint if my life deepened on it.  I tried the tamiya black I use in my airbrush, but it was way to light.  I would have had to do 20 coats.  No one here has the FoW paints.  I had bought the last Vallejo in the city, and of course it was totally dried out.  Man, this city sucks.   

Anyway, the other thing I do at this point is paint windows.  This always seems to be a crap shoot.  I've tried many different things.  Some times they look good sometimes they don't.  But I may have found something I like.  I applied 2 really watered down shades of gray over top of each other.  and they a realy watered down sky blue just on the top part of the window.  I think it turned out pretty well.  Almost looks like you can see the horizon in the window.

Anyway...next will be weathering, which will include basing the gun teams.


Sunday, April 3, 2011

Schwere PanzerJagerKompanie Part V - Wash & Highlight

In case you missed some:
Schwere PanzerJagerKompanie Part I - Intro
Schwere PanzerJagerKompanie Part II - Preperation
Schwere PanzerJagerKompanie Part III - Airbrushing
Schwere PanzerJagerKompanie Part IV - Detailing

Doing a wash seems to be the most popular but most obscure technique in all of painting miniatures.  Its so hard to find an exact formula of what a wash actually is.  It always "some" of this, or a "few drops" of this.  Never an exact formula.  And if I did ever find an exact formula I couldn't get it to work. 

The closest I found to the "Magic Wash" formula was 1 part future, 4 parts water, and "a few drops of your favorite pigment".  A few could be anything from 2 to 7.  In testing wash formulas I've found 1 drop makes a huge difference in how dark your wash is.  Just saying "a few"  doesn't cut it.

I always use an excel spreadsheet to keep track of EXACT formulas for anything I do in painting.  On this little project I'm actually finding there needs to be different formula for different jobs.  I also tried something new.  I did a pre-mix of future and water.  Usually I just did straight Future.  I tried the 1:4 future to water, but found it was to watery.  So, I tried 1:1.  This is now my "Magic Wash".

To get my "parts" I use droppers.  I use this when airbrushing as well, to mix my 3:2 paint to windex formula. 

For a black wash I use games workshop black ink.  I tried to Vallego black shade, but found it wasn't dark enough for what I like.  For tanks I used a 1:20 mix of ink to magic wash.  For infantry I used a mix of 1:40.  I also tried giving 2 coats of wash.  I never wanted to try this before because I figured it would make things too dark.  It seemed to work really well.

For flesh I use about a 1:2 or 1:3 W&N peat brown to magic wash.

If anyone else would like to share some EXACT wash formulas I'd be super interested.


After all the wash, I do a dry-brush highlight of everything.  Usually a 3:2 base coat to white.  I keep finding I have to do it lighter highlight then I would think, because my matte varnish really lightens things up, and the highlight disappears there isn't enough contrast between the base coat.  


Up next will be my decal tutorial.

Sunday, March 27, 2011

Schwere PanzerJagerKompanie Part IV - Detailing

In case you missed some:
Schwere PanzerJagerKompanie Part I - Intro
Schwere PanzerJagerKompanie Part II - Preperation
Schwere PanzerJagerKompanie Part III - Airbrushing

Well, I'm not sure how much I would call this detailing.  Not for the tanks anyway.  I basically paint everything that needs to be painted before a wash.

One thing that could possibly be the best thing to advance my painting besides the airbrush, is a wet palette.  I can't believe how many years I went without one of these.  It saves so much paint.  I always found, especially with brown and flesh colours that they dried up so fast.  Dried acrylic paint is amazingly hard to clean from a plastic palette.  The wet palette is just amazing.  Its super cheap for how much time and paint it saves.  I would suggest it to anyone.  Its basically a piece of paper over a wet sponge.  I can leave a spot of paint over night or even a few days, and still be able to use it.  I cannot stress enough for new painters (and experienced ones) to get a wet palette.

The artillery crew, I paint everything.  Belts, pouches, guns, everything.  Recently I've had a problem with what colours to paint this stuff.  Especially for the Germans.  I have 3 or 4 different guides for painting Germans and rarely do they say the same thing.  The helmets are a great example.  We've all seen WWII movies, and German helmets ALWAYS look dark grey.  BF's mid war guide says German grey, and BF's late war says German Camo Green or middlestone.  I've never seen a green German helmet except for DAK forces.  In doing some research it would seem that German helmets varied in colour as much as the soldiers themselves.  I found that no 2 helmets ever looked the same colour side by side.  So there is probably no right or wrong answer.

Another issue, is pouches.  Most guides say Green Grey.  Well this is insanely close to Field Grey, and hard to even tell apart using the 3 Foot rule.  But its all trial and error to find out what looks good and is still historical.

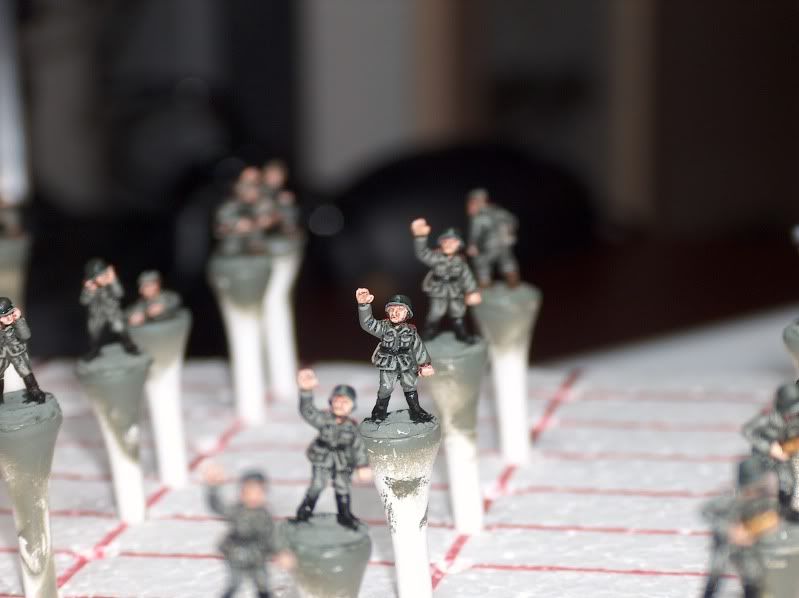
The last thing I do, once infantry detailing is done, is to go back over each guy.  Mistakes will be made.  Its usually flesh colour on the uniform base coat.  So, I just quickly check things over and cover up any mistakes.

Tanks I don't do any details.  I do a pretty heavy drybrush after the wash, and it ruins any details you might paint, like tool handles.  So there is no point.

What I do paint is the tracks and exhaust a rust colour.  And like with the RSO's I also paint the tarp.  Everything else is left until after the wash and highlight.

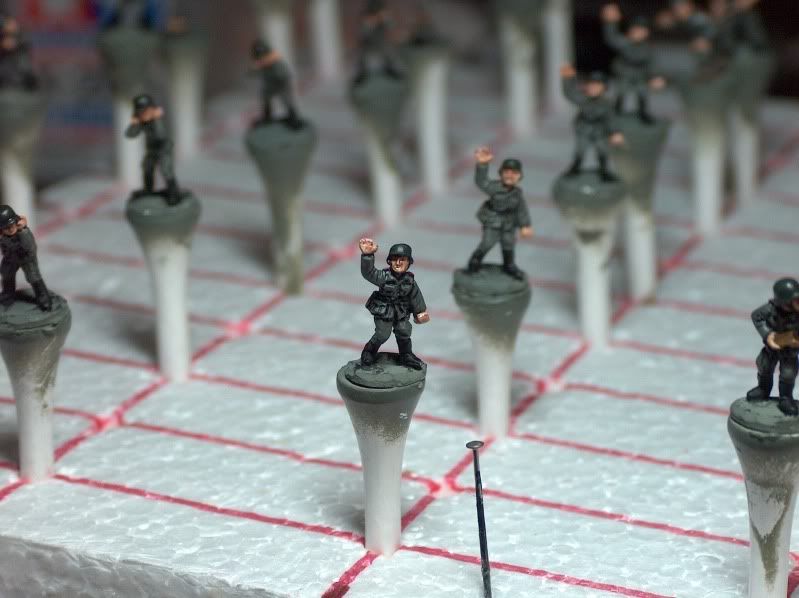
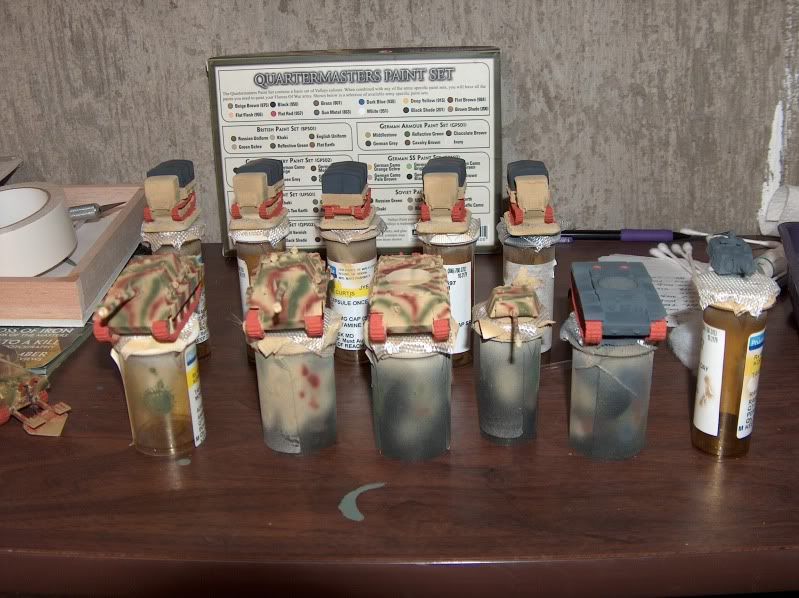
Then everything gets mounted (ha ha...I said mounted) back on the prescription bottles and ready for a layer of Gloss Varnish.

I'm thinking of doing a gloss varnish on the artillery crew.  I've never done this before a wash with infantry before.  But I'm hearing more and more the gloss varnish helps a wash flow...I'm still thinking about it.


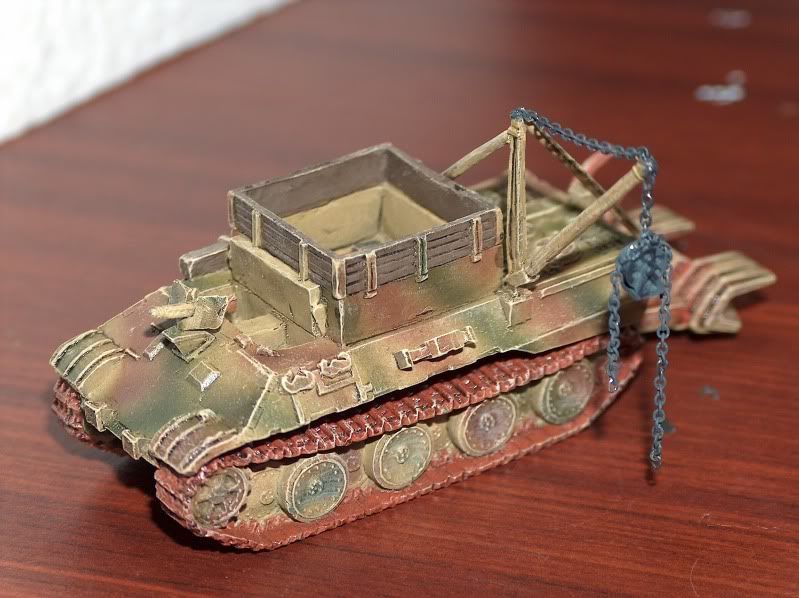
And a little teaser to the BergePanther. Added a chain and pulley.

Monday, March 21, 2011

Schwere PanzerJagerKompanie Part III - Airbrushing

In case you missed some:
Schwere PanzerJagerKompanie Part I - Intro
Schwere PanzerJagerKompanie Part II - Preperation

And now its time to do the airbrushing.  I'll do all the airbrushing for the entire company.
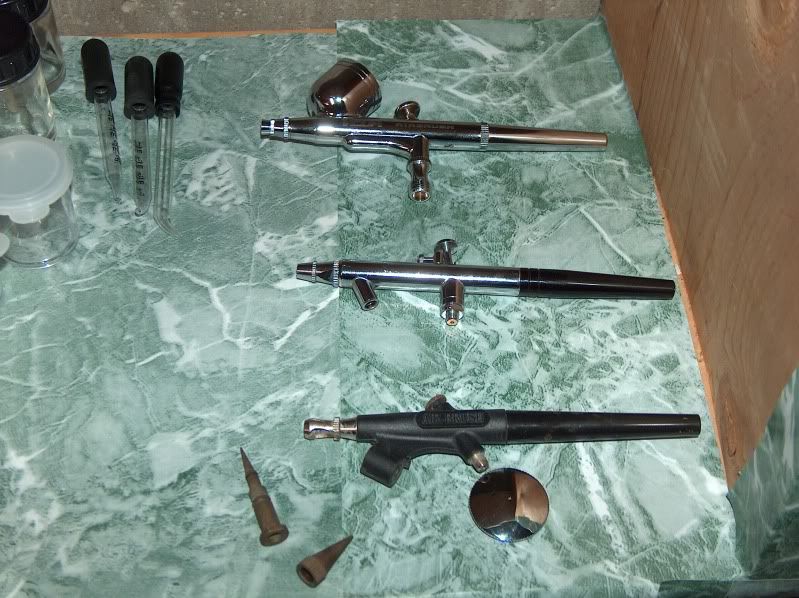
I use 3 kinds of airbrushes.  I use a single action for all the priming and base coating of vehicles.  I use a double action 3.5mm suction for infantry.  And I use a double action 3.0mm gravity fed for camo patterns.  I do have a 2.0mm airbrush, but really haven't broken it out yet.  the 3.0mm seems to be good enough.   

For all the noobs out there.  If you can get gravity fed airbrushes do it.  I love these things.  They use way less paint, way less maintenance, and they just spray perfect every time.  The suction ones are always just so much work, and they seem to work different all the time.

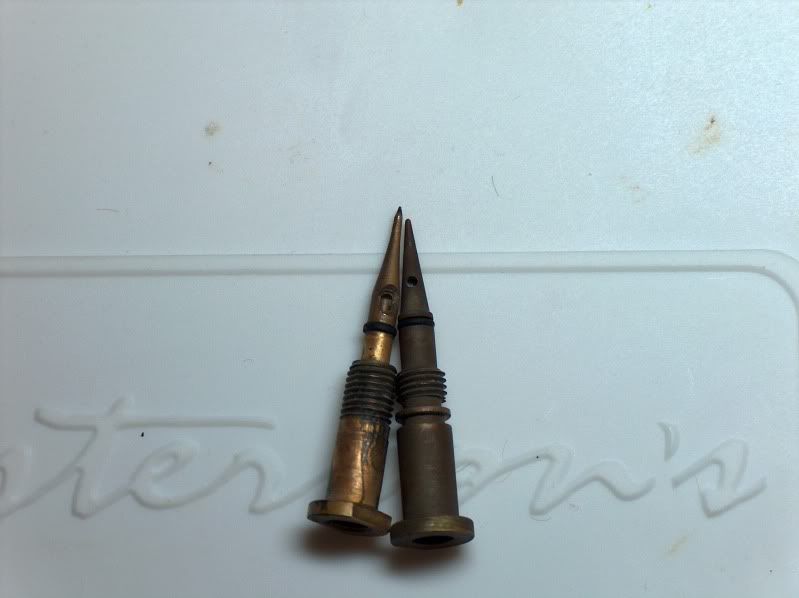
The single action ones especially you have to be careful.  Maybe this is common knowledge, but I certainly didn't know.  I thought all these single action airbrushes were the same.  Apparently they aren't.  I bought 2 of them, 2 different brands, but seemingly exactly the same.  The packages certainly didn't mention anything different about something very important say...oh I don't know....the nozzle.

I was using these 2 single action airbrushes in conjunction so that I wouldn't have to spray, clean, spray, clean.  I thought I could spray 2 different colors and then clean both.  One of the airbrushes I could almost never get to work.  And if it did work, it went through paint like it was going out of style.  Then for some reason I happen to see the nozzles side by side.  Well HOLY SHIT.  Look at the size difference in the nozzle.  No wonder that stupid thing sucked.  No pun intended.  Needless to say I've stopped using that airbrush.
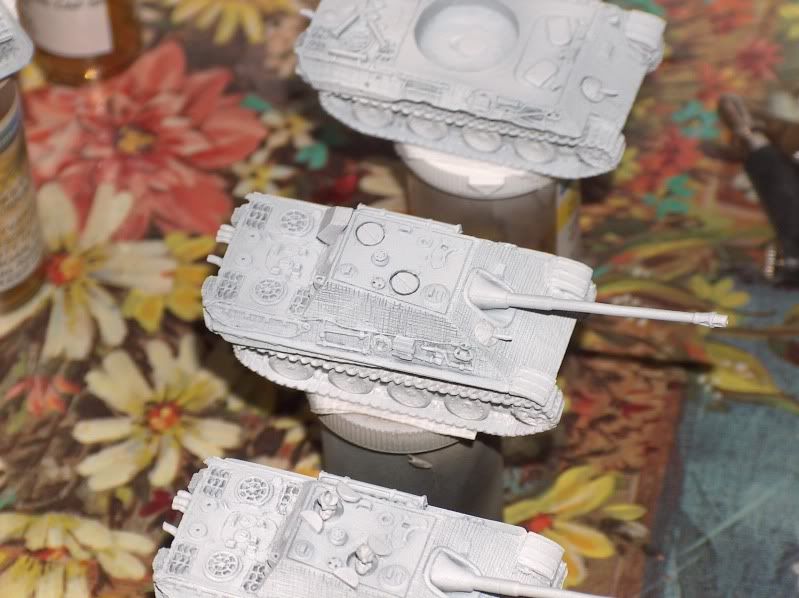
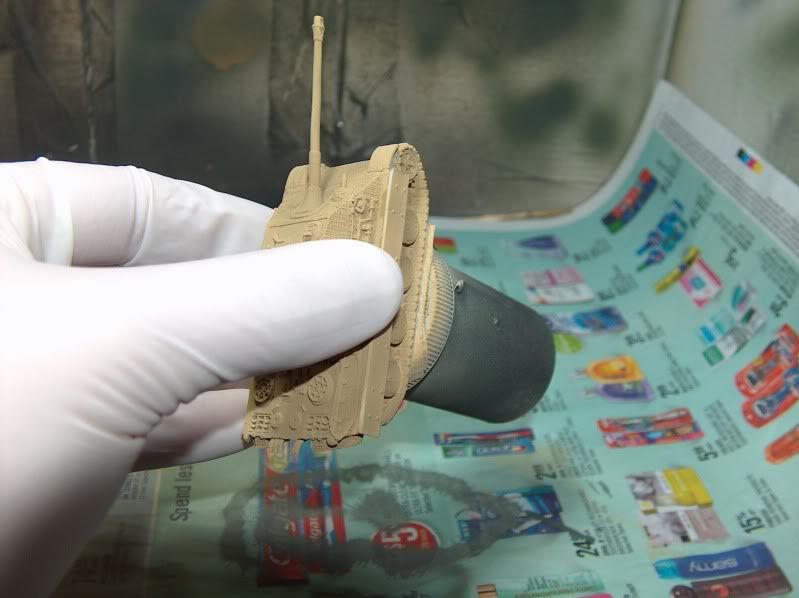
Anyway, on to the work.  Because I'm always trying to improve, I'm always trying new things.  So, who knows how this stuff will turn out.  First thing I did on this project was to prime the vehicles, using the single action airbrush.  This is a first for me, I primed them white.  Normally I'll prime black, or just do 2 base coats.  I wanted to see how it would work.  The problem being, if anyone actually reads this stuff, I mix Windex with my paint for airbrushing.  This turns your white paint blue.  So, I had to use thinner, which I find usually makes your paint too watery.  I used about a 3:1 mixture and it seemed to work pretty good.  Once that is done I will clean up the brush and let the nozzle sit in some Simple Green.
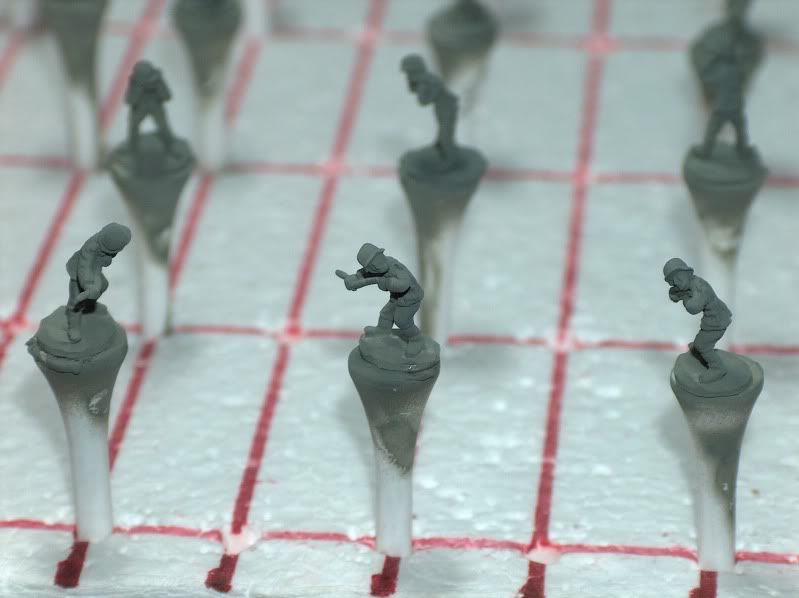
Moving on to the infantry, I use the 3.5mm to prime and base coat them.  I don't really prime them though, I just do 2 or 3 coats of base coat.  I pretty much exclusively use Tamiya in my airbrush, and I don't find colors are brighter or darker just because of the base coat color.  For Germany uniforms I use XF-22, RLM Grey.  I mix 3 parts paint with 2 parts Windex.

Lets see whats next?  Oh yes, I go back and clean the single action brush that has been sitting in the simple green.  Then I get ready to base coat the Tanks and RSO tractors.  I use XF-60, Dark Yellow for German late war vehicles.  Again I mix it about 3:2 with windex.  Oh ya I almost forgot to paint the Schurzen as well.

I once again I stick the single action nozzle in simple green and let it soak for a bit.

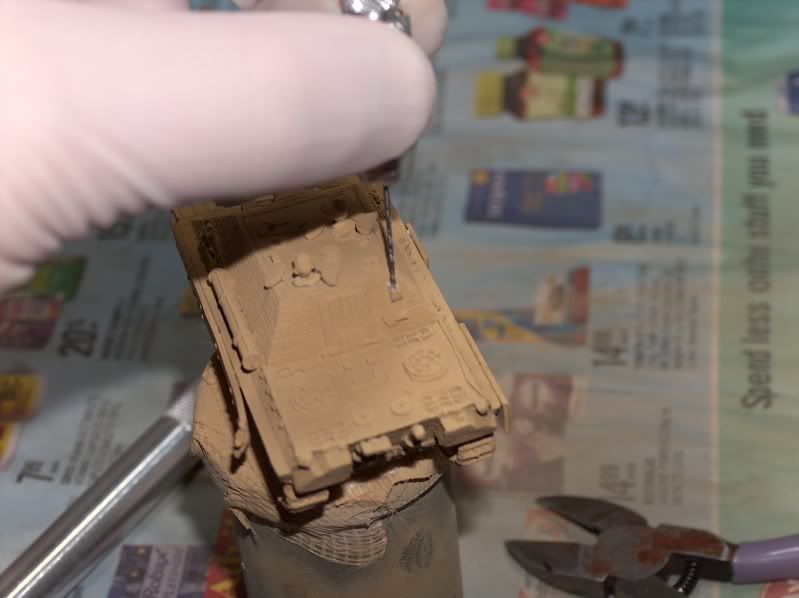
At this point I forgot about the antenna.  So I quickly drilled out the holes where the antenna will go.  I find if the hole isn't deep enough, the antenna will easily snap off if you accidentally touch it during game play.  So, I drill that hole nice and deep.  Ha ha...I said deep!  Inside joke for those that know me.

Tamiya paint dries very quickly so, I now take this opportunity to glue the Schurzen on.  I try to wear gloves when ever I'm going to be touching painted parts.  These jagdpanthers may have actually given me a revaluation with the panther shurzen.  I wonder if I've been putting them on upside down?  They have these tabs that look like you would glue them under the hull. The problem is on the jagdpanther they don't fit.  If you put them on the same as a regular panther they end up crooked.  the jagdpanther actually has this lip they fit on, but the only way they fit is if you cut these tabs off....or put them on upside down.  They fit great upside down and the tabs sit right on the track.  When I put my panther A's together, I may have to see if they fit that way as well.


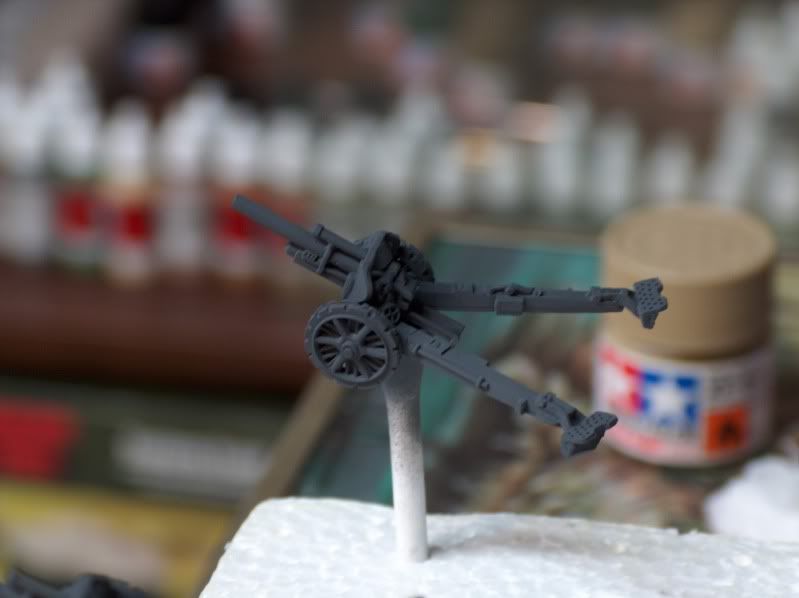
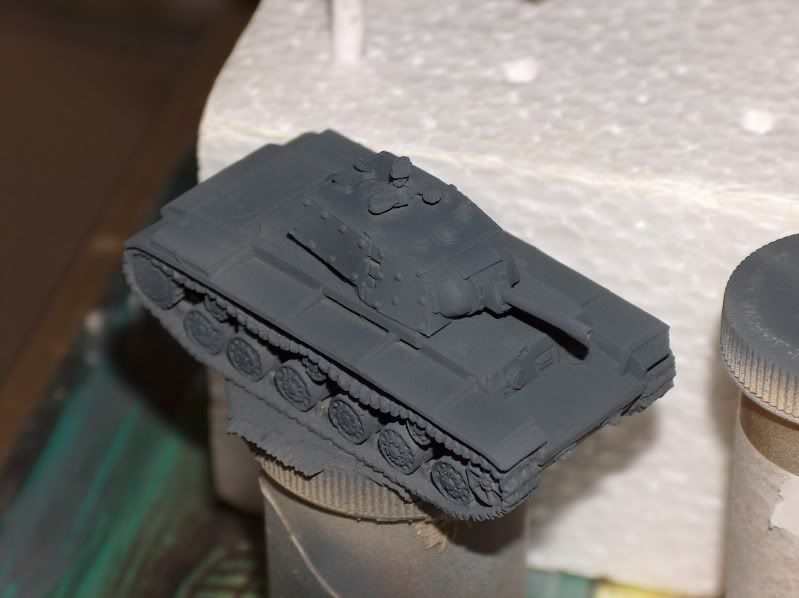
While the glue dries, I will paint up my 10.5cm guns.  I'm using XF-63, German Grey for these.  Even though this is for late war I want these guns to be mid war.  This is an older gun set, so If I ever decide to paint a late war gun set, I'll get the newer molds.  I also had a KV-1e captured tank I wanted to paint.  I had done it in dark yellow, but upon doing more research most captured KV's were German Grey.


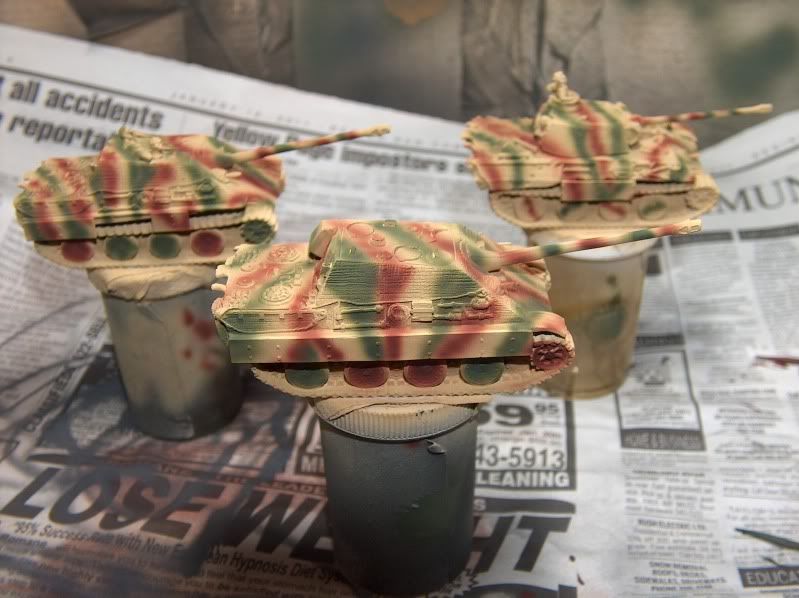
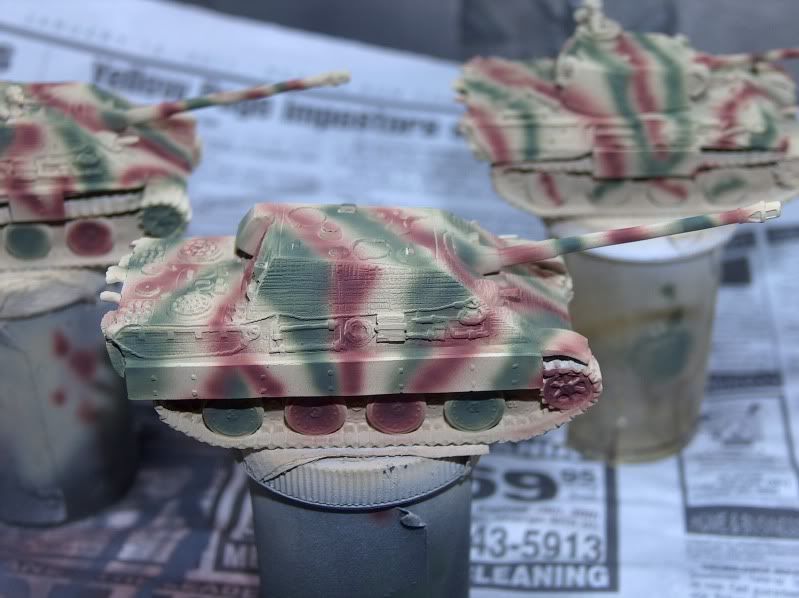
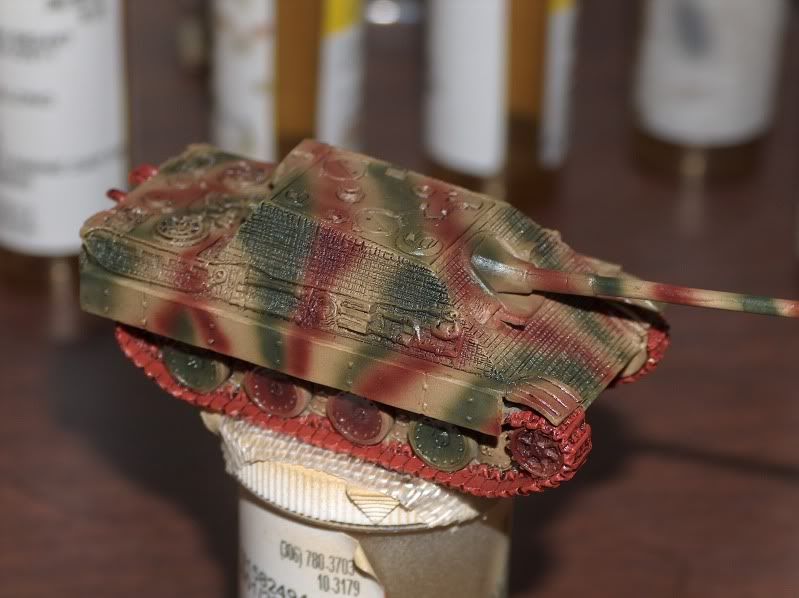
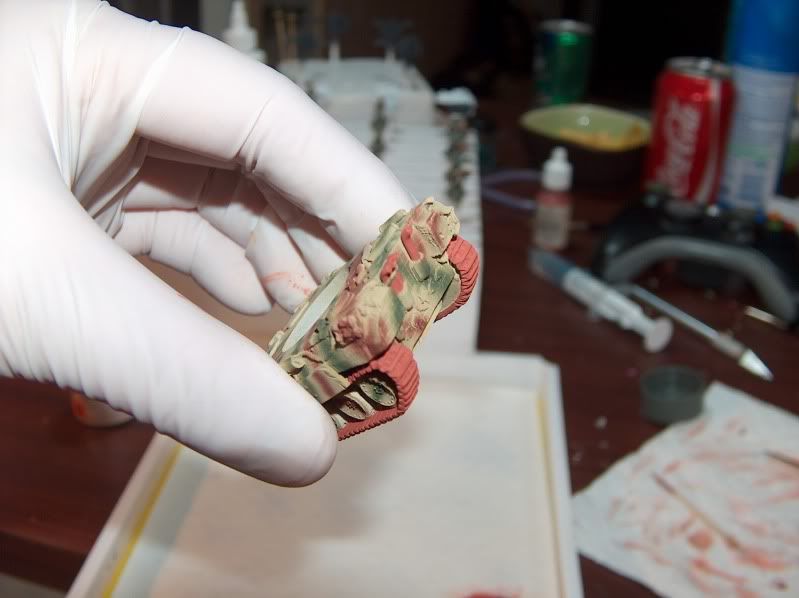
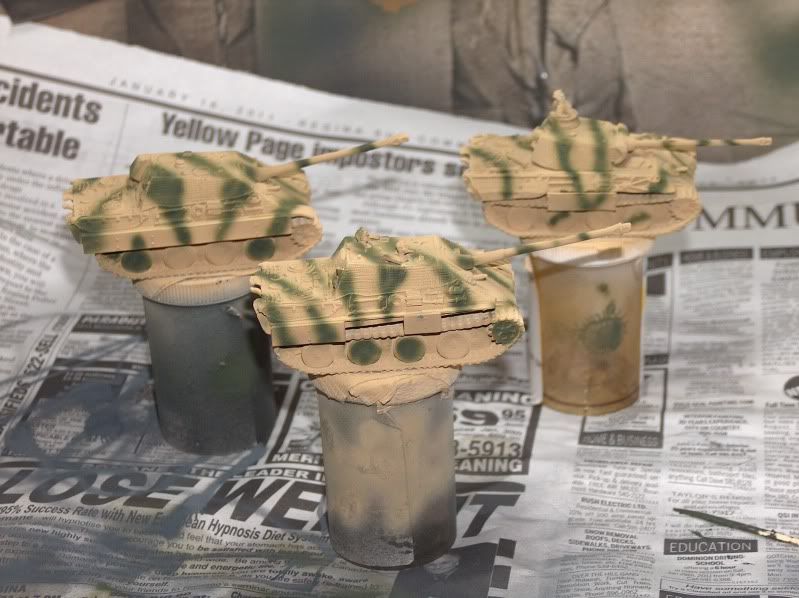
With the guns done, the schurzen should be dry, we can move on to adding the camouflage to the jagdpanthers and Noaks Panther.  For this I will use XF-58, Olive Green and XF-9 Hull Red.  Normally, like with my Konigstigers, I used XF-64 Red Brown, but I wanted to try this Hull Red.

I found some very good pictures of camo patterns for Jagdpanthers.  A lot of them for the time period had shown wheels painted in full colors.  So, thats how I did the jagdpanthers.  I kinda like it.  Normally I just do smaller lines.  I still did this on Noaks Panther.
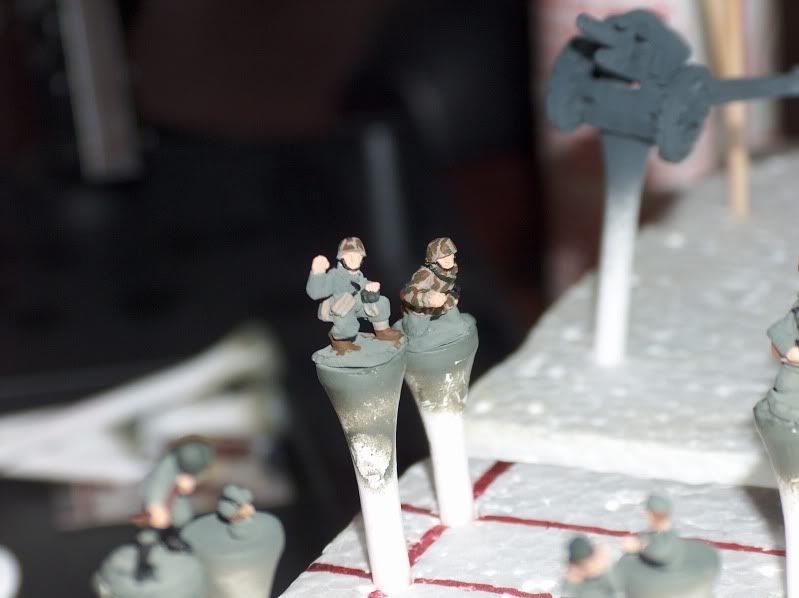
I started with the green and did all 3 vehicles.  Then the hull red.  I know it doesn't really matter when it comes to camo patterns, but it does really seem harder then it looks.  It never turns out the way you plan.  At least not for me.  But, I do REALLY like the hull red color.  I'm going to have to do an ambush pattern with this as my base coat.

Now its on to details.