Saturday, March 26, 2011

Enough Led to Build my Own Tank! Or Kill Superman!

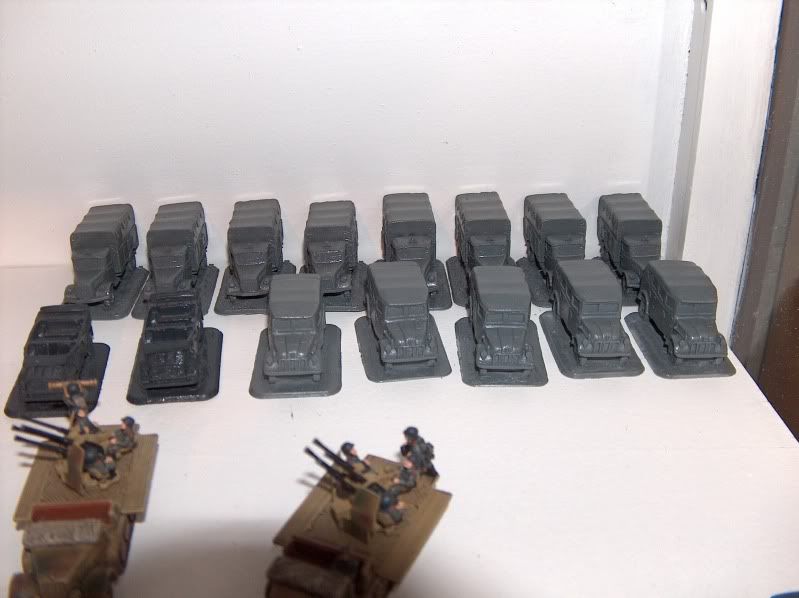
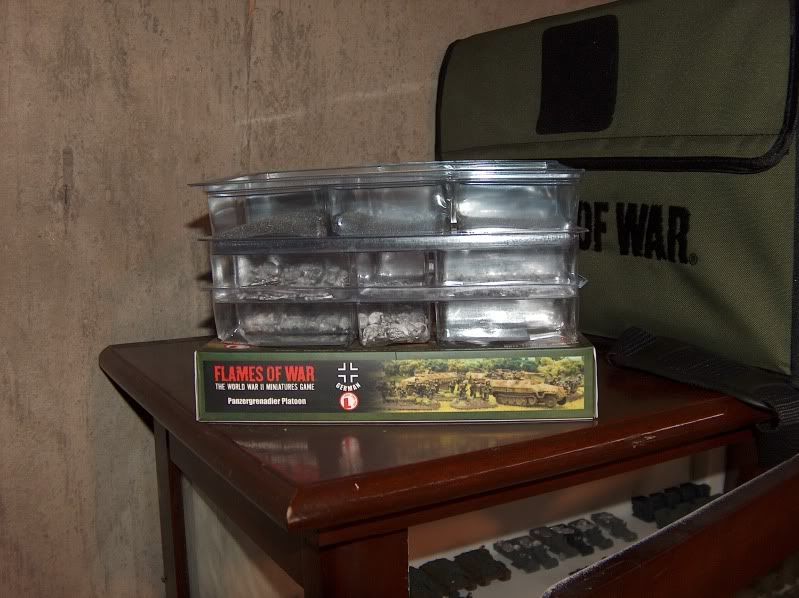
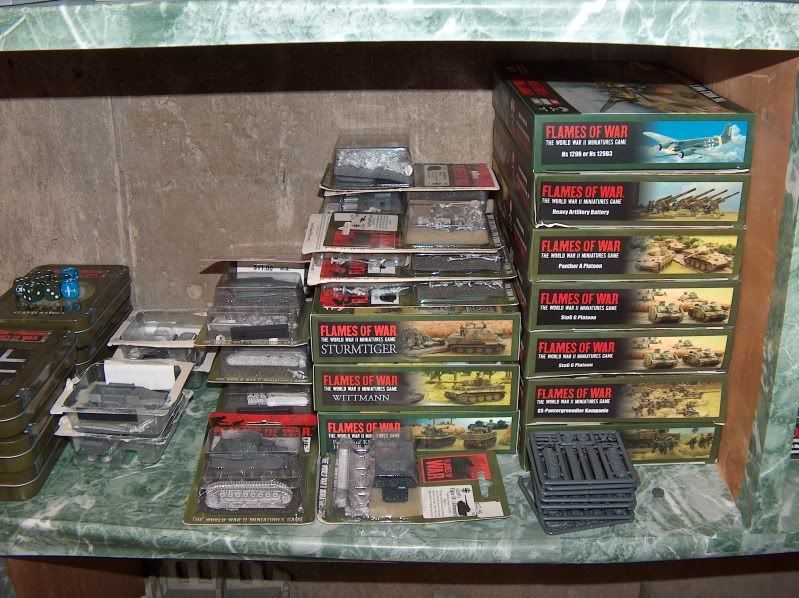
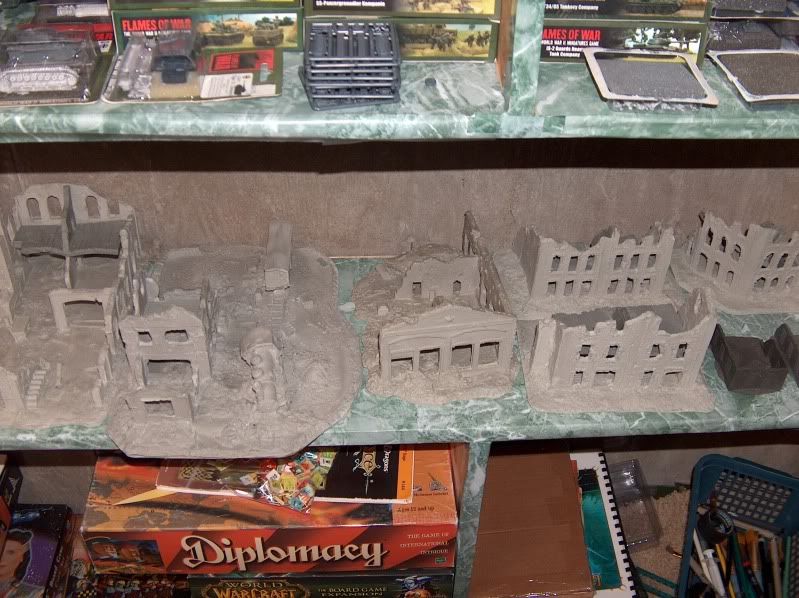
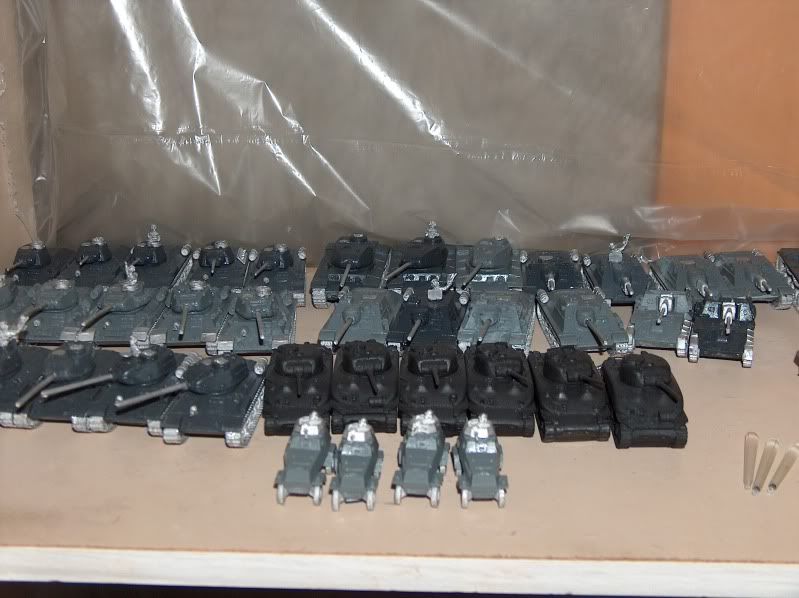
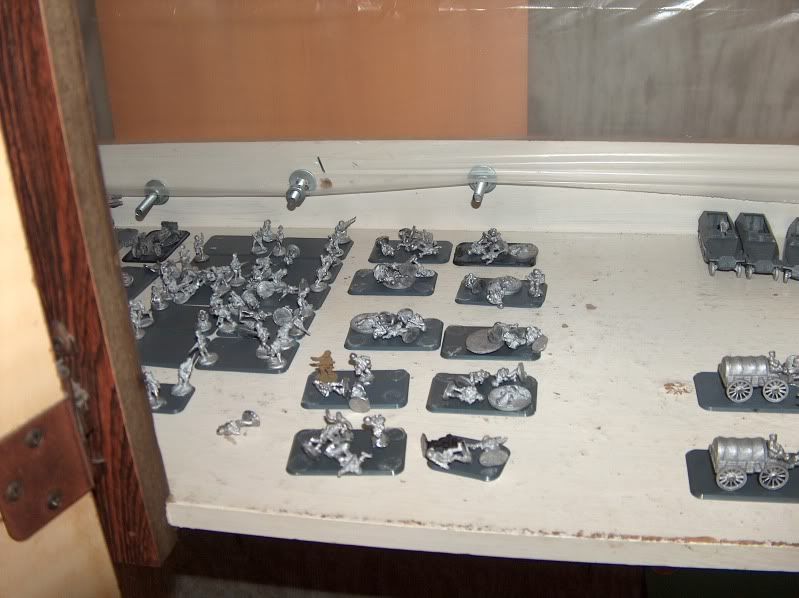
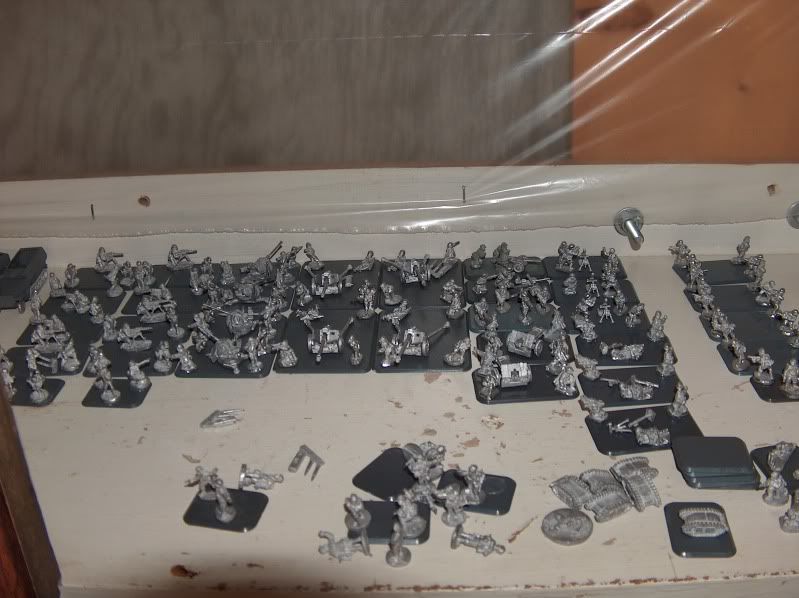
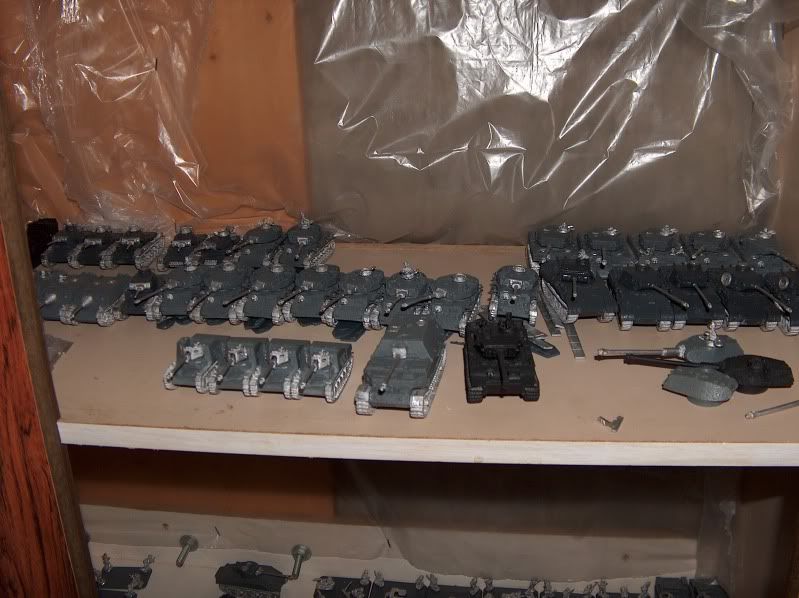
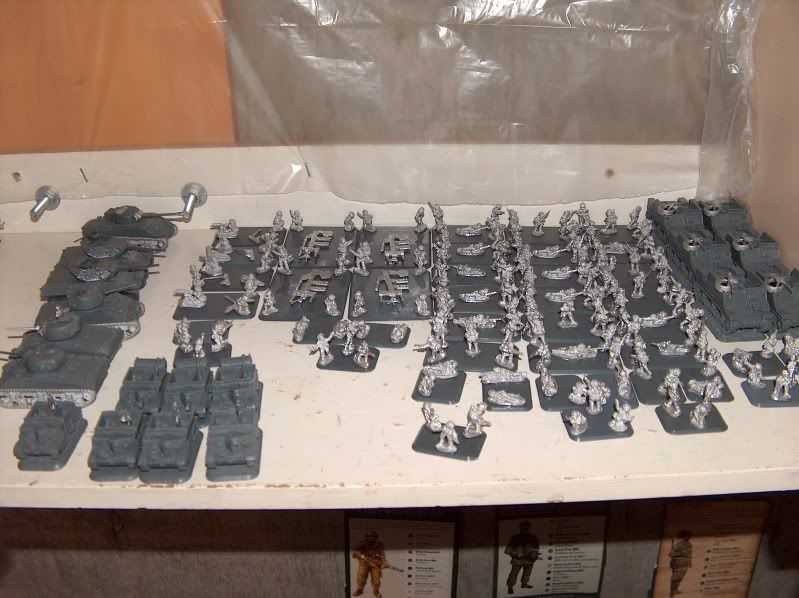
Well I finish up the next stage of my Jagdpanthers thought it might be fun to show all the led that I have unpainted.  Yikes...why do I even ever buy more?  It was really funny hearing the WWPD guys talk about the exact same thing.

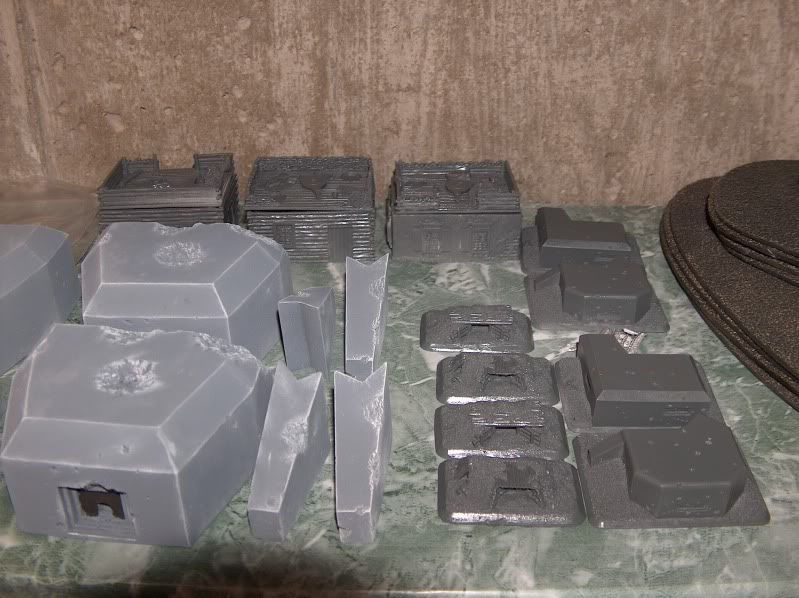
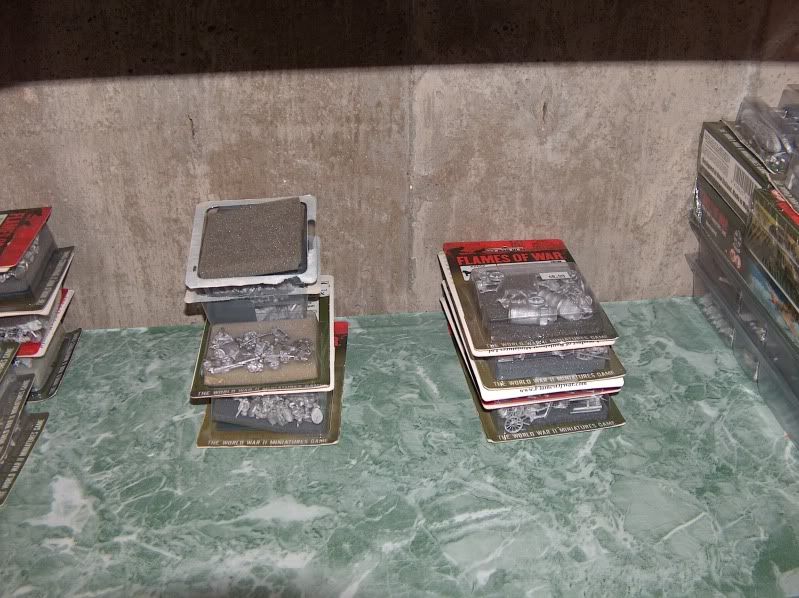
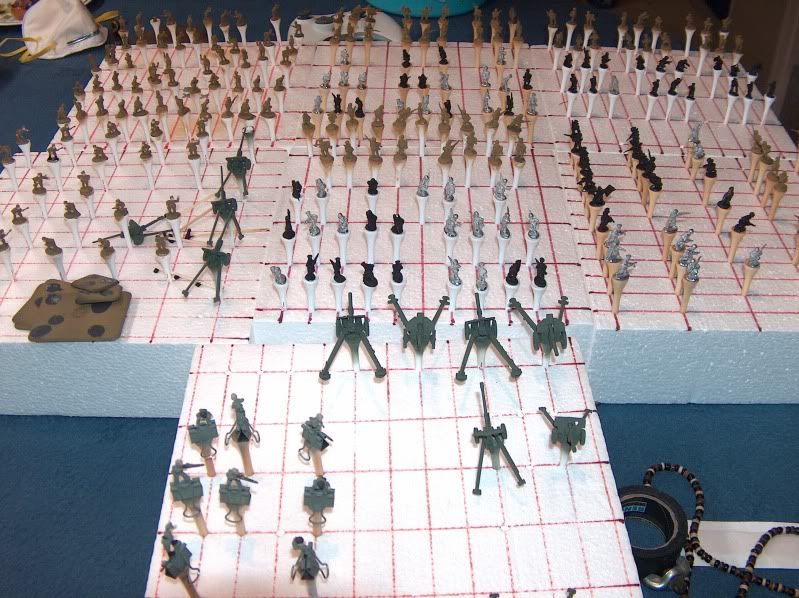
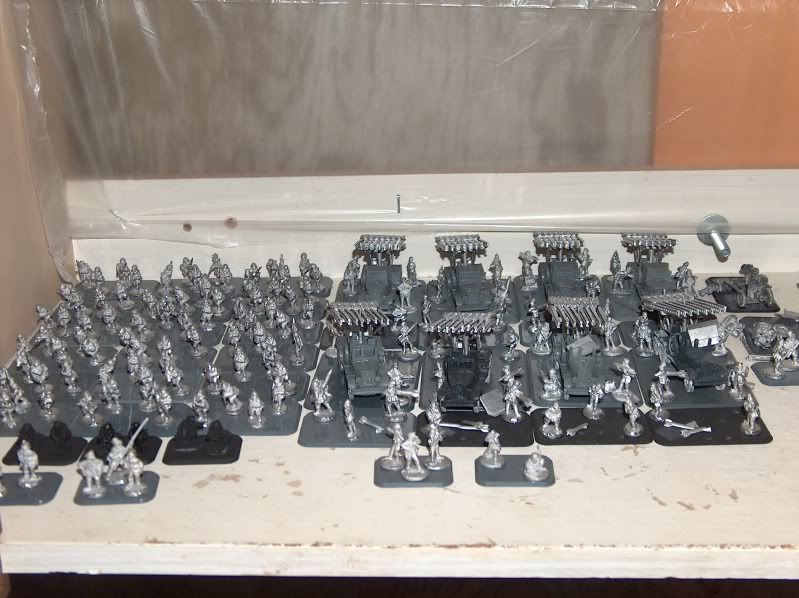
So, I made a list of all the armies I can build, and took pictures of all my unpainted led.

Its probably a good thing my wife loves me.  I do spend a lot of money on this stuff, but luckily most of it was paid for by selling A LOT of old hobbies.  I had a huge D&D miniatures collection, and I had close to 200 board games.  All gone to finance FoW.

That shelf in the first picture used to be jam packed with board games.  I didn't have enough room to fit them all.  Now nothing but FoW stuff. 


Needless to say I'm now exclusively Flames of War and World in Flames.
And as my friends tell you I don't ever do anything half assed. 

Talking to my new buddies in Saskatoon and Edmonton at the last tournament, a lot of them say "my 2 armies"  This always makes me laugh.  This made me make up list of all the armies I can build.  I'm sure there are some I'm missing because of cross overs.

MW - Swhere PanzerKompanie
MW - Mittlere Panzerkompanie
MW - PanzerKompanie
MW - PantherKompanie
MW - Gepanzerte PanzerGrenadier Kompanie (x2)
MW - PanzerGrenadierKompanie
MW - Gepanzerte PanzerPioneerKompanie
MW - PanzerPioneerKompanie
MW - GrenadierKompanie
MW - PionierKompanie
MW - Battaglion Fucilieri
MW - Battaglione Alpini
MW - Guards Heavy Tank (kv-1s, kv-85)
MW - Tankovy
MW - Mixed Tankovy (kv-1e, t-34)
MW - Motostrelkovy
MW - Strelkovy
MW - Opolcheniya

LW - Shtraf Battalion
LW - Guards Heavy Tank (is-2)
LW - Udarny Strelkovy
LW - Sturm Kompanie
LW - StuG Batterie
LW - MotoStrelkovy
LW - Guards Tankovy (t-34/85)
LW - Tankovy Battalion
LW - Sperrverband
LW - Ersatz PionierKompanie
LW - Schwere Kompanie (Tiger)
LW - Engineering Sapper Battalion
LW - SS Totenkopf
LW - Schwere Kompanie (konigstiger)

LW - Canadian 3rd Army (working on 4th)
LW - PanzerGrenadier Lehr Kompanie
LW - Panzer Lehr Kompanie (Panzer IV)
LW - Panzer Lehr Kompanie (Panther)
LW - PanzerPionier Lehr Kompanie
LW - Panzer Kompanie
LW - Grenadier Kompanie

To be honest, because there is no one here in Regina that plays, except Sylvain, and my friends do like to play it, i'm trying to collect every single Mid War and Late War army for the eastern front.  Then not only can I play the perfect Firestorm Campaign, I can build a mega campaign that spans most of the war.


Hopefully my boy will be old enough to play in a few years and he will enjoy the fruits of my obsession.
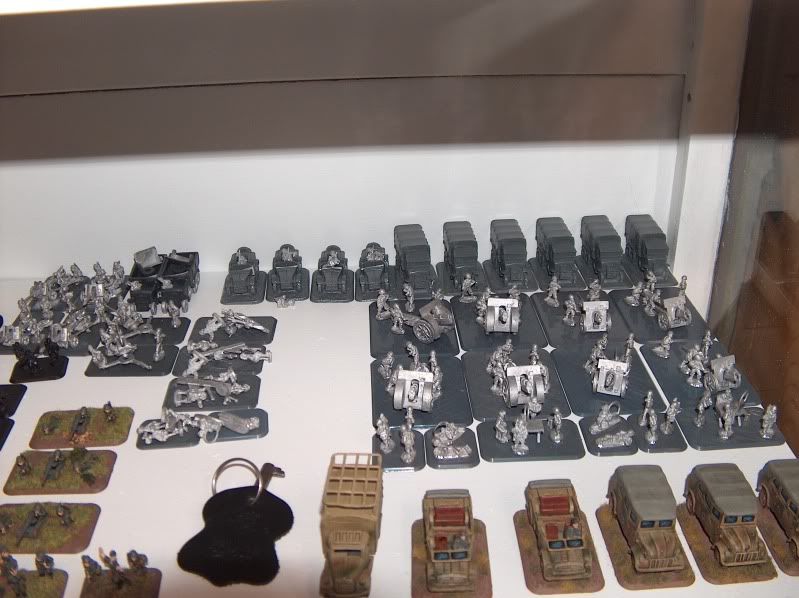
Unpainted Italians
Unpainted German Transports
Unpainted PanzerGrenadiers
A lot of unpainted Germans
Unpainted buildings
Unpainted Bunkers
Unpainted Soviets
Unpainted Canadians
More Italians...and more coming!
Panzer Lehr
Soviets on Deck!
And more Soviets
Even More Soviets
And yet more Soviets?
OH YES!....even more Soviets!
Germans...
More Panzer Lehr, and other Germans
German Armour
3rd Canadian Army!

Monday, March 21, 2011

Schwere PanzerJagerKompanie Part III - Airbrushing

In case you missed some:
Schwere PanzerJagerKompanie Part I - Intro
Schwere PanzerJagerKompanie Part II - Preperation

And now its time to do the airbrushing.  I'll do all the airbrushing for the entire company.
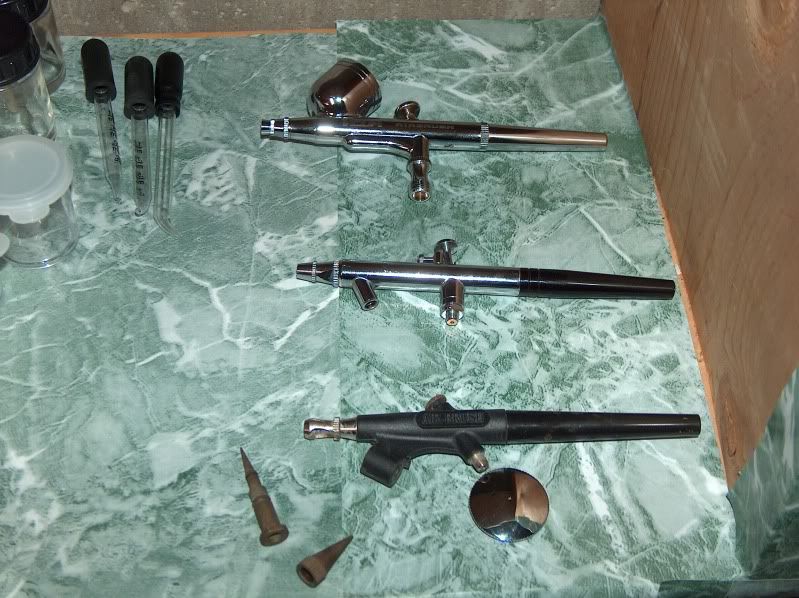
I use 3 kinds of airbrushes.  I use a single action for all the priming and base coating of vehicles.  I use a double action 3.5mm suction for infantry.  And I use a double action 3.0mm gravity fed for camo patterns.  I do have a 2.0mm airbrush, but really haven't broken it out yet.  the 3.0mm seems to be good enough.   

For all the noobs out there.  If you can get gravity fed airbrushes do it.  I love these things.  They use way less paint, way less maintenance, and they just spray perfect every time.  The suction ones are always just so much work, and they seem to work different all the time.

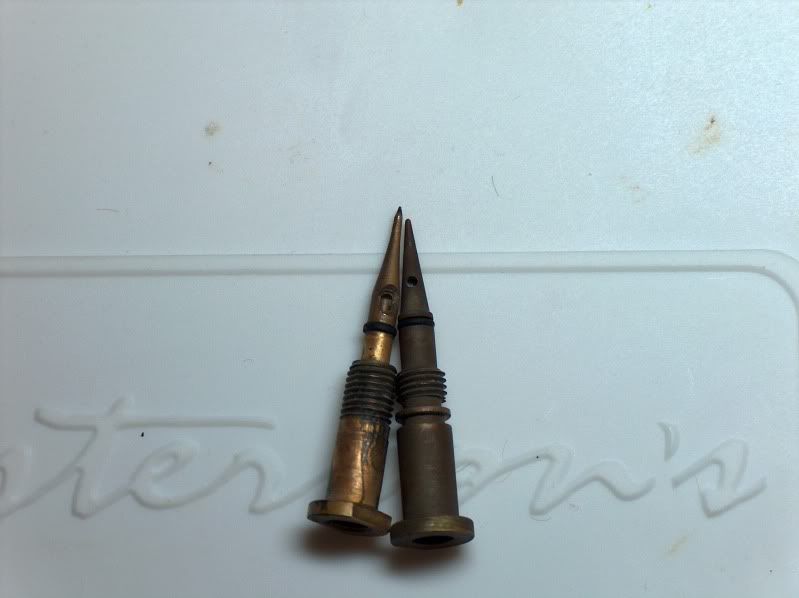
The single action ones especially you have to be careful.  Maybe this is common knowledge, but I certainly didn't know.  I thought all these single action airbrushes were the same.  Apparently they aren't.  I bought 2 of them, 2 different brands, but seemingly exactly the same.  The packages certainly didn't mention anything different about something very important say...oh I don't know....the nozzle.

I was using these 2 single action airbrushes in conjunction so that I wouldn't have to spray, clean, spray, clean.  I thought I could spray 2 different colors and then clean both.  One of the airbrushes I could almost never get to work.  And if it did work, it went through paint like it was going out of style.  Then for some reason I happen to see the nozzles side by side.  Well HOLY SHIT.  Look at the size difference in the nozzle.  No wonder that stupid thing sucked.  No pun intended.  Needless to say I've stopped using that airbrush.

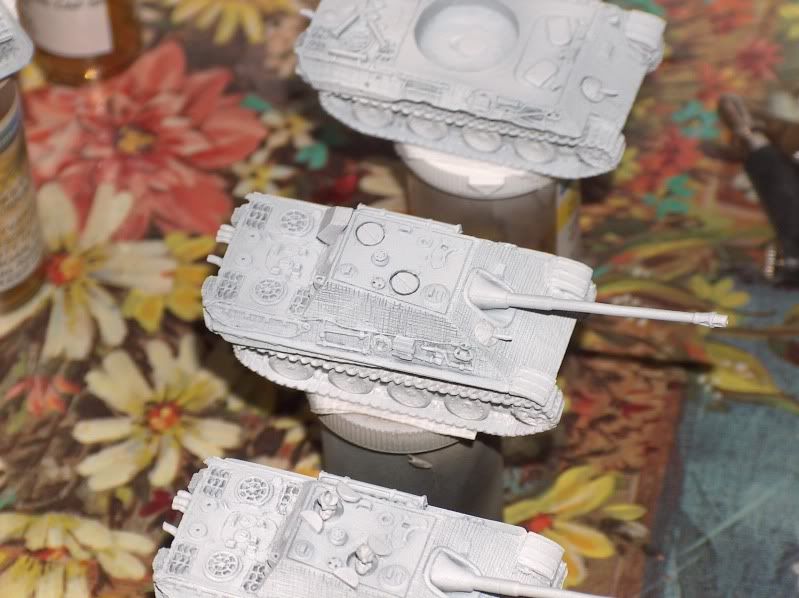
Anyway, on to the work.  Because I'm always trying to improve, I'm always trying new things.  So, who knows how this stuff will turn out.  First thing I did on this project was to prime the vehicles, using the single action airbrush.  This is a first for me, I primed them white.  Normally I'll prime black, or just do 2 base coats.  I wanted to see how it would work.  The problem being, if anyone actually reads this stuff, I mix Windex with my paint for airbrushing.  This turns your white paint blue.  So, I had to use thinner, which I find usually makes your paint too watery.  I used about a 3:1 mixture and it seemed to work pretty good.  Once that is done I will clean up the brush and let the nozzle sit in some Simple Green.

Moving on to the infantry, I use the 3.5mm to prime and base coat them.  I don't really prime them though, I just do 2 or 3 coats of base coat.  I pretty much exclusively use Tamiya in my airbrush, and I don't find colors are brighter or darker just because of the base coat color.  For Germany uniforms I use XF-22, RLM Grey.  I mix 3 parts paint with 2 parts Windex.

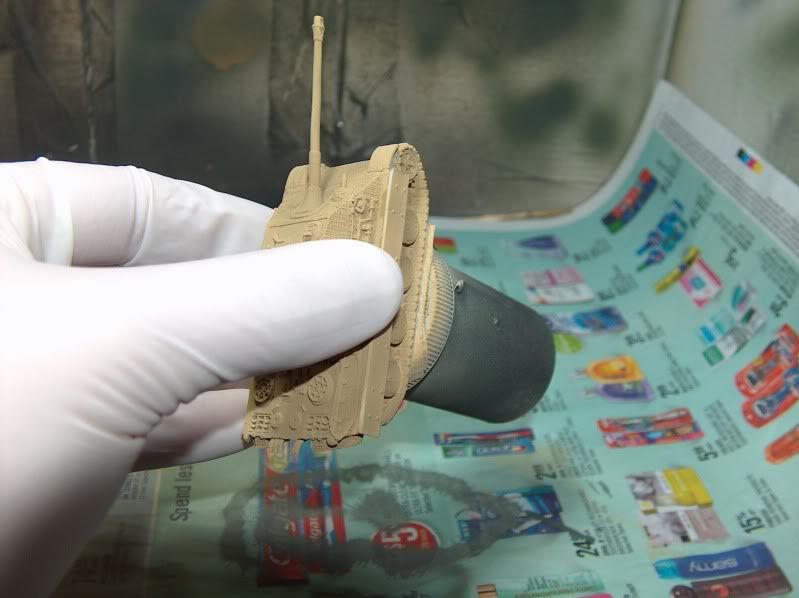
Lets see whats next?  Oh yes, I go back and clean the single action brush that has been sitting in the simple green.  Then I get ready to base coat the Tanks and RSO tractors.  I use XF-60, Dark Yellow for German late war vehicles.  Again I mix it about 3:2 with windex.  Oh ya I almost forgot to paint the Schurzen as well.

I once again I stick the single action nozzle in simple green and let it soak for a bit.

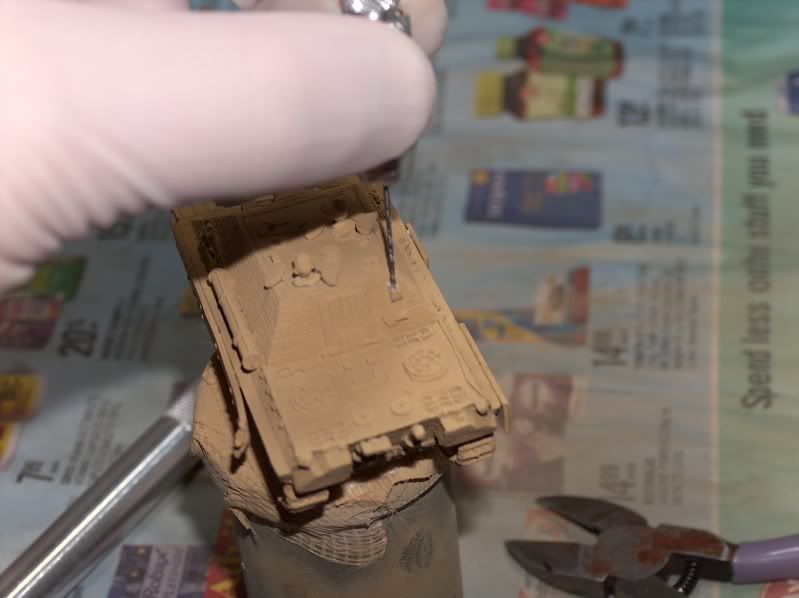
At this point I forgot about the antenna.  So I quickly drilled out the holes where the antenna will go.  I find if the hole isn't deep enough, the antenna will easily snap off if you accidentally touch it during game play.  So, I drill that hole nice and deep.  Ha ha...I said deep!  Inside joke for those that know me.

Tamiya paint dries very quickly so, I now take this opportunity to glue the Schurzen on.  I try to wear gloves when ever I'm going to be touching painted parts.  These jagdpanthers may have actually given me a revaluation with the panther shurzen.  I wonder if I've been putting them on upside down?  They have these tabs that look like you would glue them under the hull. The problem is on the jagdpanther they don't fit.  If you put them on the same as a regular panther they end up crooked.  the jagdpanther actually has this lip they fit on, but the only way they fit is if you cut these tabs off....or put them on upside down.  They fit great upside down and the tabs sit right on the track.  When I put my panther A's together, I may have to see if they fit that way as well.


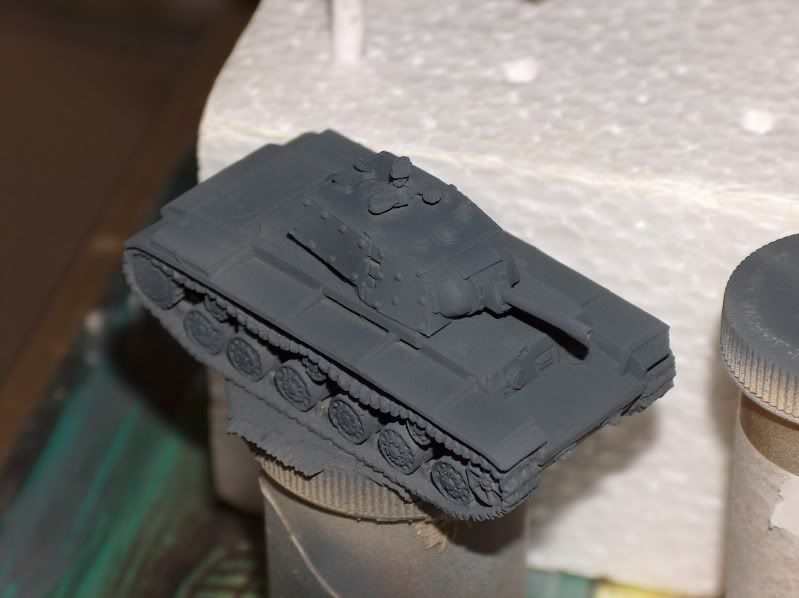
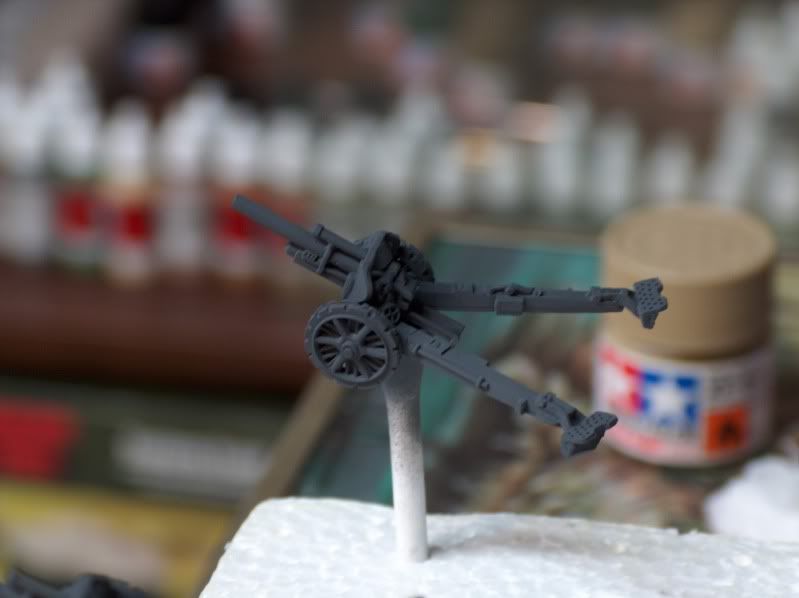
While the glue dries, I will paint up my 10.5cm guns.  I'm using XF-63, German Grey for these.  Even though this is for late war I want these guns to be mid war.  This is an older gun set, so If I ever decide to paint a late war gun set, I'll get the newer molds.  I also had a KV-1e captured tank I wanted to paint.  I had done it in dark yellow, but upon doing more research most captured KV's were German Grey.


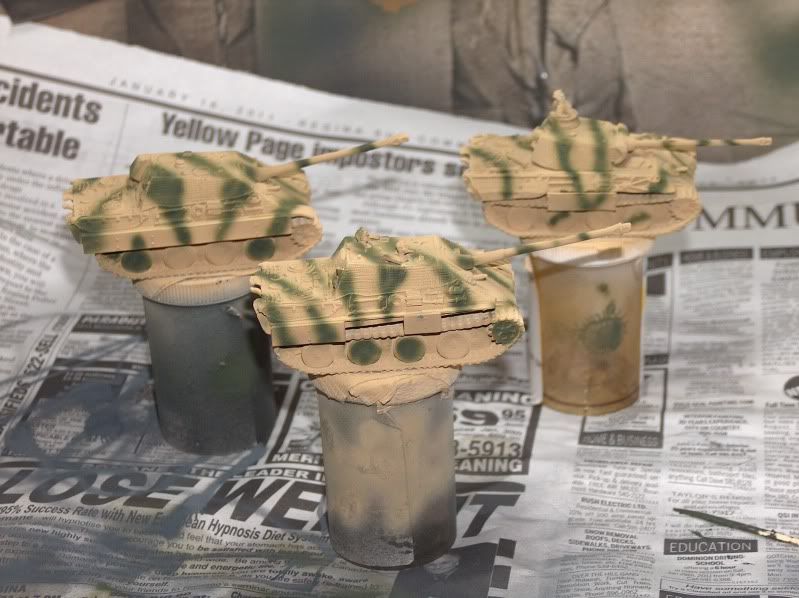
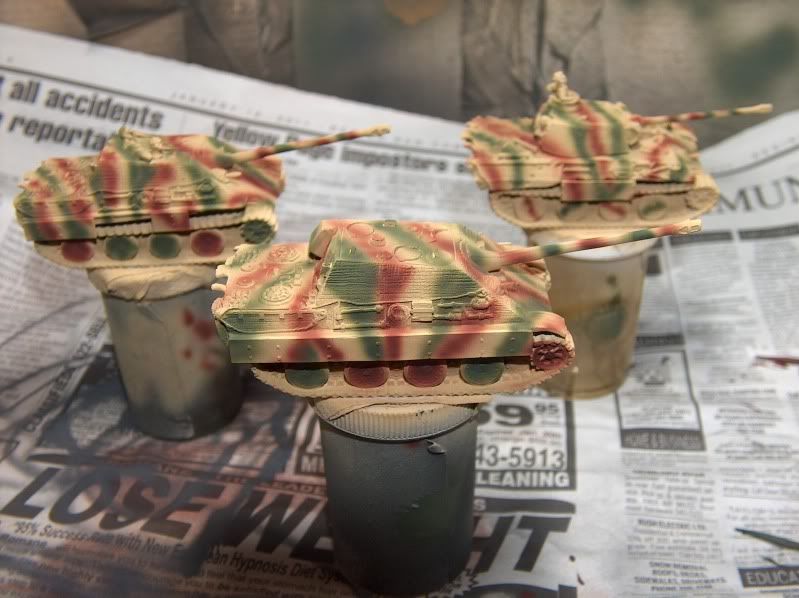
With the guns done, the schurzen should be dry, we can move on to adding the camouflage to the jagdpanthers and Noaks Panther.  For this I will use XF-58, Olive Green and XF-9 Hull Red.  Normally, like with my Konigstigers, I used XF-64 Red Brown, but I wanted to try this Hull Red.

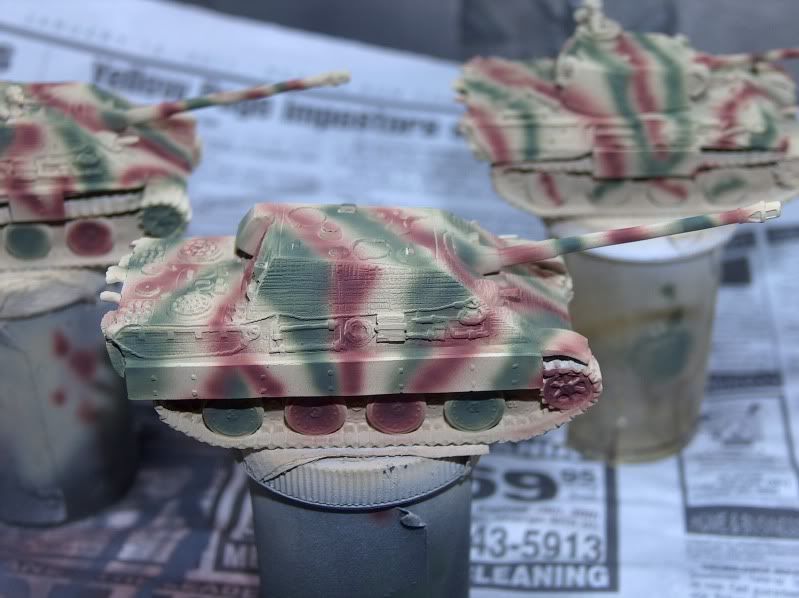
I found some very good pictures of camo patterns for Jagdpanthers.  A lot of them for the time period had shown wheels painted in full colors.  So, thats how I did the jagdpanthers.  I kinda like it.  Normally I just do smaller lines.  I still did this on Noaks Panther.

I started with the green and did all 3 vehicles.  Then the hull red.  I know it doesn't really matter when it comes to camo patterns, but it does really seem harder then it looks.  It never turns out the way you plan.  At least not for me.  But, I do REALLY like the hull red color.  I'm going to have to do an ambush pattern with this as my base coat.

Now its on to details.

Sunday, March 20, 2011

Schwere PanzerJagerKompanie Part II - Preperation

In case you missed Part I:
Schwere PanzerJagerKompanie Part I - Intro

OK here we go,  starting a new army from scratch.

Let me start off by saying, I really really hate some of you people in the Flames of War world.  Not because you are jerks, or ass wipes...can I say that on TV?  But because a lot of you say "This is what i did this afternoon".  I have no idea how you do that, because it takes me just an afternoon to get everything set up and ready to paint.  And the worst part is their stuff still looks great.

Vehicles
Anyway, first thing I do is get everything out of the box and make sure all the pieces are there.  If there are any resin pieces I clean them up by removing and extra sticky outy stuff,  especially around where tracks might go.  Then I wash all the resin.  I no longer use soap as some people suggest because it leaves a white film no matter how much you clean it.  You end up having to do it twice.  So, I just use a toothbrush and warm water.  I usually then let them dry upside down so all the water runs out of the little crevasses.  With this project I had to give all the artillery crew guys and quick rinse.  As I mentioned in Part I, because they were sitting so long they had dust on them and I needed to clean them up.

While the resin is drying, I will clean up all the metal pieces by removing flashing, or streighting and fixing anything that needs to be fixed.  Then once everything is ready I put the vehicle together.  The tracks are the most tricky part.  I like to put them together so that the tank doesn't wobble,  and doesn't look to crooked on the table.  99% of the time tracks don't ever fit perfectly.  Once the tracks are in place, I'll glue the bottom between the risn and tracks...again 99% of the time there is space between the tracks because they don't fit flush to the resin.  Usually takes over night to dry.

Once the tank is all put together its time to add rare earth magnets to the turrets.  I first use a small drill bit, the ones people use for hollowing out gun barrels.  This gives a starting point for the drill bit.  I find if you don't do this, your drill slides when you first start drilling and the hole never ends up center.  With the magnets I always color each end with a permanent red marker.  When placing the magnets this helps you keep the polarity right.  The colored red end will go into the hole.


Then I put a dab of glue in the hole, followed with a little bit of green stuff, followed by a bit more glue.  Then place the magnet, red marker in.  Then ever so gently push the magnet down until it is flush with the surface.  If you push it to deep, it may not work with the other magnet.  This is why I use the green stuff.  Just in case you drilled your hole to deep.


Infantry
As with any infantry, I don't normally wash them, but I do go through every guy and remove any flash lines.  Especially with these 10.5cm guys. They were an older mold by BF and these usually have a lot of flaws in them.  The newer molds are much much better and take less work to prepare.  I also remove the edge of the base on most of my infantry.  This makes basing a little bit easier, when you are using foam putty.

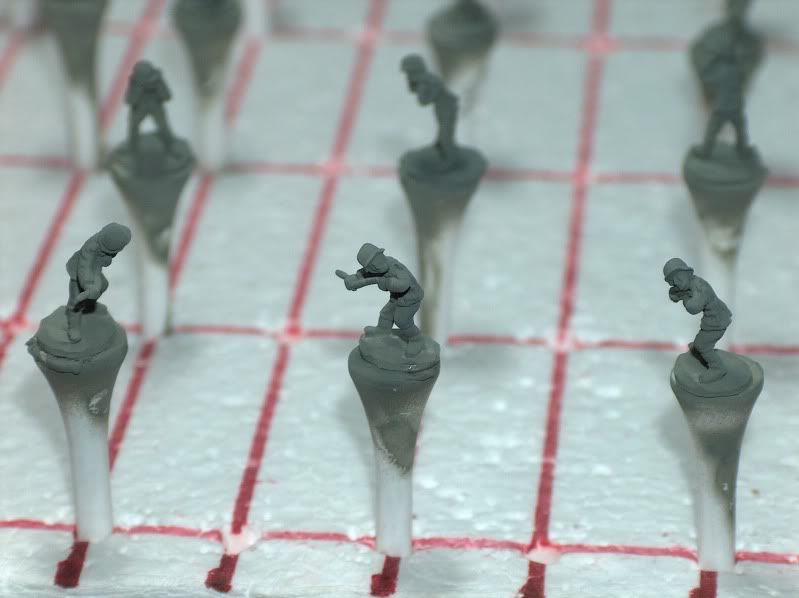
Once they are cleaned up I glue them to golf tee's and stick them in some styrofoam.  This allows me to handle each guy with out touching them. But only use PVA glue,  You want to be able to remove them easily when you are done.  I do the same with the guns.  For tank stuff like schurzen, I'll glue them to toothpicks.  For this I use super glue.

Once everything is ready, I take some old prescription bottles, double sided carpet tape, and stick the vehicles to them.  This will allow me to airbrush them with out touching them.  The tape is strong enough to hold them, even if they are heavy.

Now everything is ready to be airbrushed.


Saturday, March 19, 2011

Schwere PanzerJagerKompanie Part I

Well, Shawn "The Terrain Guy" Morris has managed to delay my Russians again.  We are going to have another tournament in Toon Town and this time its a 1000pt pairs event.  And Shawn and I will be teaming up together, and playing Germans.

Once I was done painting my Russians that I have all set up to be airbrushed, I was going to work on my German 10.5cm Artillery Battery.  These were some of the first German guns I bought, and they still aren't painted.  So, I figured this was as good of a time as any to get them done.  I actually had to clean them because they were so dusty.

I will be going with a JagdPanther Kompany with artillery support for my 1000pt army.  Before you ask, "how is that possible?"..., I wanted everyone to have more interesting armies so I suggested that we are allowed to only field 1 combat platoon.  Shawn agreed. 

The JagdPanthers seem to be supported by Grenadier support rather then traditional armored companies where they are full of more mobile support.  It was a perfect opportunity to field my 10.5's.

I will also get to finish and field the Bergepanther. 

I also thought this would be a great opportunity to document from start to finish all the steps in building and painting an army.

There have also been a lot of people asking about decals lately, and every where I look great paint jobs are ruined by crappy decals.  I will take this opportunity to do a Decal Tutorial.  Just look at the Jagdpanthers in the Earth and Steel book.  All the decals have horrible silvering.  My paint may not be the greatest...yet...but I think my decals turn out perfect every time.  Although now that I've said that, I'm sure my tutorial ones will suck...Karma.

Stay tuned, part II will be coming shortly.  I almost have everything set to be sprayed.

Tuesday, March 15, 2011

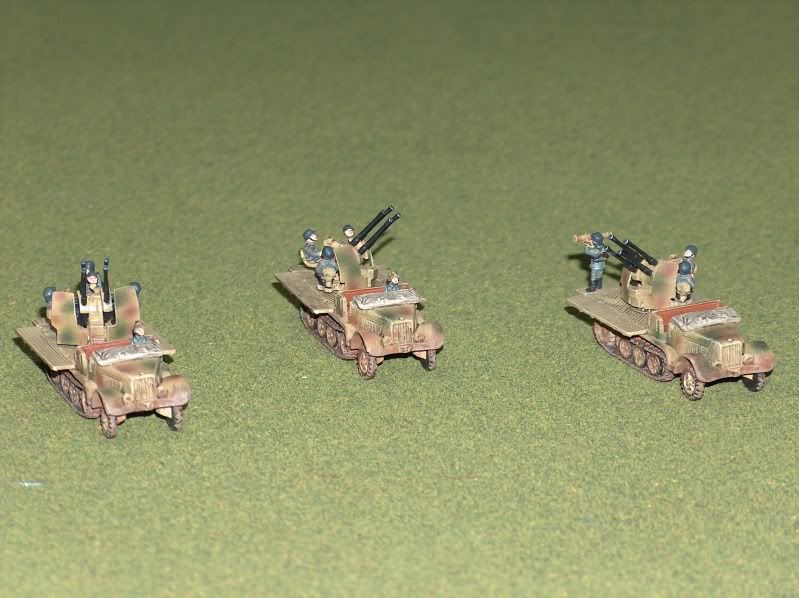
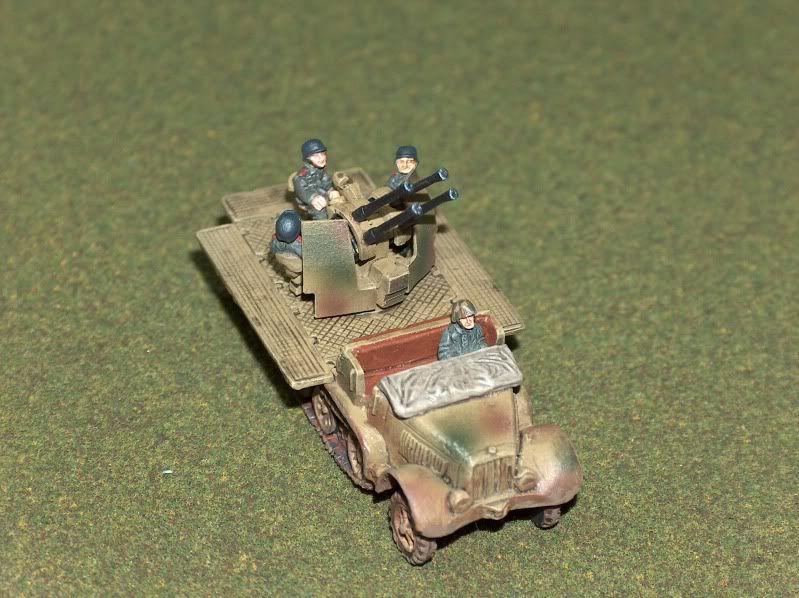
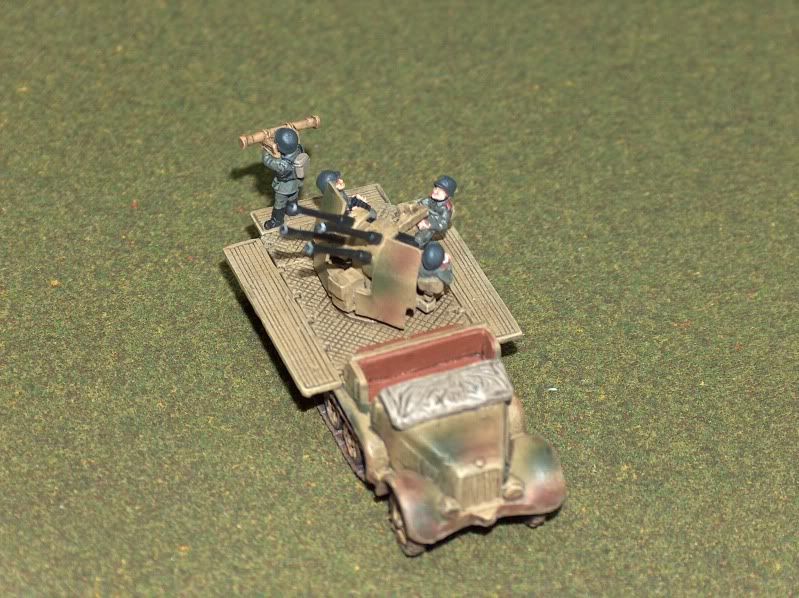
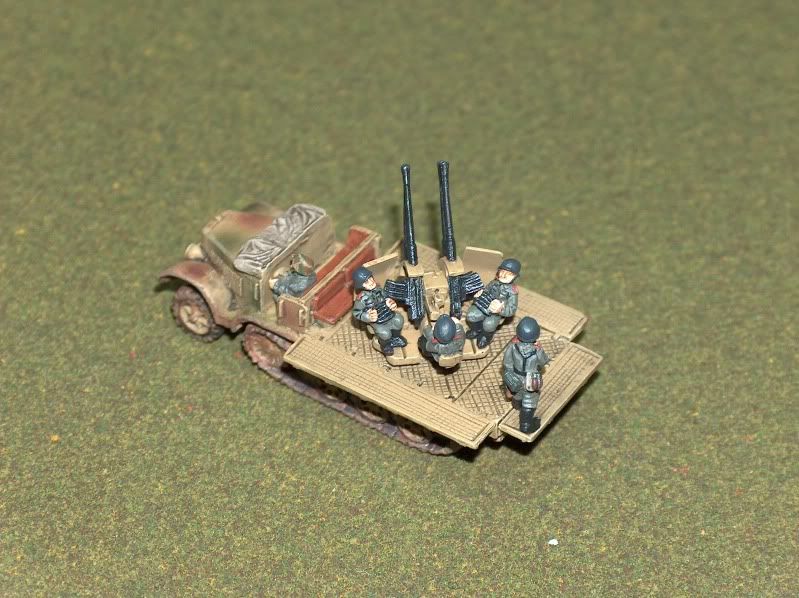
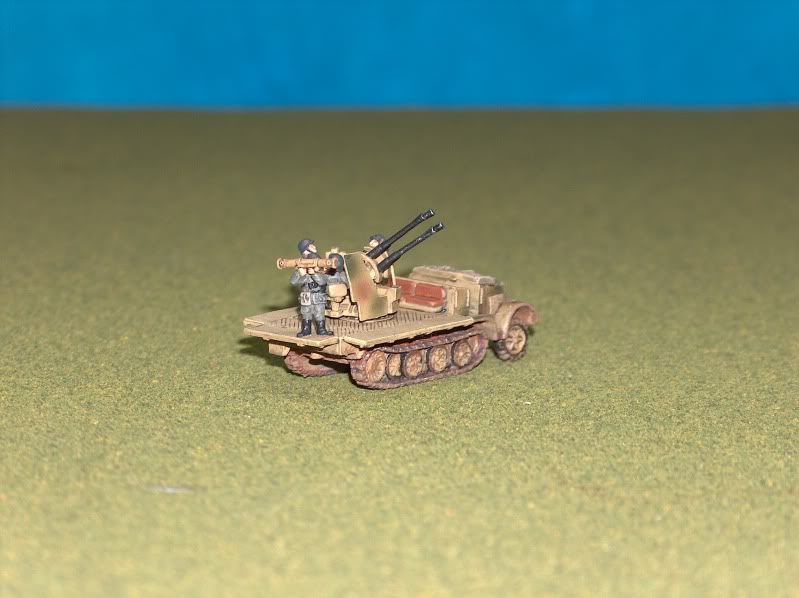
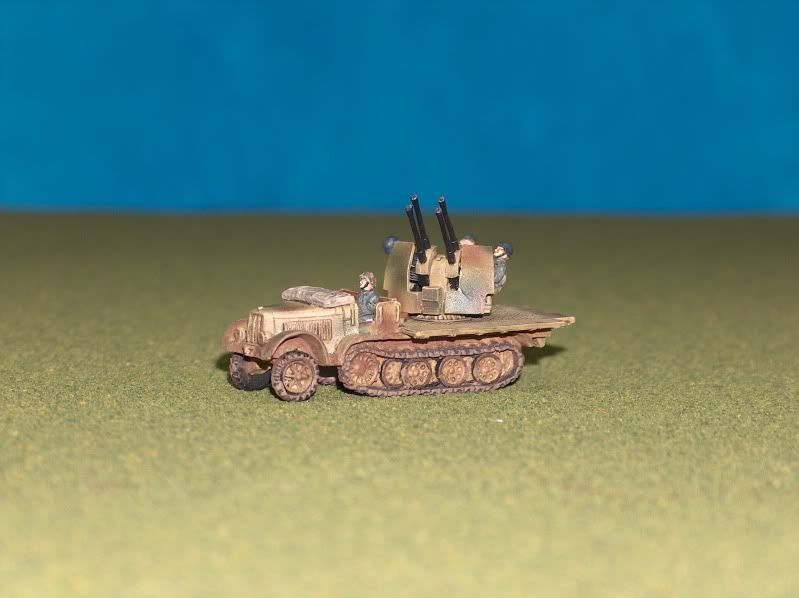
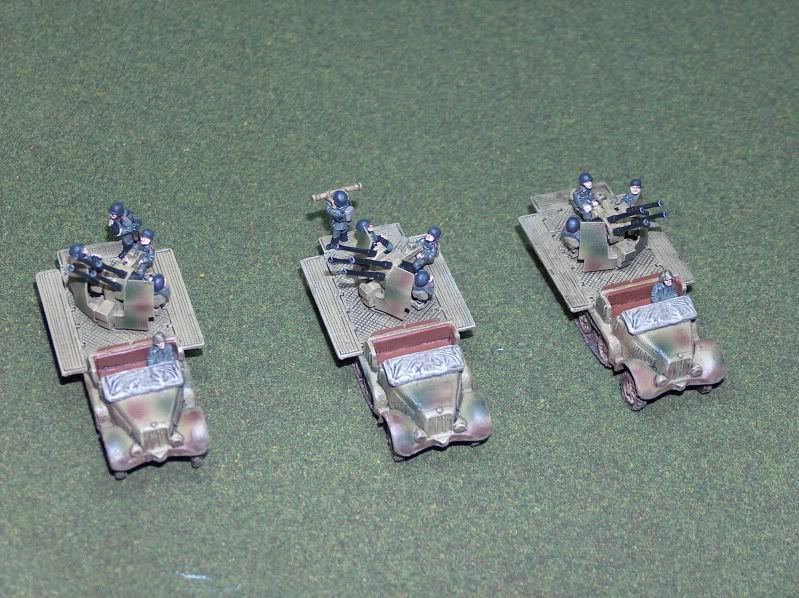
Sd Kfz 7/1 2cm Quad Anti-Aircraft

I just finished these today.  They've been half done for a month or so.  I was originally going to take them to the tournament I went to.  I figured one of the few things my KT's would have trouble with would be aircraft.

The only problem was I didn't have any armored versions, and you can't take the Sd Kfz 10/5's with KT's, which I do have armored versions of.  You can't even portee these ones like the 10/5's.  These ones seem like they would die so easy, I figured it best not to take them.  Seeing how I ended up winning, it may have been the right decision.

Honestly I can't see me every using these.  Yes they have a 6 RoF, but they still only shoot 1 if they move, and they are unlikly to survive for very long being unarmored and only saving on a 5+.  A bunch of infantry would probably wipe them out.

As for painting, they are kinda meh.  I tried the Vallego shades on the ammo loaders.  They are ok.  the Camo turned out ok, and again I painted the rubber road wheels.  I honestly really hate doing that.  but I think they do look better.  I look forward to doing my armored ones.

I also got a new light, for painting and tanking pictures.  Could take some practice.  I don't really like how these pics turned out.  Even though I'm not 100% happy with the paint, they look way better in person then in these pictures.  But that seems to be the norm anyway.  To macro or not macro, to flash or no flash....

I still have so many soviets ready to paint.  But looks like I could be going to another tournament in April.  This time a 1000pt doubles tournament.  Shawn and I will team up as Germans, so I need to figure out something good.  I really like the Wespes, I could use them again.  Maybe some 88's?  Guess i'll have to think about what I can paint in that time frame.


Monday, March 14, 2011

World in Flames - Days of Decision - Part I

I'm almost done a couple of painting projects, but in the meantime I thought I would post about one of my very favorite games, World In Flames.

World in Flames is a strategic WWII counter game.  The full game has over 7000 pieces.  The game claims to have every individual ship ever built or was ever going to be built for WWII, right down to destroyers. The only trouble with this game, especially in my neck of the world, is finding people willing to play. 

The game can take hundreds of hours to play the full war, so you have to leave it set up and have a major commitment to it.  I believe I have 6 good people to play, so one of my back projects is to get the game blown up and magnetized.  This way I can leave it set up, and it won't disrupt any other games I play.

I think I calculated that if I blow up the main maps the game will be about 5' tall by 24' long.

I've already found a printing company that will blow the maps up for me, and permission from the creator Harry Rowland to do it.  What would come next is to magnetize the 7000ish counters.  I had heard about rare earth magnets long before Flames of War players were putting them into their tanks.  They have also been used to magnetize World In Flames.

One add-on I won't play World in Flames with out is called Days of Decision.  This is a WWII political game that can be played on its own or with WiF.  It allows you to start the game in 1936, and build a country they way you want.  Create the allies you want, go to war when you want.  The creator claims this mechanic creates 14 trillion different outcomes.  It takes an Axis & Allied style game and turned it into a 3 pronged game.  An aggressive Soviet player could actually see themselves facing the brunt of the world. 

With so many different directions you can take your country, we decided to play DoD standalone at least once or twice while we are waiting for me to get WiF magnetized.  We are playing the countries we will play once the full WiF game starts.  That way we can get used to all the political options for our nation.

This past Saturday was our 2nd or 3rd go at it.  And it went a lot smoother.  We managed to get farther then we have in one night.  We made it to the end of 1938.  Just as things were starting to happen.  Japan went to limited war against China, and things were heating up in Europe.

I recommend this game to any WWII enthusiast.  This is my one 10 out of 10 game.

Here is the link to the home site.
http://www.a-d-g.com.au/

Wednesday, March 2, 2011

Turret and Front Armor House Rules Part 4

I hate to beat a dead horse here or say "I told you so"...

I recently played in my first Flames of War tournament, and we played 4 games.  It was great fun, don't get me wrong...but:

I didn't once see anyone turn their turret.  I faced one Soviet Battalion (Bryan) that had something like 30+ tanks.  He never once turned his turret.  It made zero difference if the vehicles were hull mounted or Turret Mounted.

I really don't have a problem with the 180 degree thing for simplicity.  The problem lies in the fact that there is very little difference between hull mounted and turret mounted weapons.  Nor do you ever use any of the rules that pertain to turrets.

Guess how many times the soviet player had to use limited vision?  None

Guess how many times I had to use slow traverse in all 4 games?  Once.

Yes I turned my turret once.  And it wasn't becasue I had to or needed to.  It was becasue I wasn't afraid of being damaged by anything on the board.  and his tiger ace skill was rapid fire.  With any other tank I would have never turned my turret.  I had targets everywhere, it made little difference that I did or didn't turn it.

There has been a lot of talk of a Version 3 lately.  So Phil if you ever happen to make it to my blog, these are the 2 things I would change for Version 3.
  1. 90 degree arc for Front armor and shooting weapons.  I have it all worked out. :)
  2. Concealment to be uniform across the rules.   As it stands right now, if you are in forest or smoke, you only need to be slightly in to get concealment, yet for an other piece of terrain you have to be 50% behind it.  Even viewing "through" direct fire smoke you don't need to be 50% .  Although the wording would entail that you do.   
I really thought playing the long edges of the table would make a difference.  I figured with out playing in a tunnel scenario like hold the line, and guys spread out length wise...someone would get behind the 180 line...didn't happen.

I had hoped that I was wrong, and going to this tournament with 16 other players, I would see turrets turning all over the place.  Or at least a few anyway.  Unfortunately I was proven correct.

If FoW really wanted things kept simple then they might as well have not had turrets in the game at all.  And seeing how the MALFTF is as big as the rule book now, I hardly think keeping things simple is a viable excuse.    

Turrets Are Useless