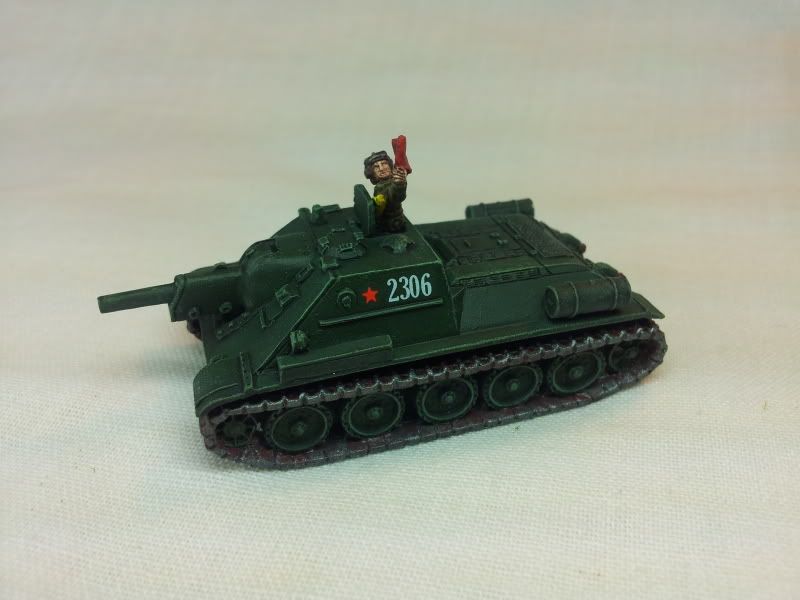
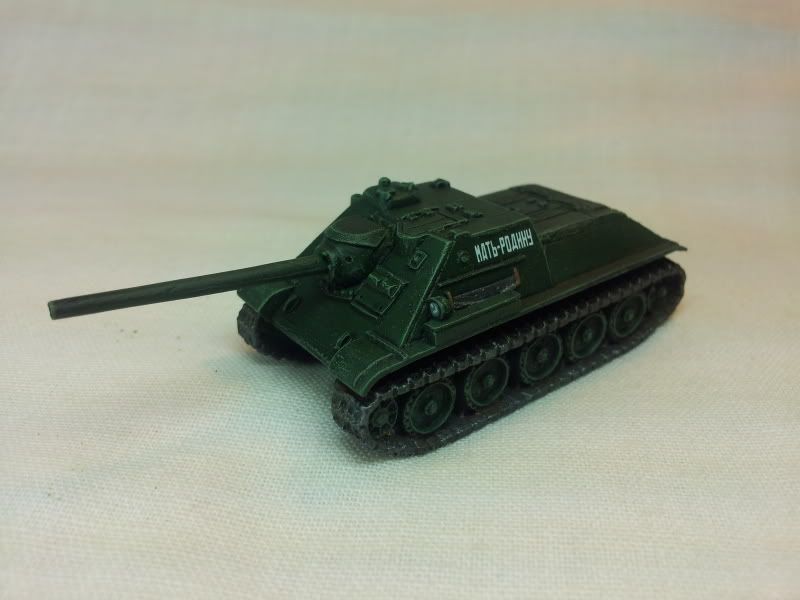
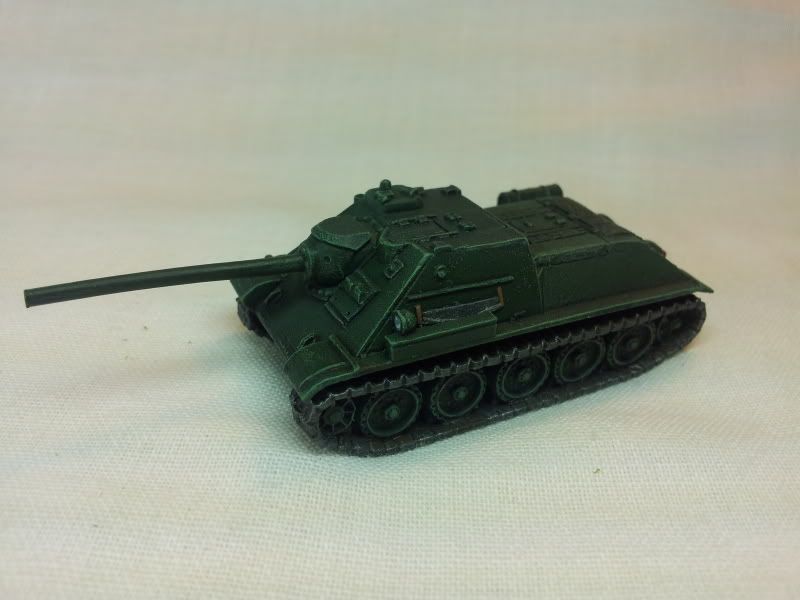
5 SU-85's
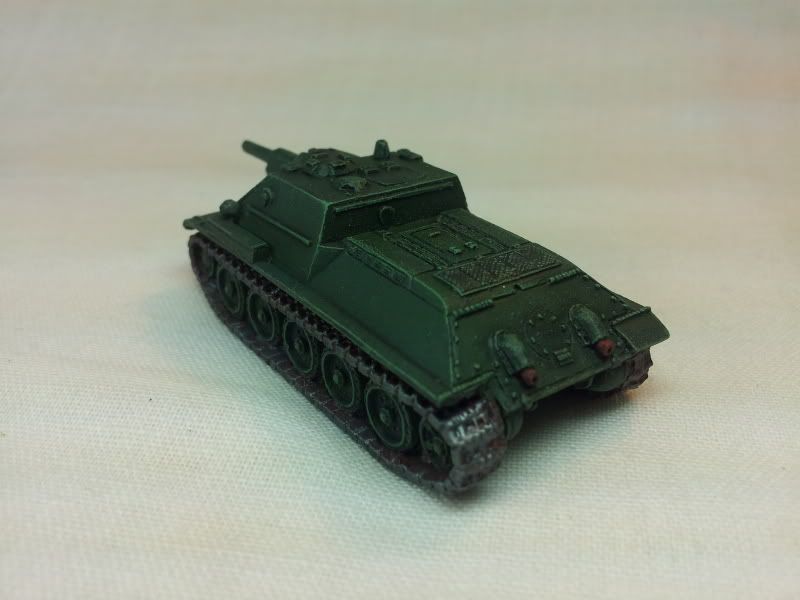
4 SU-122's
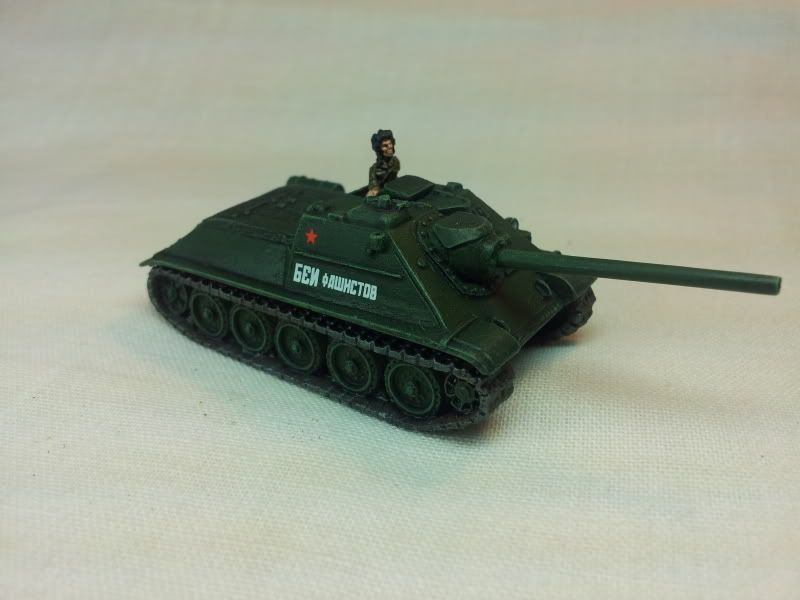
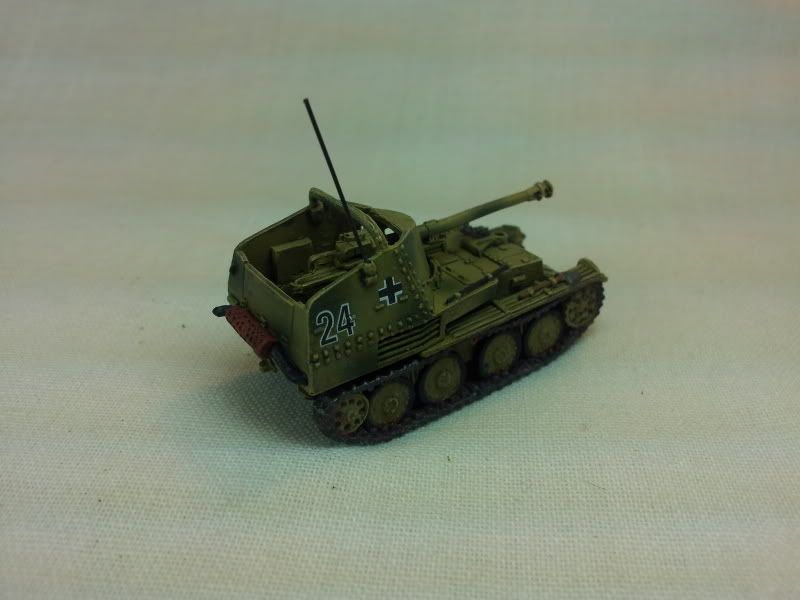
4 PanzerJager I's

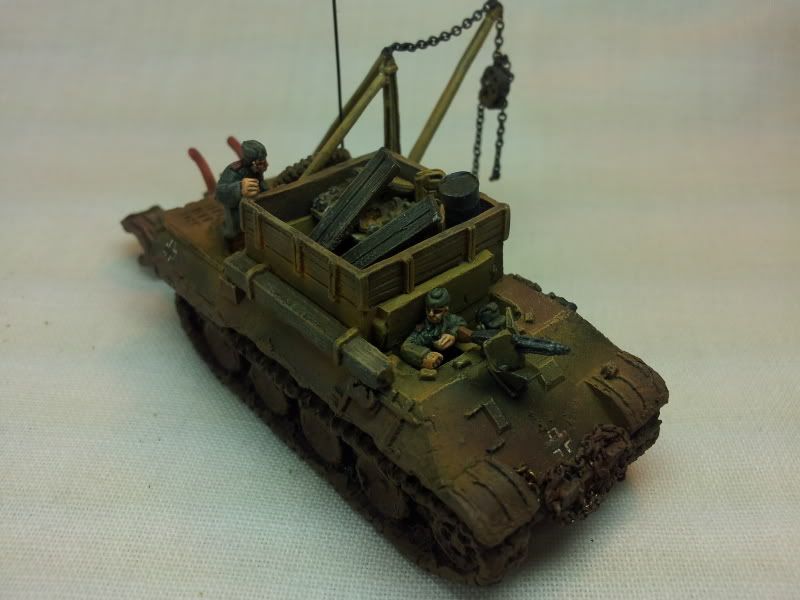
The 2nd thing which I found very strange, was the placement of the radio antenna. Battlefront made their model with 2 places for it. And if you google pictures of the PanzerJager I, you can see that the antenna did in fact appear on both sides of the vehicle. I have no idea why this is. Might have to do a bit more looking into that. But I ended up placing it in the front.

The SU's I tried a different kind of green. Before the wash they were REALLY bright green. But after a wash they really darkened up. I think I like them better then the old green I used.
With the SU-85's I tried a brown base colour for the tracks instead of my usual Cavalry Brown. Don't think I like it. You can barley tell. The Cavalry brown really stands out.

One guy actually made a video tutorial. Pretty much all it says on how to apply pigments is to "apply the pigment to the vehicle". Thanx a lot donk! Very helpful tutorial. Just like the sound of your own voice or what?
Another guy says to use paint thinner but doesn't explain how. Do you mix it with the pigment, do you brush it on first, do you brush it on after? Another helpful idiot who likes the sound of his own voice.

Anyway, that's it for now. I will leave you with some of my favorite models from 2011. Sorry if the pics don't look that good. I'm trying some new photography stuff. I may have to give my friend Randy Dickin a call, who is really into photography. Maybe have him set me up a studio or something.
Happy new year everyone.


They loo real nice.
ReplyDeleteHappy New Year.
Happy new year Kage, always following your comments and progress!
ReplyDeleteHi Kage - I'm just about to weather my SU-100s and ISU-152. I can do a few videos if it would help and folk would find it useful.
ReplyDeleteI'm no genius and have had real problems with pigments in the past, but enjoy working with them when it goes well. I made some notes on my last endeavours here: http://www.modeldads.co.uk/Painting-and-Modelling/Flames-of-War-Painting-and-Modelling-Soviet-T3476-Tank-15mm-4.html
that would be fantastic, Justin.
ReplyDeleteI would love to see how they are used.
I was using Artist chalk but I didn't think they ever really worked that well. So I figured i was doing something wrong.
Now that I have these pigments I'd really like to see how to use them properly.
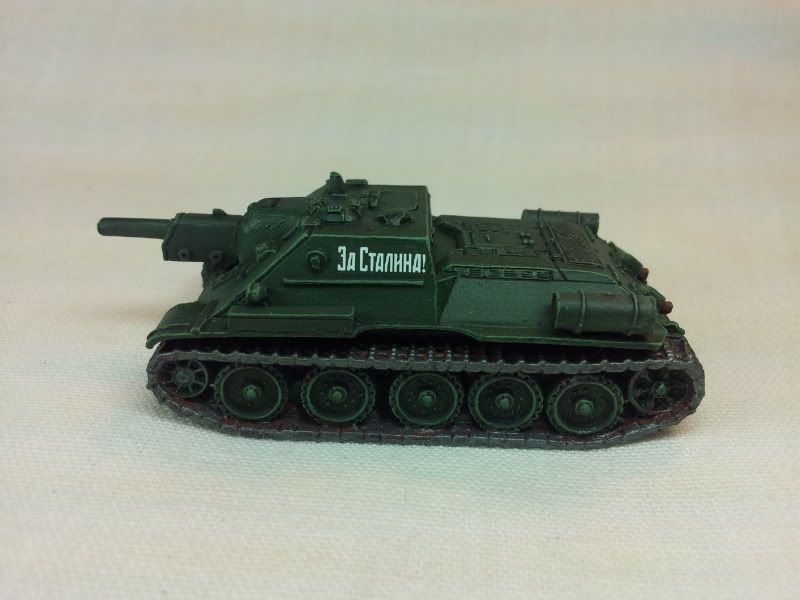
I'd like to add one more thing to this article. I'm a little disappointing in the new decals by BF. The ones on the blue background. they look good however...
ReplyDeleteI don't know if anyone remembers way way back, I had done some SU-152's. and you can see the outline of the star decal. This is mainly why I detail before decals. I know most detail after decals.
but these new decals are all thick like that now. I could not for the life of me get rid of those thick decal lines. In some of the pictures you can see the outline of the decal. The old ones never did this...with the exception of the big red stars.
Great work!
ReplyDeleteHi Kage - done a video on applying pigmetns to tracks for you but am having problems with Windows 7, Movie Maker and .mts file. Service may be a little delayed :)
ReplyDeleteQuick video all done and uploaded. I'm no expert, but I hope it helps see how someone else uses pigments: http://www.modeldads.co.uk/Life-at-the-Front/wordpress/?p=4055
ReplyDelete